You are using an out of date browser. It may not display this or other websites correctly.
You should upgrade or use an alternative browser.
You should upgrade or use an alternative browser.
Thanks Tom!
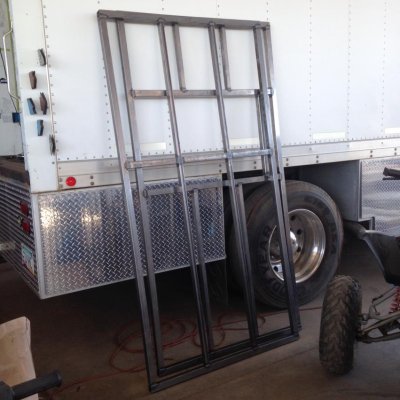
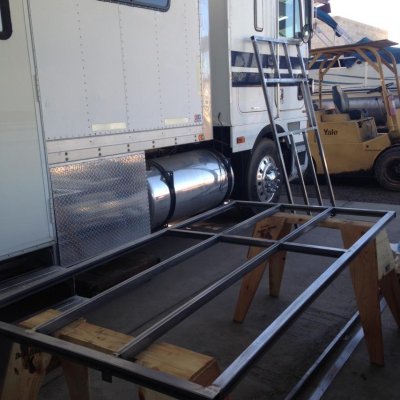
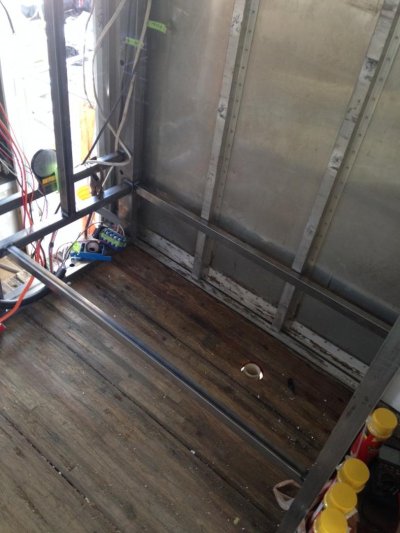
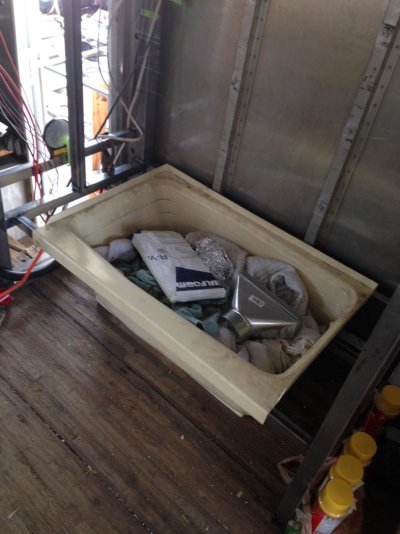
No, I'm just going to make it so it could be removed in the future. To load ,you would need a loading dock. Or a lift ? Think I will leave that to the next guy. LOL Besides you only have 7" to the bathroom wall.
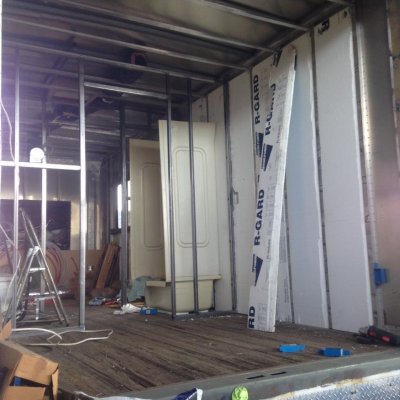
Built it this way more to be able to get the stuff in like the kitchen and bed.Then I will close it up.
Randy
Way to deflate my sails......Here I was trying to make you feel good.....What just a minute ! The front room is only 8 feet long . LOL And there's a kitchen unit.
Yea, sure pick on me....Tandy....LOLLOL
Still snowing up their ?
Sorry, had to.
Tandy
It was snowing here Monday and Tuesday. Got up to 41 yesterday and 45 today! By next Thursday was are supposed to see 70!!!
Yep. I spent most of the day working on an older 50HP boat motor I am trying to sell, plus I want to install this on my trailer:

Then I get to clean up the yard to possibly sell my house, Go to NE Ohio to see my family, put a new roof on my house..... Ah, the joys of warmer weather!!

Then I get to clean up the yard to possibly sell my house, Go to NE Ohio to see my family, put a new roof on my house..... Ah, the joys of warmer weather!!
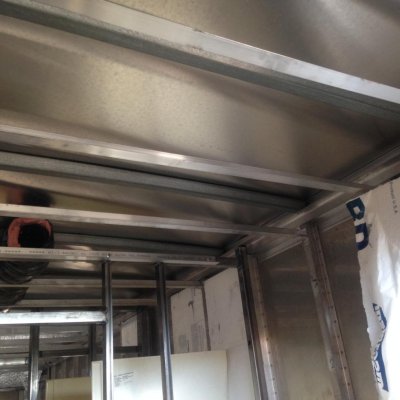
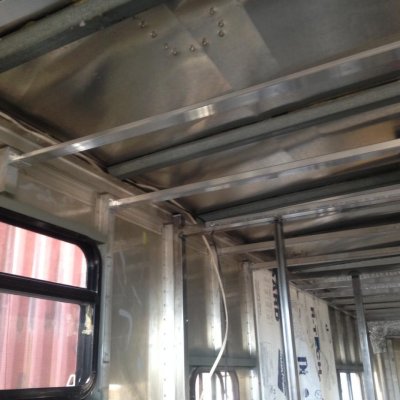
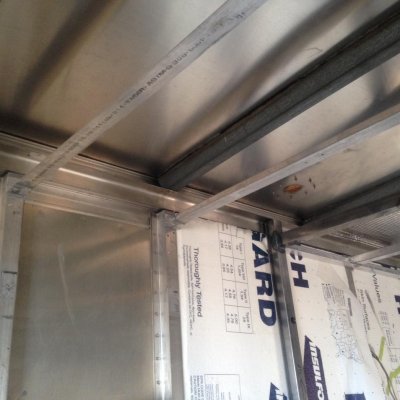
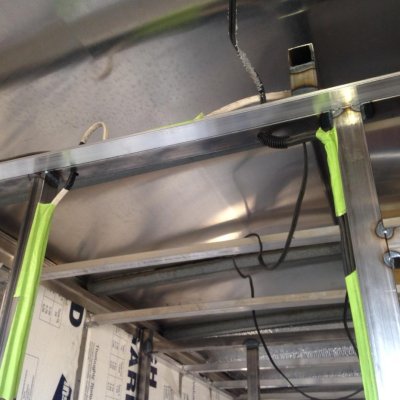
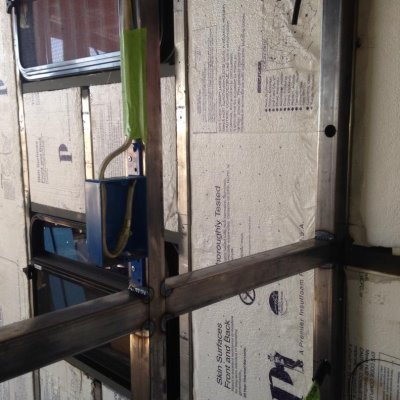
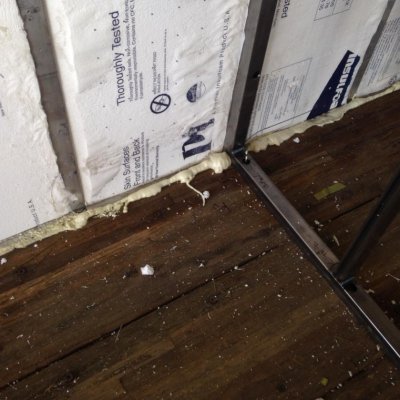
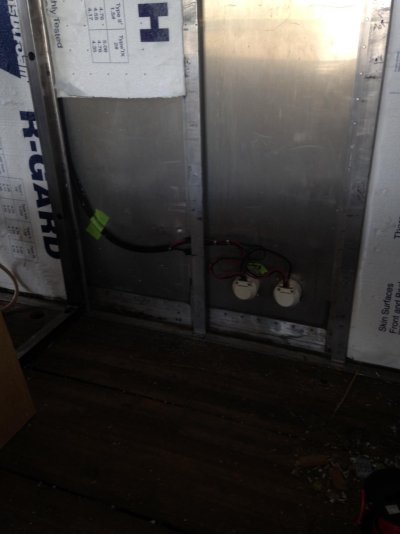
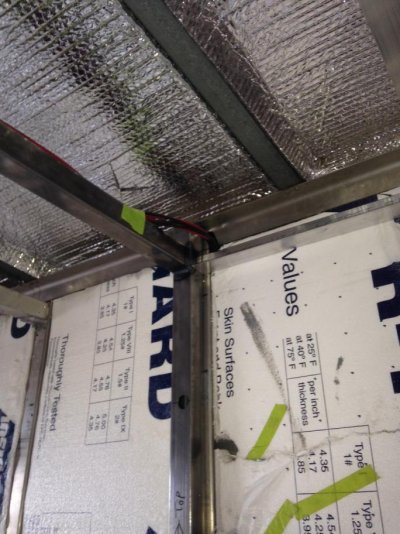
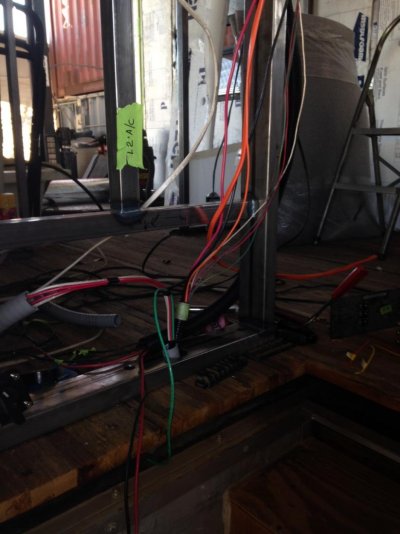
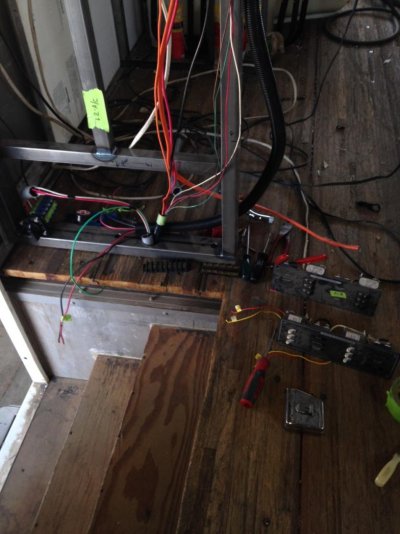
A little more work. Moved the Shore power line and Insulated the rest of the roof.Will need a little bump in the wall but a couch will be their to cover that.
Also got the rig insured . Went with Blue Sky. A little work with underwrites and good to go.
Also got the rig insured . Went with Blue Sky. A little work with underwrites and good to go.
Attachments
38Chevy454
Senior Member
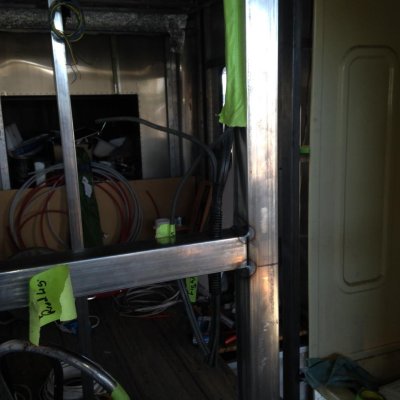
The only good thing about running all the wiring is you know where and how it is ran for future help with any wiring problems. Hopefully you never do have problems, but knowing the full design and layout is valuable.
Try RV LIFE Pro Free for 7 Days
- New Ad-Free experience on this RV LIFE Community.
- Plan the best RV Safe travel with RV LIFE Trip Wizard.
- Navigate with our RV Safe GPS mobile app.
- and much more...


