I get a "DO OVER! "

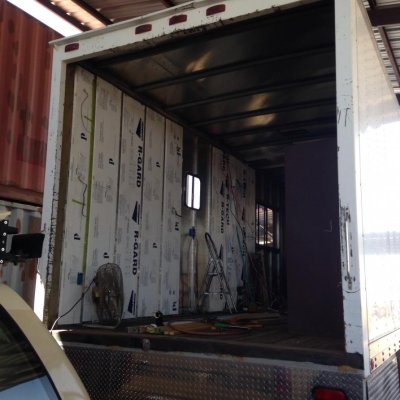
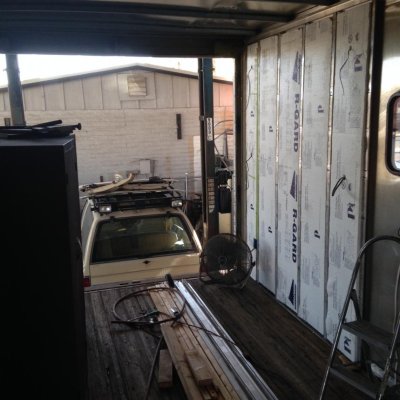
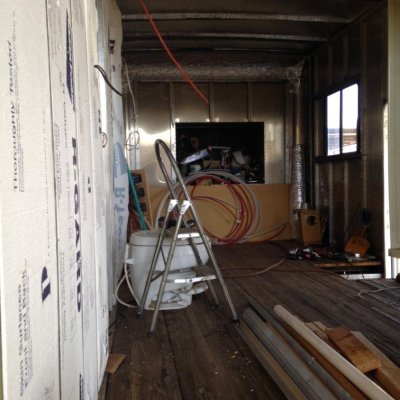
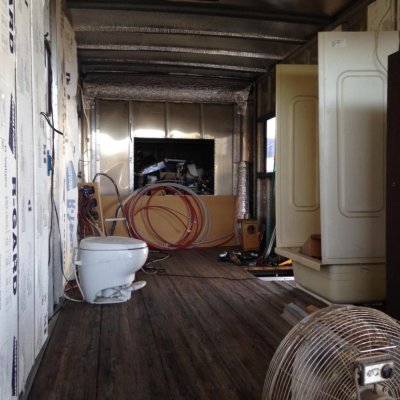
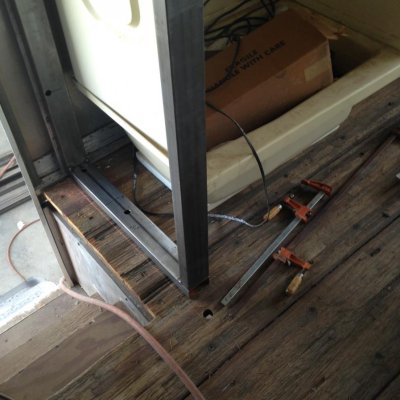
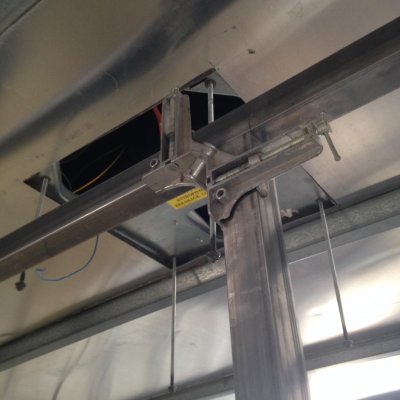
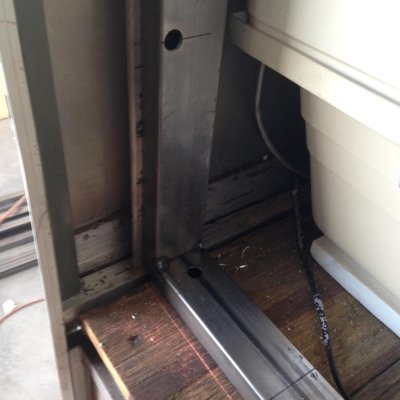
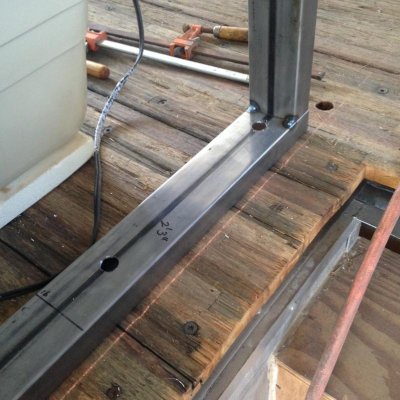
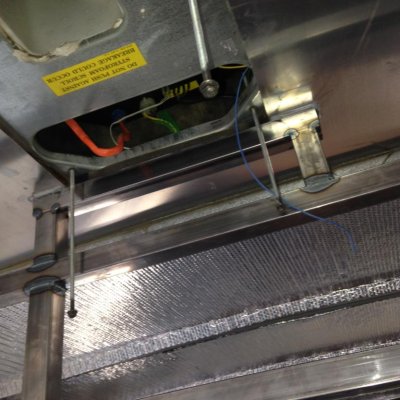
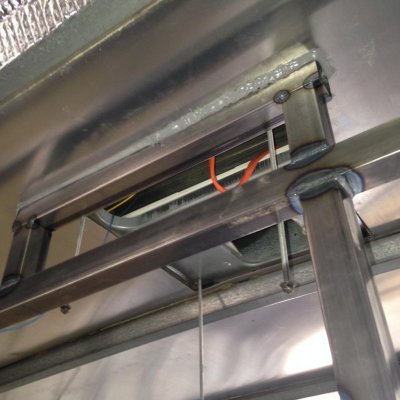
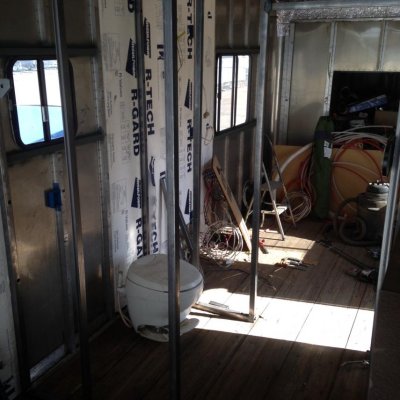
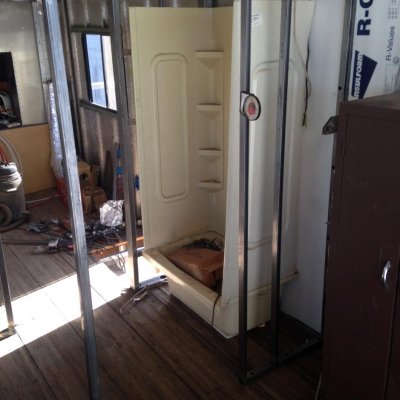
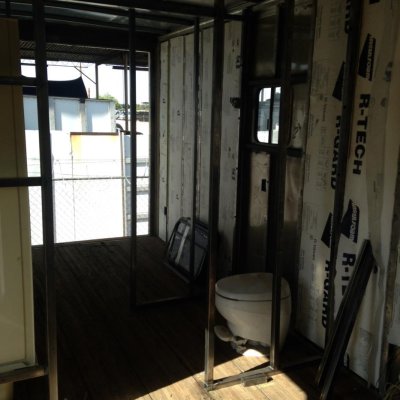
A little more work. Pulled most of the old walls and the floor. Now starting to get a idea what will work ? Also a shot of the reinforcement in and I put some primer on the bare steel. Wouldn't want it to rust. :p

The foam on the floor will not stay. But have been thinking about the thin stuff used under hard wood floors. The plan would be to put the thin foam down then 1/4" hardwood plywood and then cork about 3/8" ?

May even do title in the bath ?

Randy

img_43591_0_b41e6d14a46699d78dda4ce9f696c274.jpg


img_43591_1_bc39f3070aadeaaf258a1ea5206d0065.jpg


img_43591_2_e5b8b1083acce9e552851b3bde1d28ec.jpg
 
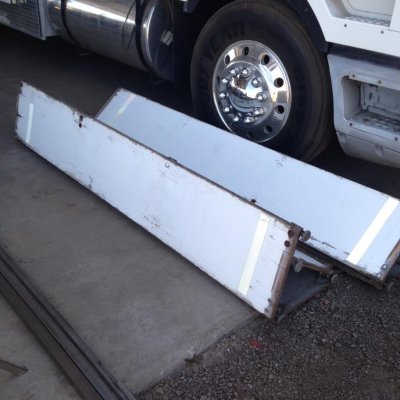
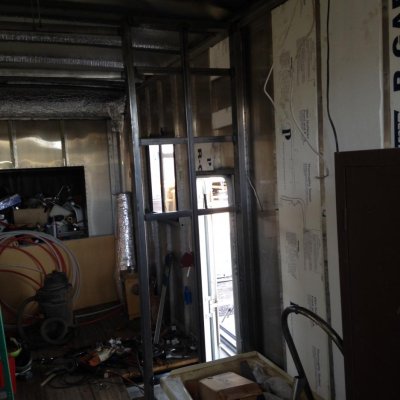
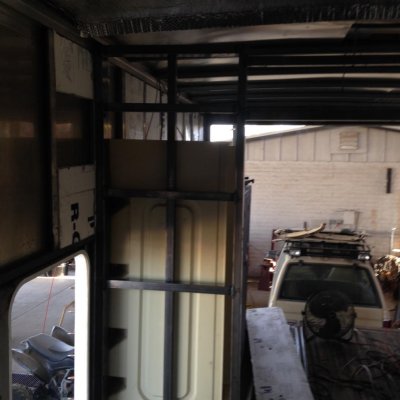
Rear roll up door is out. Now to build some walls !
 

Attachments

  • IMG_0881.jpg
    IMG_0881.jpg
    85.9 KB · Views: 10
  • IMG_0882.jpg
    IMG_0882.jpg
    87.9 KB · Views: 8
  • IMG_0883.jpg
    IMG_0883.jpg
    89.6 KB · Views: 10
  • IMG_0880.jpg
    IMG_0880.jpg
    89.6 KB · Views: 10
Some of you are probably wondering why I pulled this thing apart ? Well ,when I started this I needed it fast and didn't have time to do it a better way. So now I'm doing it a little different and better.
Randy
 
A little pick up and somethings moved to see how it will look ? :eek:
Bath needs some walls ?;)
Randy
 

Attachments

  • IMG_0884.jpg
    IMG_0884.jpg
    90.5 KB · Views: 11
Would be easier to talk with people up front ?:p

Nope ! Not for me. Think I will go with walls.
 
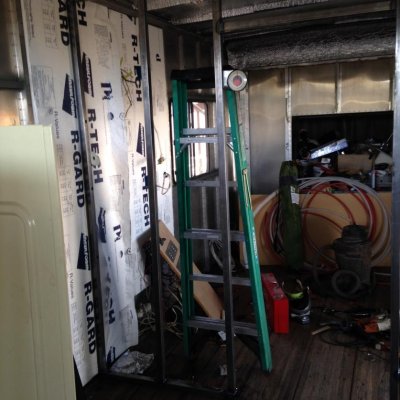
Steel for the new walls. And I need to move all the electric's. What a pain .:rolleyes:
 
Last edited:
Started on the wall/bulkhead.Just need to finish weld. Man,was my box bent . Out of square !:(
 

Attachments

  • IMG_0945.jpg
    IMG_0945.jpg
    87.3 KB · Views: 8
  • IMG_0944.jpg
    IMG_0944.jpg
    81.3 KB · Views: 9
  • IMG_0940.jpg
    IMG_0940.jpg
    82.1 KB · Views: 8
  • IMG_0939.jpg
    IMG_0939.jpg
    93.5 KB · Views: 8
Welded up. Now on to the other walls !
 

Attachments

  • IMG_0946.jpg
    IMG_0946.jpg
    84.2 KB · Views: 9
  • IMG_0947.jpg
    IMG_0947.jpg
    88.4 KB · Views: 9
  • IMG_0948.jpg
    IMG_0948.jpg
    79.6 KB · Views: 8
I had put the wall in a place to help with the load of the A/C on the roof.Glued the upper and welded the rest.
 

Attachments

  • IMG_0950.jpg
    IMG_0950.jpg
    89.7 KB · Views: 9
  • IMG_0951.jpg
    IMG_0951.jpg
    83.8 KB · Views: 10
Got the bedroom wall framing in . I like working with the steel tubing. Its stable,straight and stiff. Need to go look at 3/8" plywood or paneling now.
 

Attachments

  • IMG_0952.jpg
    IMG_0952.jpg
    87.9 KB · Views: 10
  • IMG_0953.jpg
    IMG_0953.jpg
    84.6 KB · Views: 11
  • IMG_0954.jpg
    IMG_0954.jpg
    83.5 KB · Views: 10

Try RV LIFE Pro Free for 7 Days

  • New Ad-Free experience on this RV LIFE Community.
  • Plan the best RV Safe travel with RV LIFE Trip Wizard.
  • Navigate with our RV Safe GPS mobile app.
  • and much more...
Try RV LIFE Pro Today
Back
Top