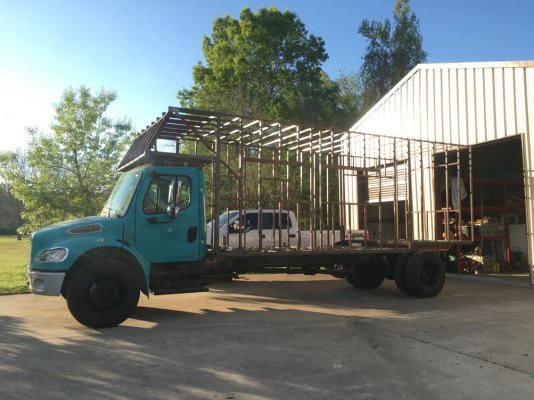
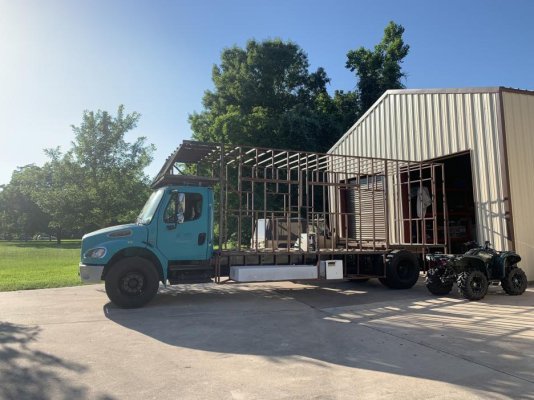
I’m building a motorhome on a Freightliner M2 chassis. I have the living quarters all framed out and I’m ready to skin it. Reading through 3m’s installation instructions for using the VHB tape has me a little nervous. It says not to attach the top or bottom so the panel can contract and expand without warping. Just would like some reassurance from someone else who has attached aluminum panels to their build with VHB tape. Did you take precautions so your panels didn’t warp? I’m using .050 aluminum and plan on using no rivets or screws just VHB tape to hold it on.
You are using an out of date browser. It may not display this or other websites correctly.
You should upgrade or use an alternative browser.
You should upgrade or use an alternative browser.
Warping of aluminum skins when mounted to box
- Thread starter Unlimicon
- Start date
-
- Tags
- panels warping truck vhb tape
I don’t think crowning every panel would be the best option for me. I need it flat when I’m done. I’m asking more about if other people have secured the top and bottom with VHB and also about VHB’ing it to the horizontal pieces like around window and cross braces. I’ll try to get in touch with a 3m tech on the phone today and see if they have any guidance.
solo318
Senior Member
The VHB tape is only designed to have the vertical surfaces bonded. You need to "float" the top and bottom edge within some kind of molding. Once you have the molding in place you can seal the seam (at the molding)with the flexible caulk of your choosing. Also you should invest in the correct primer and make absolutely sure you have cleaned both sides properly.
You also need to develop a flat jig to rest the panel on before you bond it. Once you stick it, there is no getting it back off to straighten it.
Lastly you need to roll the seams with a roller. The tape is semi anaerobic and you have to squeeze the air out of the foam and put a certain amount of pressure on the tape.
solo318
Senior Member
Do you have room to store the whole thing inside? You would make life a lot easier if you finished the inside walls first. then skin the outside last. Many of the big names do it this way. I had to build mine outside so I know the headaches of doing the outside first.
Doug Ambrisko
Member
- Joined
- Aug 16, 2012
- Messages
- 23
When we did ours, we attached the outside panels with tape all around and then I did Sikaflex around the inside to be double sure they didn't come off. After that we spray foamed and put up plywood. We haven't had any issue with 9.5' high panels that are exposed to direct southern sun. They probably move a bit with expansion and contraction. We didn't use VHB but a competitive tape. I mis-calculated and have a bunch left over for where the panels mount to the frame and the 1" overlap. Let me know if you want some. We should write a book, 101 uses for double sided tape! We also used it help attach the plywood since a lot of the internal walls captured the plywood with windows, cabinet and trim. It doesn't work so well with wood on the ceiling but was good enough to keep it from moving when we screwed it up and then covered the screws with trim. It might provide a bit of a thermal break.
Solo318, I am building it inside. What are the advantages of doing the inside wall coverings first? Also I ended up scratching the idea of using 3m tape and went with Sikaflex 252. I’m just now starting to put aluminum panels under my box and around the back and bottom of the storage compartments. Next step for me is to trim that out then start on the roof. I still have two or three more pieces of tube to weld in also. I put a halt on working on it during the summer to spend time with the family and it was just too hot.
Attachments
solo318
Senior Member
The advantages are many. first off, you have much better access for cutting outlets and plumbing holes. The time savings in plumbing and wiring alone would be worth it. It's A LOT easier to do it from the outside. Second, if you are using spray foam, you can use a hot wire cutter and smooth it all out. even if you are using foam panels they will be easier to put in from the outside. third when you miss a crew or nail on the inside work, you won't punch holes in the outside skin, and if you have to move something around, to make a change, you will have an easier time.
Update pictures
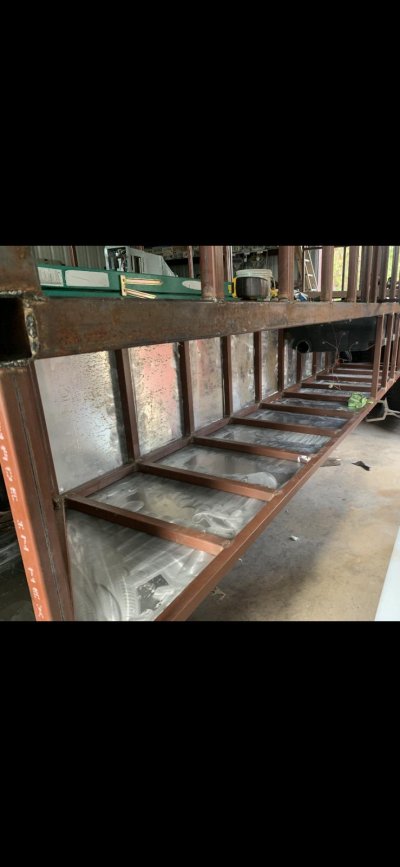
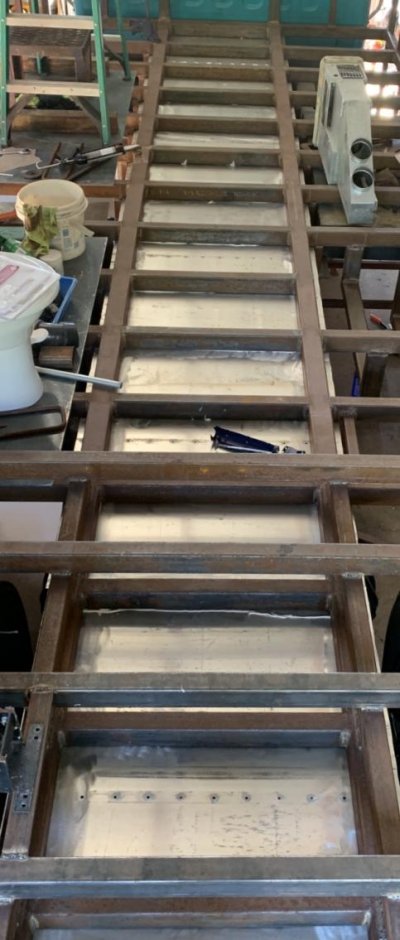
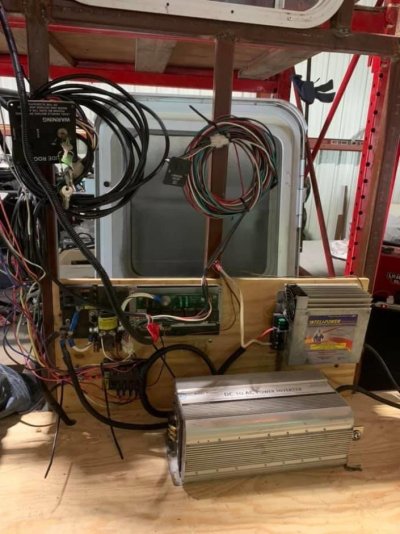
I took the advise of doing the inside first. It has made things way easier. 110v amd 12v is wired up. Plumbing is almost done. Roof and floor decking is done. I’m gonna put the skins on before I do the inside paneling. The insulation is supposed to be 1 1/2” like the tubing but it’s a hair thicker and I don’t want to fight the panels to get them flat when installing
I took the advise of doing the inside first. It has made things way easier. 110v amd 12v is wired up. Plumbing is almost done. Roof and floor decking is done. I’m gonna put the skins on before I do the inside paneling. The insulation is supposed to be 1 1/2” like the tubing but it’s a hair thicker and I don’t want to fight the panels to get them flat when installing
Attachments
-
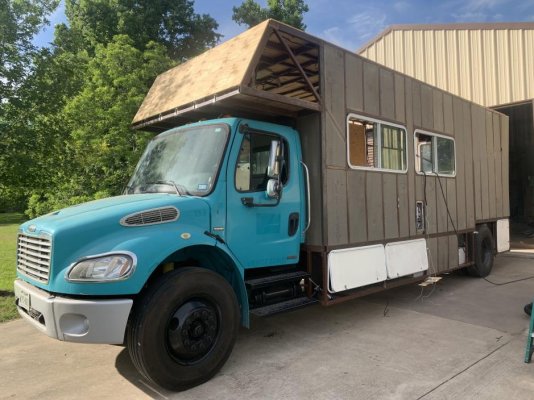 9B638F4A-C2FA-4925-8AAA-6E21F6546218.jpg111.9 KB · Views: 20
 -
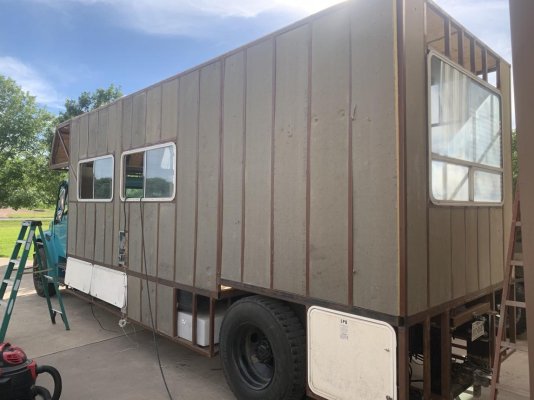 1D2C818A-B4D2-45E1-91FB-39891F234D26.jpg108.4 KB · Views: 26
 -
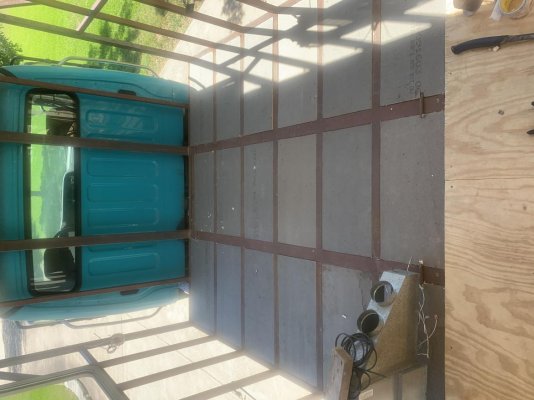 47363BEE-5262-471A-B8F3-5331A4E2741B.jpg111.5 KB · Views: 19
 -
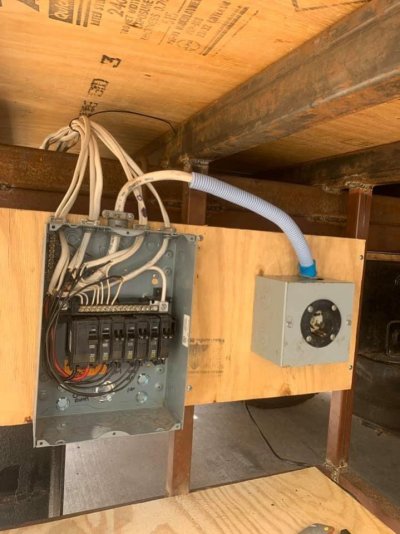 71B606B3-CB9C-4078-A237-4710600D0034.jpg83.1 KB · Views: 17
 -
 5215407F-2DAB-4D82-A7CA-5C722317A121.jpg94.7 KB · Views: 20
solo318
Senior Member
what kind of insulation? If it's foam, you can make a hot wire cutter and just run it up and down the wall studs. They cut like butter and there is several diy videos on making them.
Are you riveting the panels or vhb tape? If you rivet the panels then they will wrinkle when the heat and cool. That's just what they do.
Are you riveting the panels or vhb tape? If you rivet the panels then they will wrinkle when the heat and cool. That's just what they do.
It’s polyiso with fiberglass coated paper on each side. I don’t want to cut off the fiberglass coating to make them flush and lose some of the r value. Once the aluminum panels are up and the glue is dry I’ll attach the interior paneling with screws To sandwich the insulation in. If It looks like it’s gonna deform the paneling I’ll install thin furring strips to the interior walls first. I’m using Sikaflex to bond the panels to the frame and vhb tape at the panel to panel connections.
solo318
Senior Member
that should work. I had to use firing strips on mie to get the thickness I wanted in the spray foam. Also a firing strip will help keep the walls from sweating at the steel studs. There is effectively no r value at the studs.
I ended up using vhb on the skins for the entire camper. The aluminum I bought was coated white on both sides and the sikaflex would not stick. I had the back skinned and after 24 hours it pulled right off. I had to clean it up and use the 3m tape. Sikaflex work great for the bare metal to metal adhesion on the boxes though.
Similar threads
- mxracin
- Building Your Own
- Replies: 12
- Views: 13K
Try RV LIFE Pro Free for 7 Days
- New Ad-Free experience on this RV LIFE Community.
- Plan the best RV Safe travel with RV LIFE Trip Wizard.
- Navigate with our RV Safe GPS mobile app.
- and much more...


