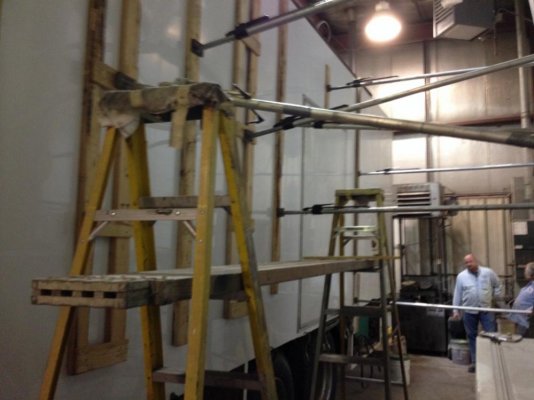
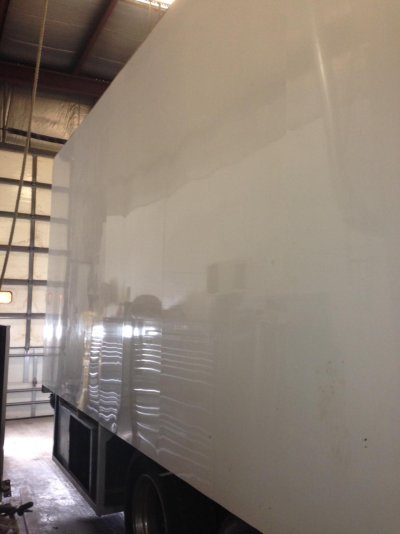
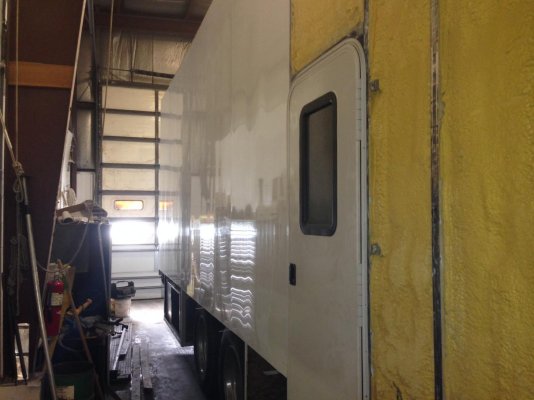
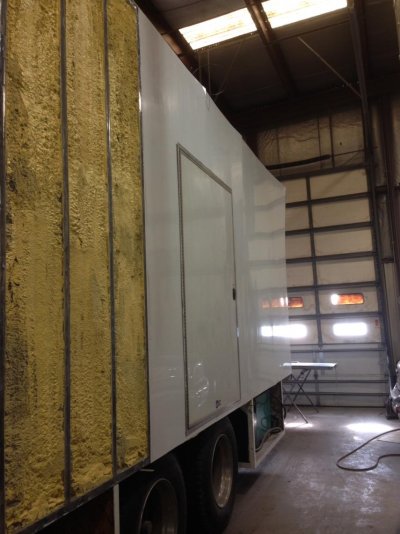
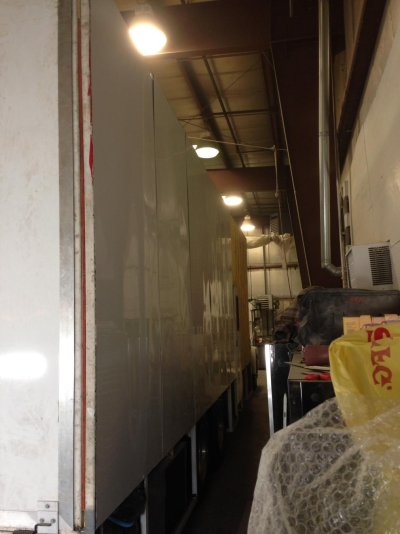
starting to build motorhome

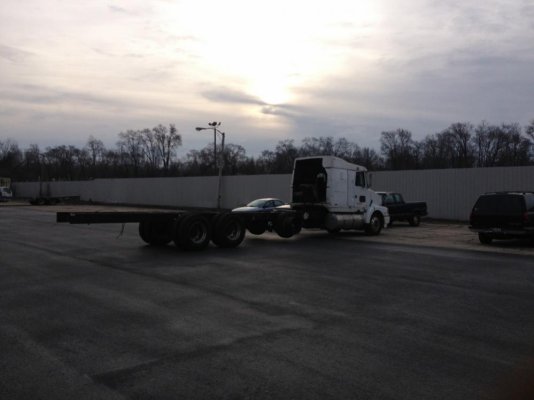
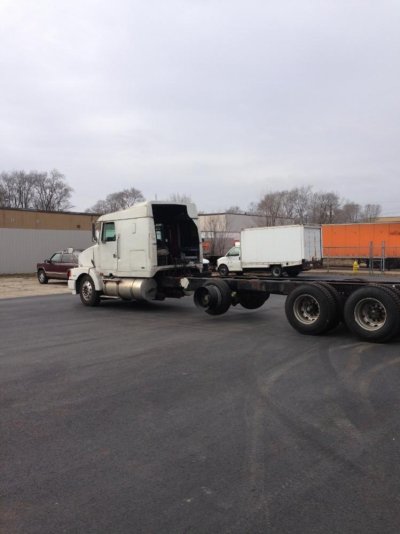
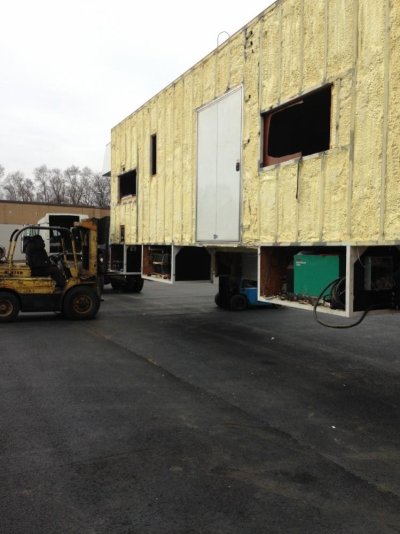
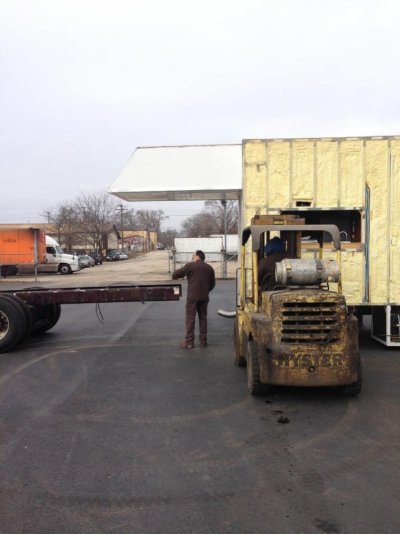
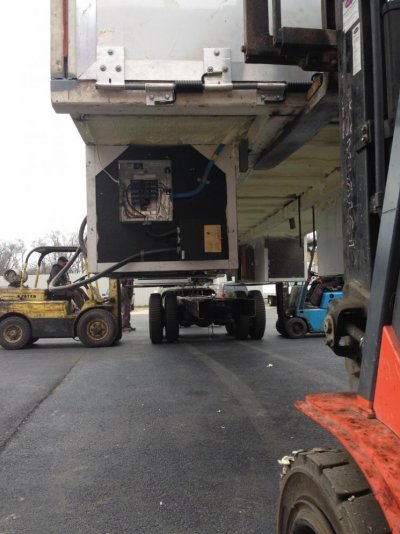
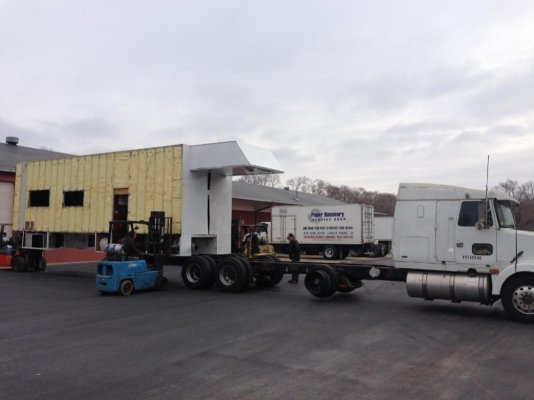
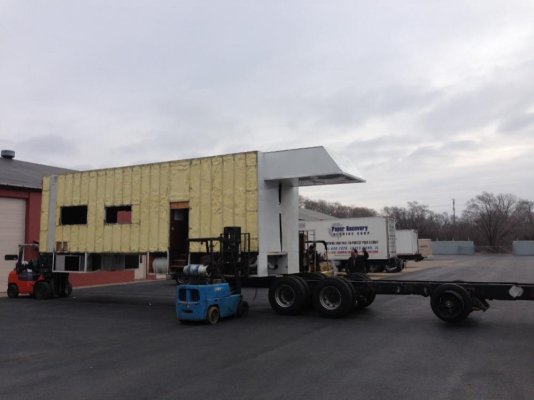
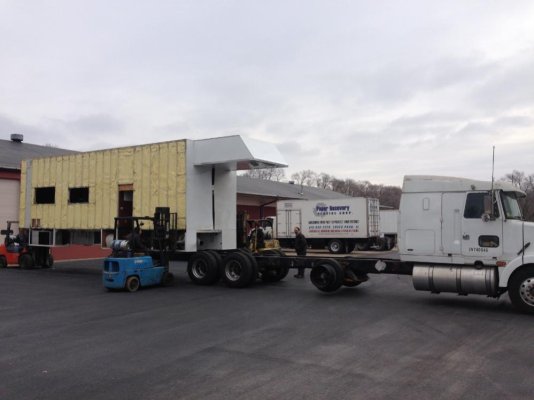
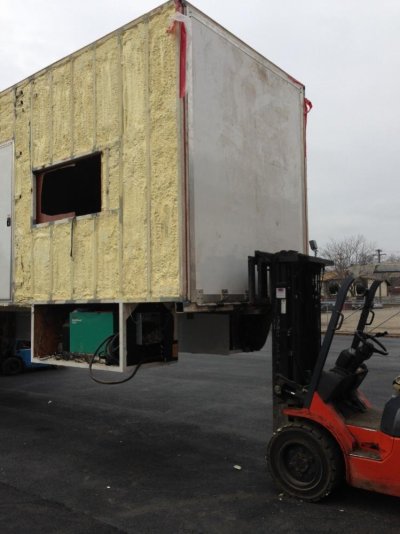
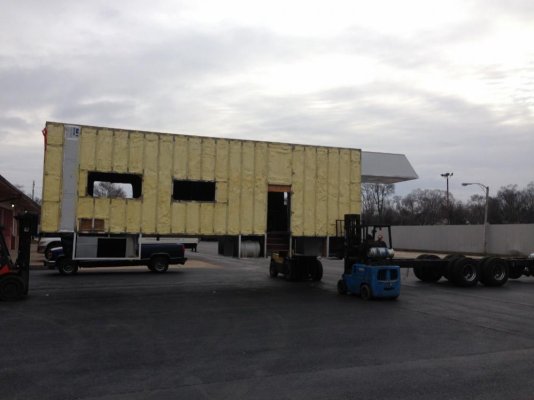
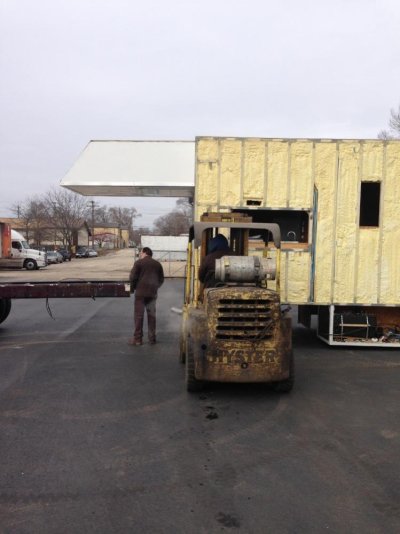
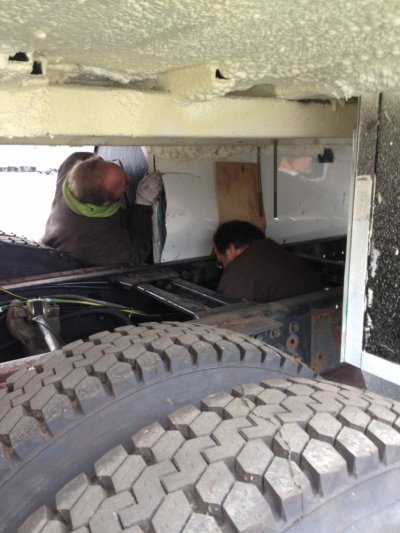
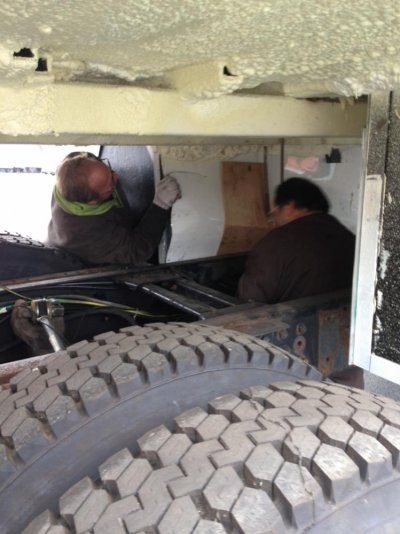
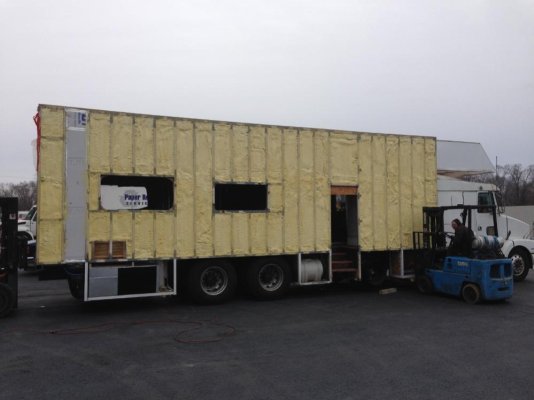
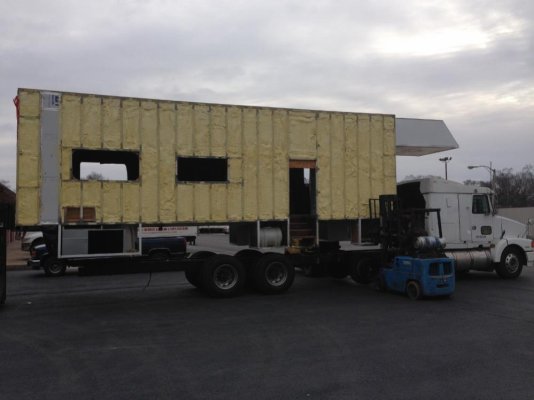
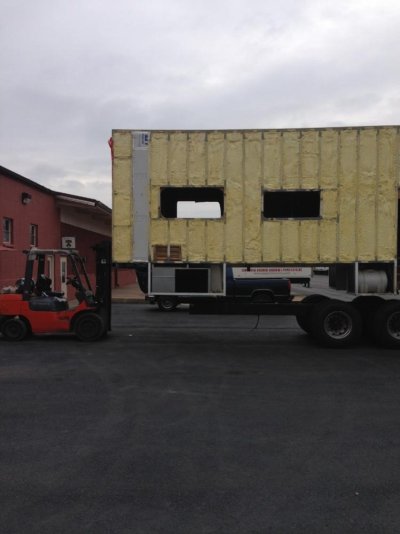
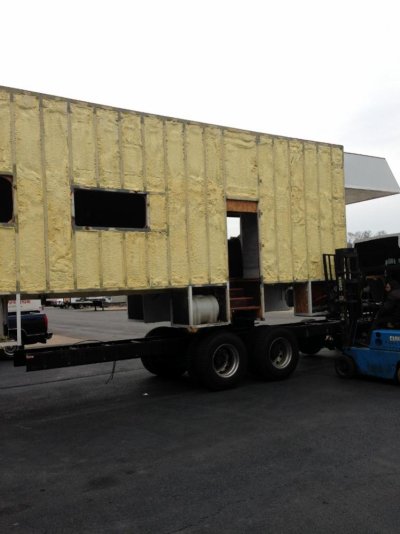
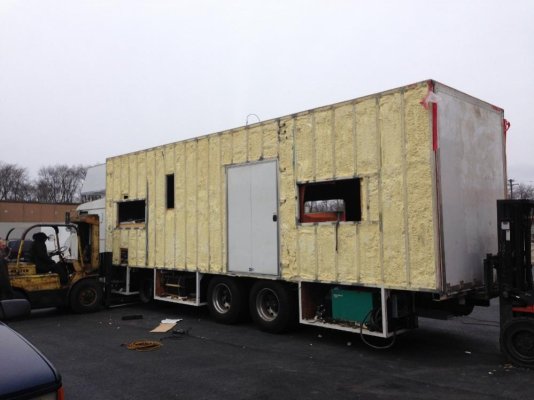
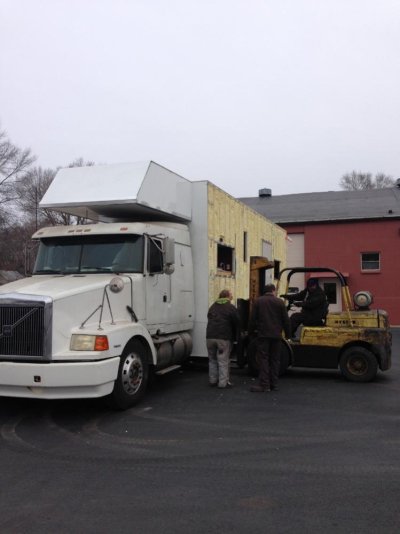
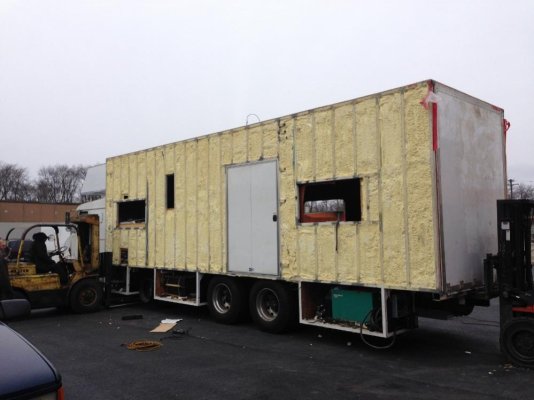
got motorhome put back on chassis this week. took about 2 hrs in 20 deg. weather outside. my guys didn't complain doing it outside.went better than expected. broke 1 air line when suspension was lowered. cut end of line off and reconnected. hooked exhaust pipe to muffler. cleaned out inside. will have my son post pictures tomorrow. taking it to body shop for siding to be finished tomorrow if it quits snowing.
 
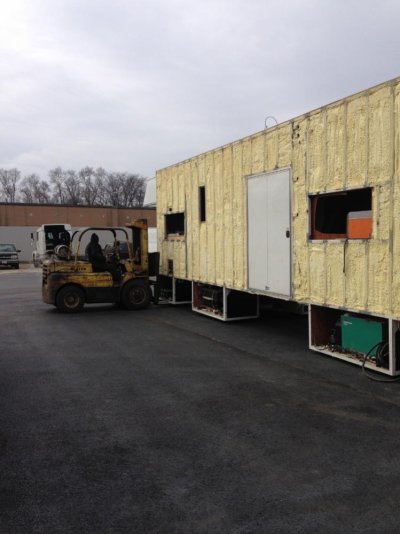
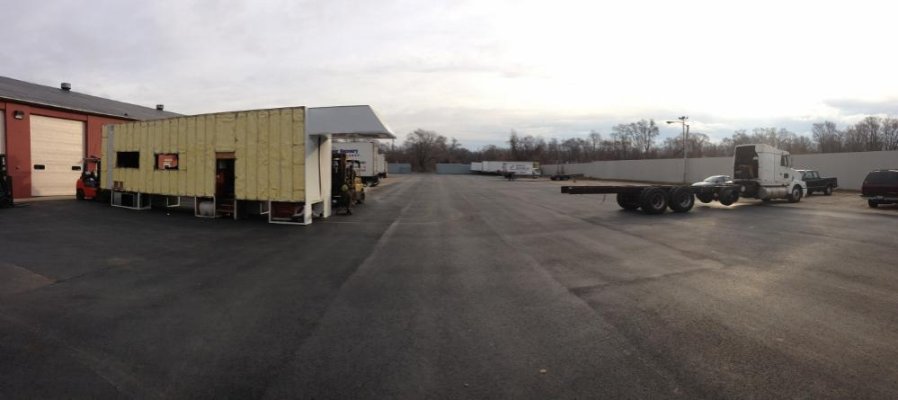
Updated pictures: putting the shell back on frame
 

Attachments

  • 118.jpg
    118.jpg
    53.4 KB · Views: 33
  • 117.jpg
    117.jpg
    62.7 KB · Views: 37
  • 120.jpg
    120.jpg
    79.7 KB · Views: 33
  • 119.jpg
    119.jpg
    40.4 KB · Views: 31
  • 121.jpg
    121.jpg
    90.6 KB · Views: 27
Updated pictures: putting shell back on frame
 

Attachments

  • 122.jpg
    122.jpg
    75.7 KB · Views: 19
  • 123.jpg
    123.jpg
    97.5 KB · Views: 19
  • 124.jpg
    124.jpg
    58.7 KB · Views: 19
  • 125.jpg
    125.jpg
    54.6 KB · Views: 16
  • 126.jpg
    126.jpg
    59.6 KB · Views: 17
Updated pictuers: Putting shell back on frame, had to "modify" the back of one cabinet to get clearnce
 

Attachments

  • 127.jpg
    127.jpg
    79.5 KB · Views: 14
  • 128.jpg
    128.jpg
    58.1 KB · Views: 14
  • 129.jpg
    129.jpg
    75 KB · Views: 12
  • 130.jpg
    130.jpg
    93.8 KB · Views: 21
  • 131.jpg
    131.jpg
    86 KB · Views: 15
Updated pictures: putting shell back on frame
 

Attachments

  • 135.jpg
    135.jpg
    62.2 KB · Views: 12
  • 134.jpg
    134.jpg
    58.9 KB · Views: 11
  • 132.jpg
    132.jpg
    58.7 KB · Views: 11
  • 133.jpg
    133.jpg
    71.9 KB · Views: 11
  • 136.jpg
    136.jpg
    72.8 KB · Views: 11
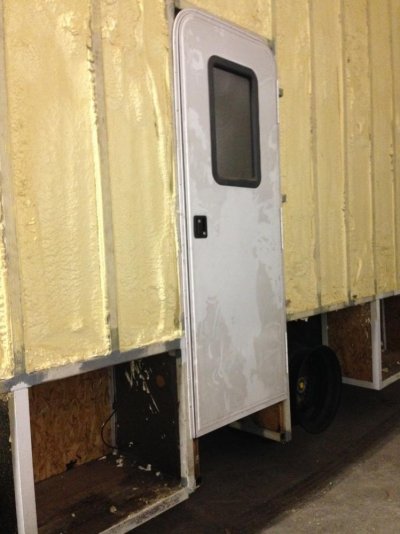
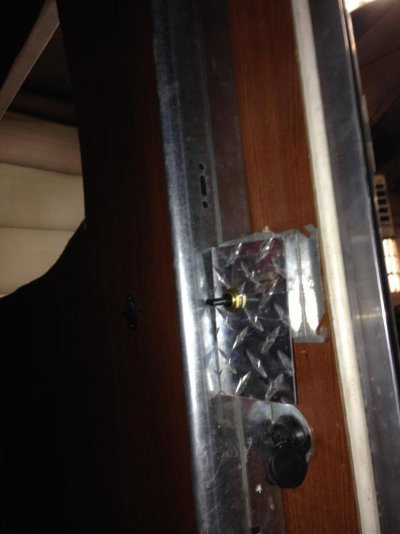
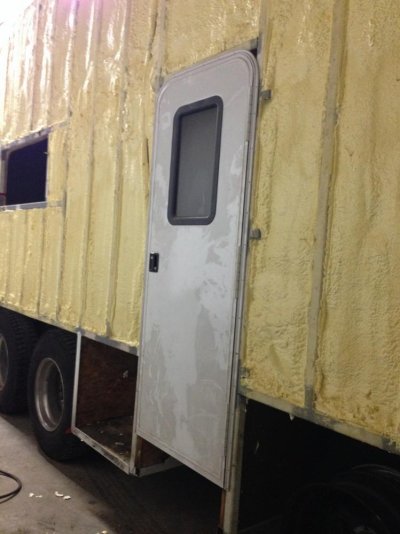
Updated pictures: putting shell back on frame, pictures of side entry door and toggle switch for bed/door control
 

Attachments

  • 136.jpg
    136.jpg
    72.8 KB · Views: 12
  • 137.jpg
    137.jpg
    60.5 KB · Views: 16
  • 138.jpg
    138.jpg
    79.1 KB · Views: 14
  • 139.jpg
    139.jpg
    52.8 KB · Views: 14
  • 140.jpg
    140.jpg
    79.3 KB · Views: 16
Updated pictures: air lines for toggle switch to control bed/door
 

Attachments

  • 141.jpg
    141.jpg
    89 KB · Views: 11
thanks kenn.
we borrowed one from the shop next door that a side shift on it to use on the rear. sure helped out to line up.
 
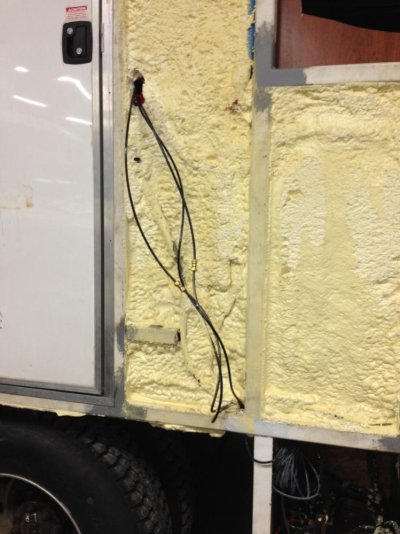
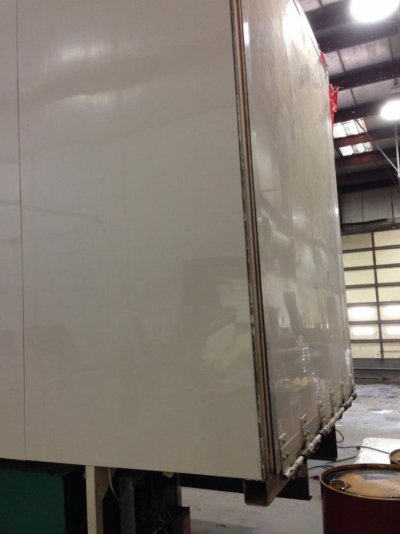
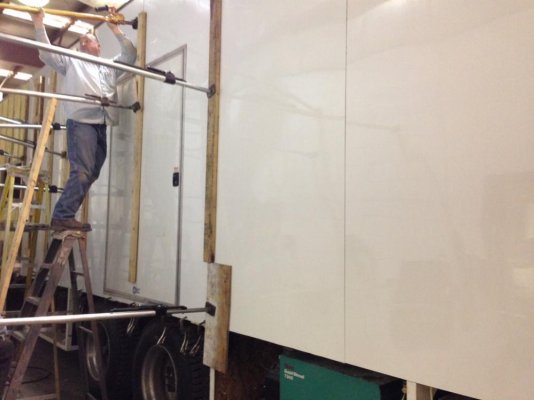
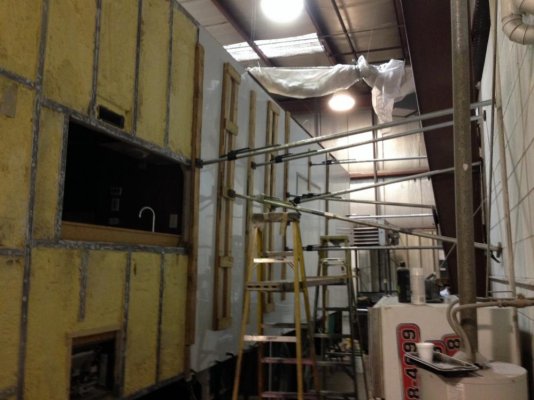
starting to skin the out side of shell
 

Attachments

  • photo 1(3) (750x1000).jpg
    photo 1(3) (750x1000).jpg
    51.5 KB · Views: 20
  • photo 2(5) (1000x750).jpg
    photo 2(5) (1000x750).jpg
    61 KB · Views: 21
  • photo 3(2) (1000x750).jpg
    photo 3(2) (1000x750).jpg
    84.8 KB · Views: 20
  • photo 4 (1000x750).jpg
    photo 4 (1000x750).jpg
    71.9 KB · Views: 18
its a 3m product # 08274. smc/fpr-90. its a 2 part epoxy. both tubes are wrapped together and go in a chalk gun.
 
Updated pictures

updated pictures of the passenger side
 

Attachments

  • photo 2.jpg
    photo 2.jpg
    101.1 KB · Views: 20
  • photo 3.jpg
    photo 3.jpg
    108.2 KB · Views: 23
  • photo 4.jpg
    photo 4.jpg
    113.5 KB · Views: 24
  • photo 1.jpg
    photo 1.jpg
    108 KB · Views: 20
Very nice, I'm not sure if this has been asked before but what is the overall length? what is the wheel base?
 
sorry it took so long to reply. had to send my son to body shop to measure wheel base. wheel base is 332 1/2" . motorhome is 45' long. it's a tandem axle with a tag axle between steer axle and front tandem. so it has a total of 4 axles.
 

Try RV LIFE Pro Free for 7 Days

  • New Ad-Free experience on this RV LIFE Community.
  • Plan the best RV Safe travel with RV LIFE Trip Wizard.
  • Navigate with our RV Safe GPS mobile app.
  • and much more...
Try RV LIFE Pro Today
Back
Top