Freightliner M2 Build

12/18/13 Day 126

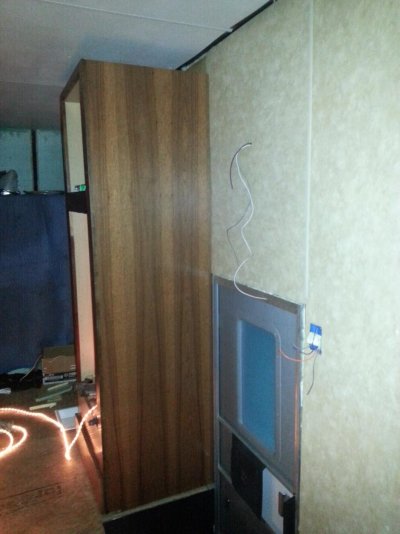
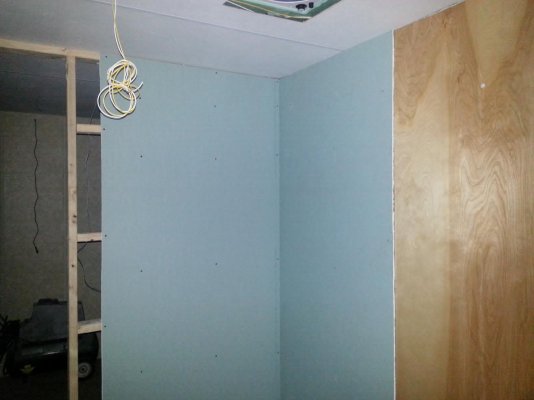
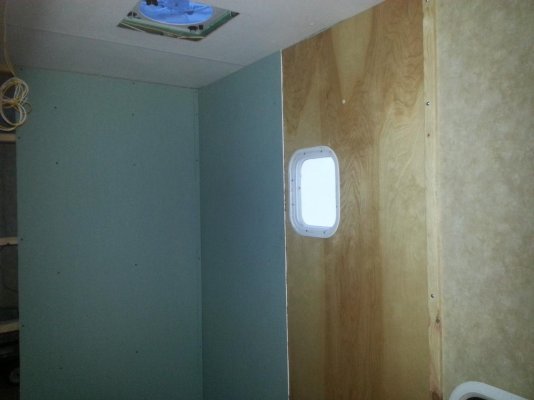
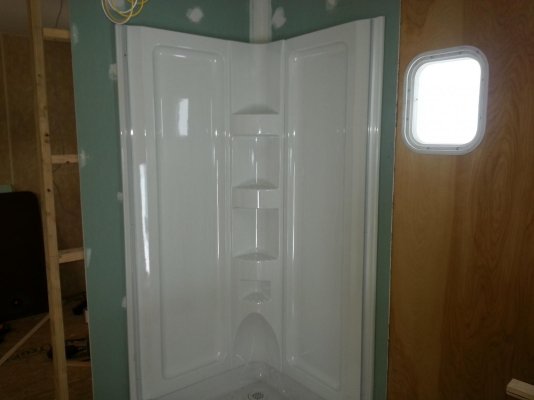
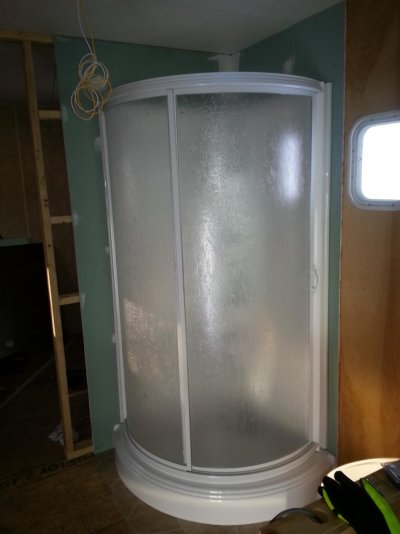
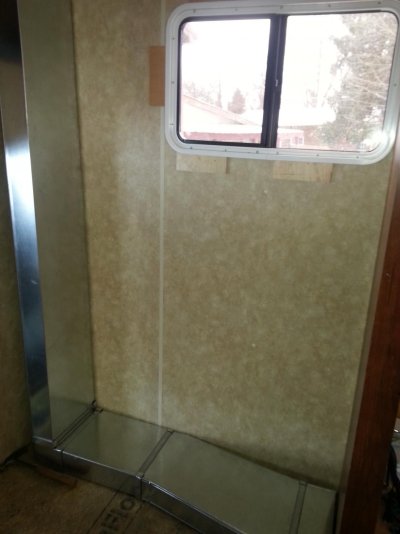
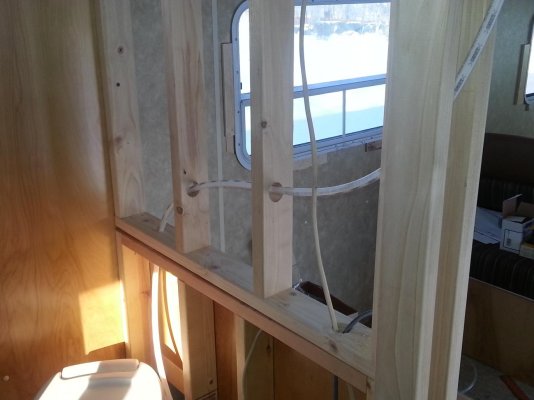
The directions(yes I read most of it) for the shower called for the walls to be glued to drywall and not plywood or paneling so I followed it. Two sheets used in the corner and I'm using a wood paneling in the rest of the bathroom. Picked that up at the Kraftmaid Outlet store in Warren Ohio for $4 a sheet. Cant beat that. Using it also in the bunk over the cab. The tall cabinet in the other pic is also from the outlet store and cost $25. Its designed for an oven but we are using it for the refrigerator. One of the many challenges of doing a job like this is planning all the wiring. You have to go over everything a million times so you don't forget something(but probably will anyway). The switch by the door will have three rocker switches for the outside lights, the under cabinet lights and the main overhead lights. The wires hanging in the bathroom is for the fan and it will come down inside the wall when its built.
 

Attachments

  • 20131218_172540.jpg
    20131218_172540.jpg
    106.3 KB · Views: 16
  • 20131218_172603.jpg
    20131218_172603.jpg
    102.2 KB · Views: 15
12/22/13 Day 130

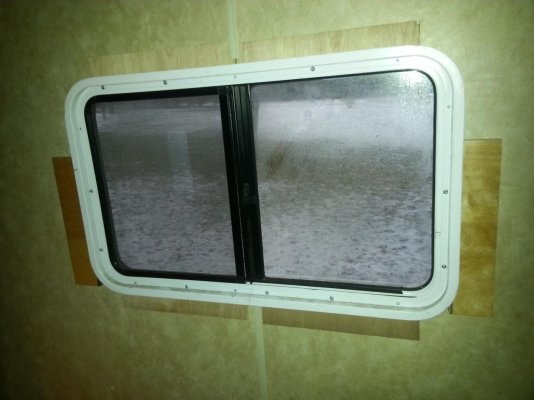
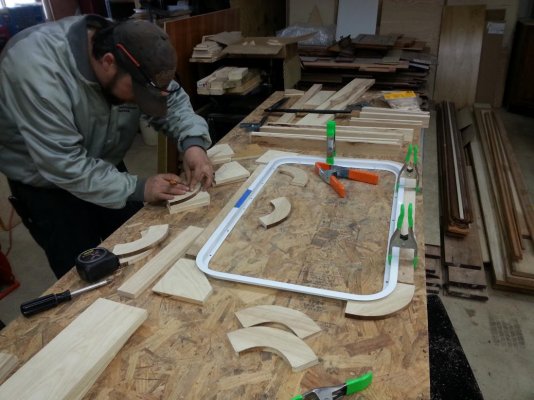
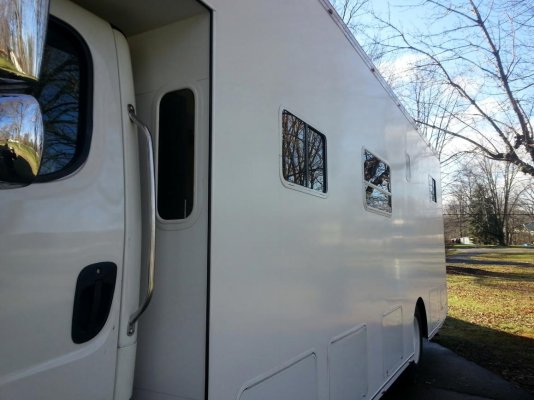
Windows are all in but not without a hitch. When you buy surplus items, you have to take the good with the bad. The small bathroom window is designed for a 1 1/4" wall so its a little small for us and there is a little gap between the inside ring and the window. Its tight so no big deal other than looks. The flip side of that are our big windows. They are designed for a 2" wall so they are loose. We used shims to hold the windows tight to the outside body so the silicone will set in the right place. That's Matt in the wood shop learning how to make a 1/2" thick hickory window frame to replace the shims. The bottom corners will be rounded like the ring but the top square so we can do something to be determined with curtains later. Notice the snow melted as it got up to 50 degrees! Sweet, maybe the silicone will set up!
 

Attachments

  • 20131220_085232.jpg
    20131220_085232.jpg
    99.3 KB · Views: 12
  • 20131220_085043.jpg
    20131220_085043.jpg
    106.9 KB · Views: 14
  • 20131231_130557.jpg
    20131231_130557.jpg
    117.8 KB · Views: 16
  • 20131222_130138.jpg
    20131222_130138.jpg
    112.7 KB · Views: 16
12/24/13 Day 132

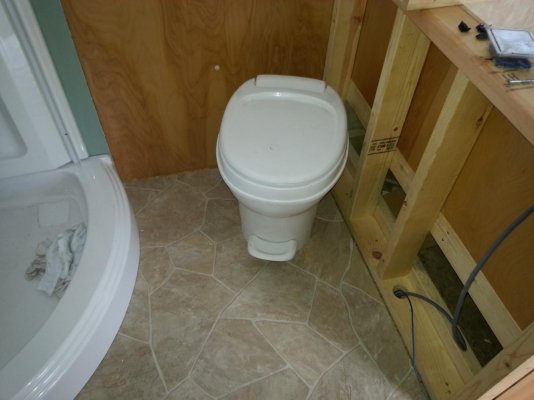
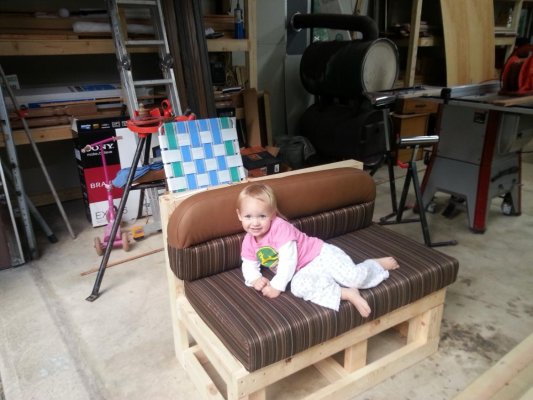
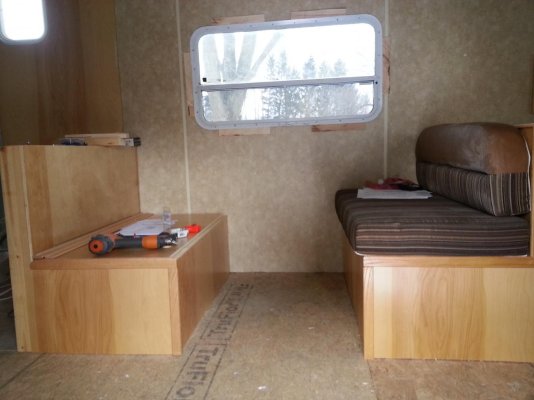
Shower base, drain lines and walls are in place. Behind the shower, the tank vent lines where extended up through the roof. Vinyl installed on the bathroom floor. The back of the dinette also serves as part of the bathroom wall. I built it back a few months ago when it was a lot warmer as you can tell by the way my granddaughter Ava is dressed.
 

Attachments

  • 20131231_130145.jpg
    20131231_130145.jpg
    91.2 KB · Views: 19
  • 20131231_130418.jpg
    20131231_130418.jpg
    105.7 KB · Views: 20
  • 20130813_193306.jpg
    20130813_193306.jpg
    117.1 KB · Views: 20
  • 20131231_130108.jpg
    20131231_130108.jpg
    107.4 KB · Views: 21
12/31/13 Day 139

Shower is complete. I know its not possible to make everything in the USA but if you make it in China, could you at least have an American with a high school education do the instructions. I lost count of the errors in them which includes the mistakes they caught and included on a separate correction sheet. Off the soapbox...
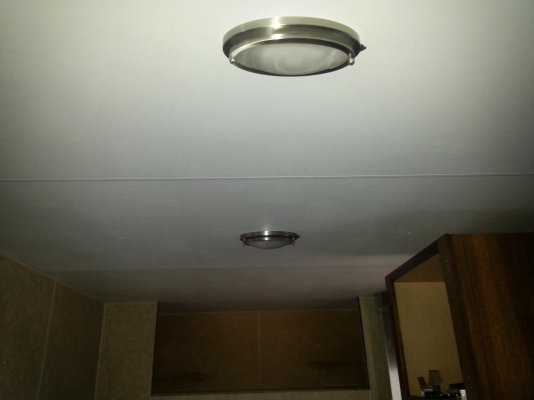
The main ceiling lights have been installed and the bunk is complete except for the molding around the edge of the opening.
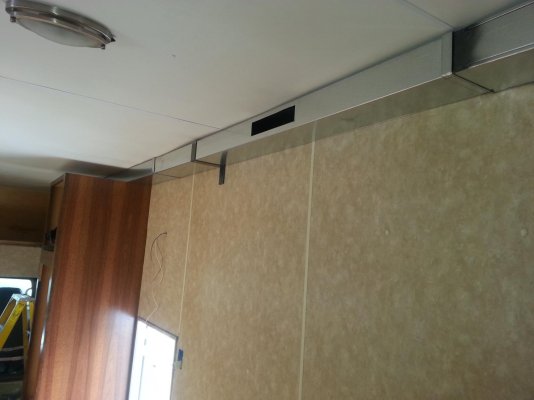
Robert got the duct work fabricated and installed from the heat pump up to the ceiling. He now has to fab the part across the ceiling. Remember back at the beginning of the interior work when I said the ceiling panels were shorter than the ceiling width and you may have noticed it in some of the pics. This duct work will hide the shortage.
 

Attachments

  • 20131231_150354.jpg
    20131231_150354.jpg
    104 KB · Views: 15
  • 20140101_083303.jpg
    20140101_083303.jpg
    98.4 KB · Views: 15
  • 20131231_130234.jpg
    20131231_130234.jpg
    103.1 KB · Views: 14
  • 20131231_130511.jpg
    20131231_130511.jpg
    105.9 KB · Views: 17
progress

WOW!!!!!!! I can't believe how much you have done in such a short time. It looks great and I know what you mean about thinking of all the wiring. Are you on a deadline because of your race season? Keep up the great work Kenn
I have been told that the made in China manufactures use computer translation programs to write there directions. I bought a lathe from China and I was willing to settle for an inferior machine because of the price difference but when I tried to read the instruction manual for the DRO I couldn't even understand what they were trying to say.
 
My theory when running wiring on something like that is run lots more wires than you think you need while the walls are open and easy to get to. Both 12v and 110v. If you think you might add something later, run the wire. You can just leave them unterminated inside the wall or ceiling, and label each end. That will make life way easier when you remember that one item you forgot to run the wire for, or add something later. I know wire isn't cheap, but I figure the cost is way easier than fishing wires through impossible places later. Even just if you drop from your main switch panel or breaker box down through the floor where you can get to the wire to extend it later would be nice.
 
WOW!!!!!!! I can't believe how much you have done in such a short time. It looks great and I know what you mean about thinking of all the wiring. Are you on a deadline because of your race season? Keep up the great work Kenn
I have been told that the made in China manufactures use computer translation programs to write there directions. I bought a lathe from China and I was willing to settle for an inferior machine because of the price difference but when I tried to read the instruction manual for the DRO I couldn't even understand what they were trying to say.

The main deadline is the 24 hrs of Daytona. I already have a reserved parking spot for a camper so there is no turning back now. The plan is to drive this thing south somewhere around Jan. 18 or 19th. So in the next two weeks, I need the bathroom functional. So getting the interior wall up and the water tank, pump, hot water tank and lines in place is the big push. 110v electrical box install is a must too. Trim and cabinets are nice to have items at this time. Gas lines are not run but I finished the grill install last week and can sit a propane tank beside it and cook. Refrigerator will get installed but may only be run off the supplied 110v electric at the track and save the gas hook up till we get home. Plenty of time to get things done but the weather forecast is my biggest problem. No real good heat source in the truck and a forecast that has 4-8" of snow coming today and only one day in the next 10 days to even get up to 30 degrees means some poor working conditions. When it hit the 40's last week, it felt like 60's and I was working some long days. When the hi is only 10, its going to be hard to work too long. The wood burner in the shop will be used a lot to warm back up!
 
My theory when running wiring on something like that is run lots more wires than you think you need while the walls are open and easy to get to. Both 12v and 110v. If you think you might add something later, run the wire. You can just leave them unterminated inside the wall or ceiling, and label each end. That will make life way easier when you remember that one item you forgot to run the wire for, or add something later. I know wire isn't cheap, but I figure the cost is way easier than fishing wires through impossible places later. Even just if you drop from your main switch panel or breaker box down through the floor where you can get to the wire to extend it later would be nice.

Good idea. I have all colors of wire from wiring the dragsters so running extra 12v lines will be easy. I think I have a handle on the 110v lines and you are right, I can always run a line under the coach later on.
 
Awesome project!!! Thanks for all the pics. What size water tanks did you use? Where did you mount them and where did you buy them?
Keep up the good work and good luck!!!
Thanks, Dick
 
Awesome project!!! Thanks for all the pics. What size water tanks did you use? Where did you mount them and where did you buy them?
Keep up the good work and good luck!!!
Thanks, Dick

The fresh water tank will be under the bed and its 100 gallon. The grey(80 gal) and the black(46 gal) are located under the bathroom/dinette. I bought them from RV Parts Nation. I was at their store in Elkhart In. and these were the tanks they had in stock that was closest to what I thought we needed.
 
1/2/14 Day 141

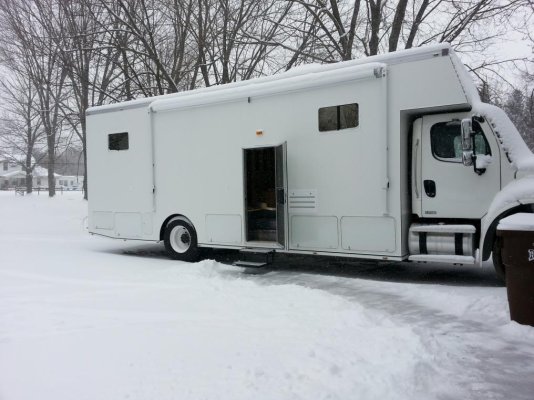
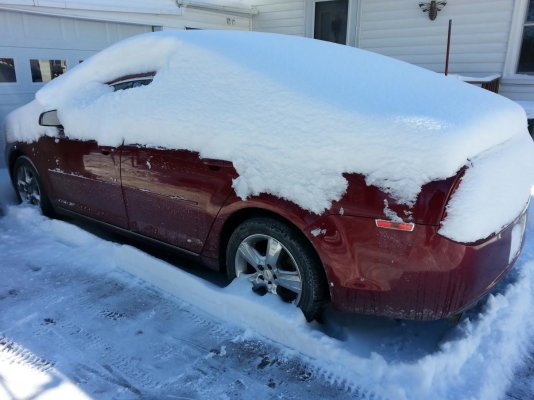
First pic was what it looked like before we got another 6" of snow today. High was 24 degrees and I just left the door open and didn't use a heater. I was in and out so much, it would not have helped plus the snow would have melted everywhere. At the end of the day, I just brushed the snow back out the door.
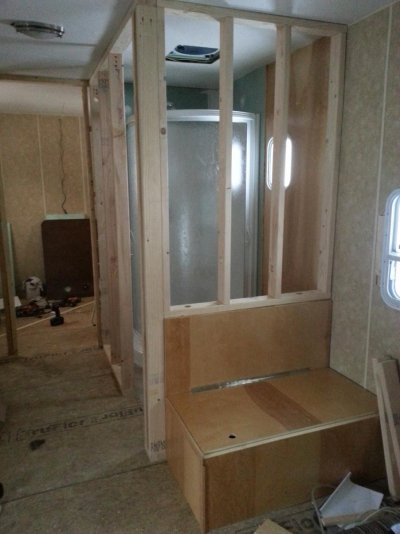
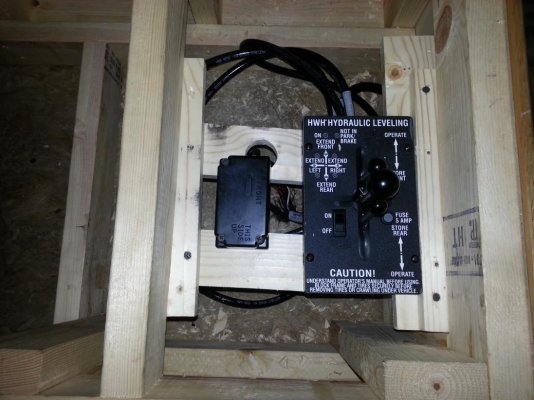
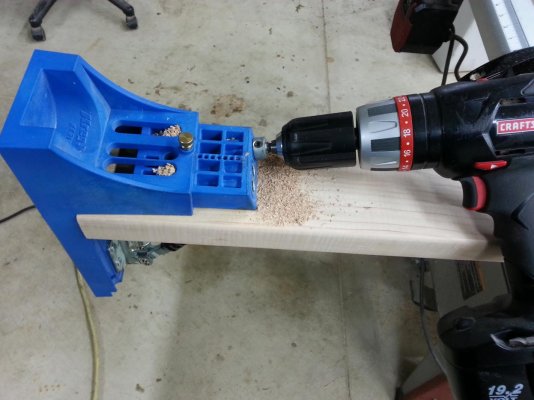
When it warmer a week back, I had ran the jack hydraulic lines to under the dinette. I now have them hooked up to the controller which is located under one of the dinette benches. Its out of the way yet easy to get to. I built the bathroom wall and since I was doing it by myself(and suck at using hammer/nails) I pocket screwed it all together. If you haven't used one, you need to try it. Pretty easy.
 

Attachments

  • 20140102_091144.jpg
    20140102_091144.jpg
    114.5 KB · Views: 21
  • 20140102_161440.jpg
    20140102_161440.jpg
    106.4 KB · Views: 20
  • 20140102_161631.jpg
    20140102_161631.jpg
    113.7 KB · Views: 25
  • 20140102_093628.jpg
    20140102_093628.jpg
    111.2 KB · Views: 20
Sorry this is a little off topic, but I was curious about parts, prices, & availability of stuff in the Elkhart area. I live in Nebraska, and it is a 12 hour drive out there...Is it worth the trip?????
Thanks, Dick
 
Daytona has nice showers, plenty of handy restrooms, and the Daytona Ale House is right across the street. And the weather has been 70's during the day and high 50's at night, so the heat isn't a big deal either. Just get there and don't sweat the small stuff and have fun.
 
Sorry this is a little off topic, but I was curious about parts, prices, & availability of stuff in the Elkhart area. I live in Nebraska, and it is a 12 hour drive out there...Is it worth the trip?????
Thanks, Dick

Its another half hour drive for you but Bontrager's is worth the trip if you want windows and doors. They have furniture too...hell they have everything. Some new, some used. However you are stuck with their inventory so you have to have a plan but be flexible. Bontrager's don't sell on the net or show current inventory. I was surprised that some of the other surplus places don't have a big inventory. I had stopped on the way through and was kind of lost on what to buy so I went home, did my planning then ordered online. I drove there to pick it up since my gas was cheaper than shipping.
 
1/3/14 Day 142

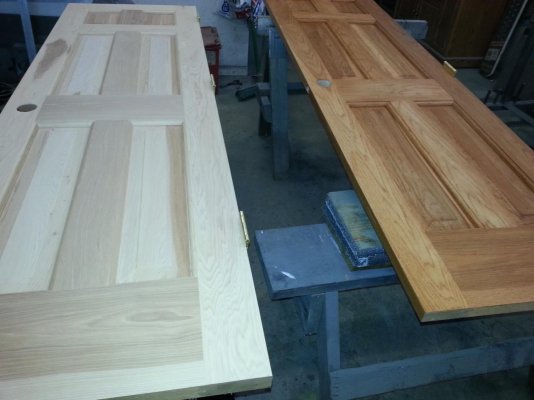
My poor Malibu has to sit outside since the garage is still full of truck cabinets. I spent most of the day inside sanding and staining the solid hickory doors. These babies weigh a ton. Got them from Baird Brothers. Check out their website. If its wood they can make it but they are not cheap. When I remodeled my house kitchen/dining rm and living rm, I used their doors and flooring and was impressed so thats why I got the truck doors there. The high did hit 19 for a very short time so I snowblowed and then worked a little on the wiring.
 

Attachments

  • 20140103_125234.jpg
    20140103_125234.jpg
    112 KB · Views: 7
  • 20140103_164824.jpg
    20140103_164824.jpg
    107.4 KB · Views: 9
Elkhart is definitely worth the trip, but you need a minimum of a full day up there to hit a couple of outlets. Bontragers is huge and had plenty of everything, some dirt cheap, some not so much, know what you are buying. Johnsons is more trailer supplies but they do have a bunch of doors, windows etc, and that is where I get all my aluminum trim, corners, etc. Graber industries is a little farther out in michigan maybe 20 minutes out in the sticks from Bontragers and pretty disorganized but they have some bargains to be found. Take a list and a plan and have some imagination, you'll run across stuff you never knew you needed. I'd suggest a trip up really early in your build to get the basics, then again when you are deeper in and have a better idea of all the small stuff you'll need. The nice thing about going up is you can get all the real aluminum and stainless trim, corner pieces etc like they use on a factory build so you'll get a much nicer job than using whatever you can come up with locally, and you just can't ship 10'-16' lengths of aluminum. I got 12' lengths of aluminum J channel at Graber's for about $4 a length and the nice top trim at Johnsons for $12 for 16'.
 
1/7/14 Day 146

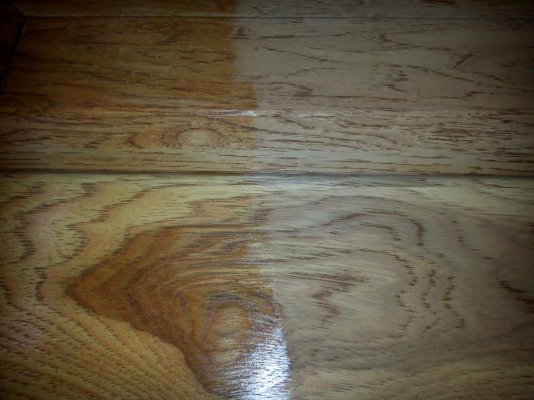
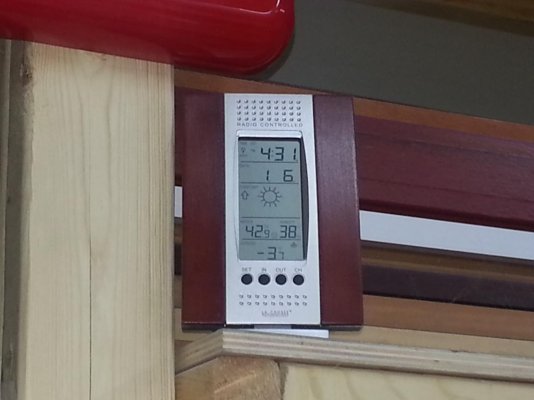
Over the weekend, Robert got the rest of the duct work done and we installed it. Also started running the water lines and 110v lines. Then came the artic blast Monday afternoon. That's -3 at 4:30 on a sunny afternoon and dropping. With 43 degrees in the wood shop with the wood burner going, over to my pole barn I went and spend a few hours over the next two days putting poly on the doors. Yes, our 3rd shop, which has a gas furnace and is mainly used for painting. Tried the water based Minwax Acrylic for the first time. Brushed the first two coats and its easy to use, lays done pretty good and dries very fast. But you cant beat sprayed so I sanded then sprayed the last coat on the one side and and when I did the other side, I only sprayed two coats.
 

Attachments

  • 20140104_113458.jpg
    20140104_113458.jpg
    103 KB · Views: 18
  • 20140104_152328.jpg
    20140104_152328.jpg
    107.1 KB · Views: 12
  • 20140104_101344.jpg
    20140104_101344.jpg
    109.2 KB · Views: 9
  • 20140106_163159.jpg
    20140106_163159.jpg
    103.5 KB · Views: 9
1/11/14 Day 150

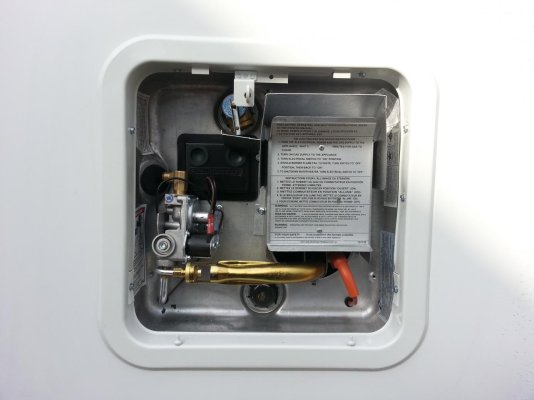
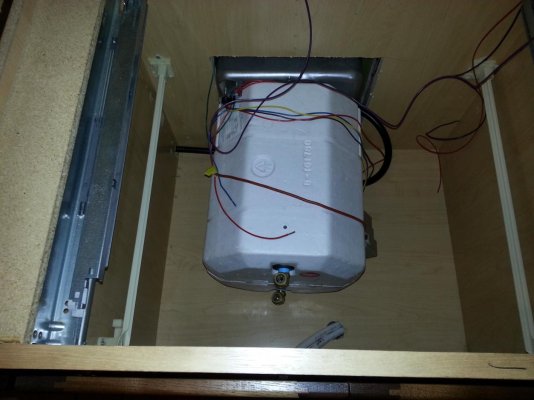
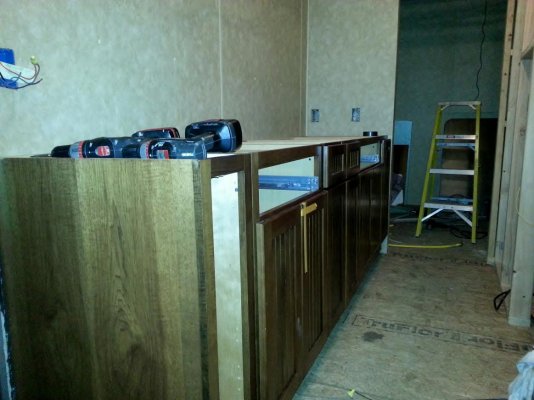
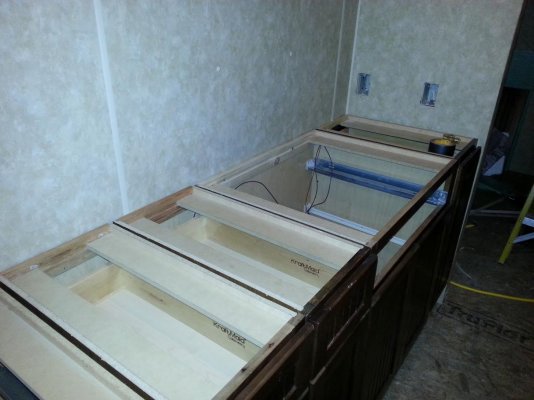
Temps got into the 40's the last couple days and I got some help from my boys so we got a lot done. Got the lower kitchen cabinets installed and the hot water installed in the same cabinet as the cooktop will go. Holes drilled through sides of the cabinets to pass the electric, gas and water lines.
 

Attachments

  • 20140111_142108.jpg
    20140111_142108.jpg
    103.6 KB · Views: 10
  • 20140111_180748.jpg
    20140111_180748.jpg
    107.9 KB · Views: 8
1/11/14 Day 150

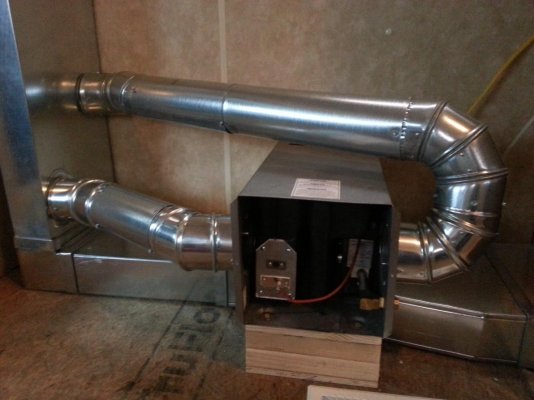
At the last minute, I decided to add a furnace to help the heat pump. 19000 btu and it has two outlets. I decided to hook them into the heat pump ducts. Looks like a space ship but I thought I should run the one on the right into the same upward duct as the left. If we would have ran it down into the bottom duct, that would have been close to the down duct to the basement heat pump. I thought less chance for it to back flow. Make sense? Just made a little more work for Robert and I lost same cabinet space which will cover this whole corner. We didn't install any gates at this time. We will let the Daytona trip tell me if they are needed.
Also got the rest of the 12v and 110v lines run and some outlet boxes in place.
 

Attachments

  • 20140111_180735.jpg
    20140111_180735.jpg
    112 KB · Views: 13
  • 20140111_180850.jpg
    20140111_180850.jpg
    107.7 KB · Views: 12
  • 20140111_133122.jpg
    20140111_133122.jpg
    107.3 KB · Views: 12
If you have any issue with air flowing back through the heat pump or (heat pump air flowing back up into the furnace) you can get backflow dampers that will only allow air to flow in one direction. they are gravity operated and you do not have to remember to manually set a gate when switching back and forth or using both systems. easy to find for the small round duct, would probably be a special order for the rectangular duct. Installing these would allow air to only flow away from the heat pump. and or furnace. with a backflow device you could rout the duct down to the horizontal duct and save some space in the cabinet (also remove some elbows and reduce friction loss in the ducting.

remember air will always take the easiest path out of the system, with the air from the furnace entering the side of the main duct it does not have anything to direct it one way or the other. even though you have ducted over to the vertical portion of the main duct, gravity may still try to send some of the air down and back to the heat pump. you will be able to see this by placing thin paper or yarn by the heat pump inlet when the furnace is running, any backfed air should move the yarn or paper.

Either way if you can you might want to test the system if you can before you cover it all up.

P.S. your project is looking great, I love seeing peoples hard work coming to life. Keep up the good work and posting your progress.

Dave
 

Try RV LIFE Pro Free for 7 Days

  • New Ad-Free experience on this RV LIFE Community.
  • Plan the best RV Safe travel with RV LIFE Trip Wizard.
  • Navigate with our RV Safe GPS mobile app.
  • and much more...
Try RV LIFE Pro Today
Back
Top