Kenn-TC
Senior Member
swaybar
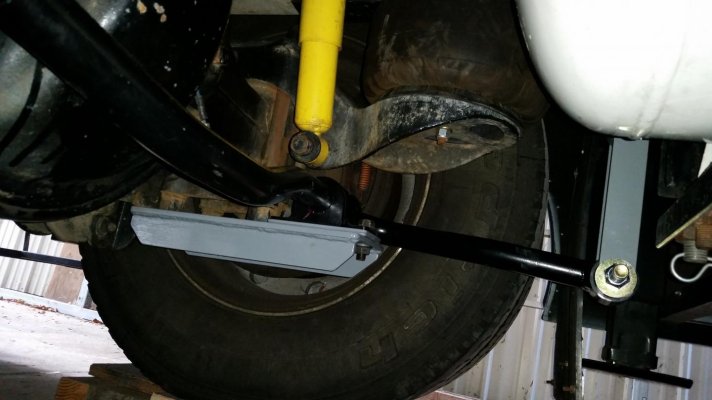
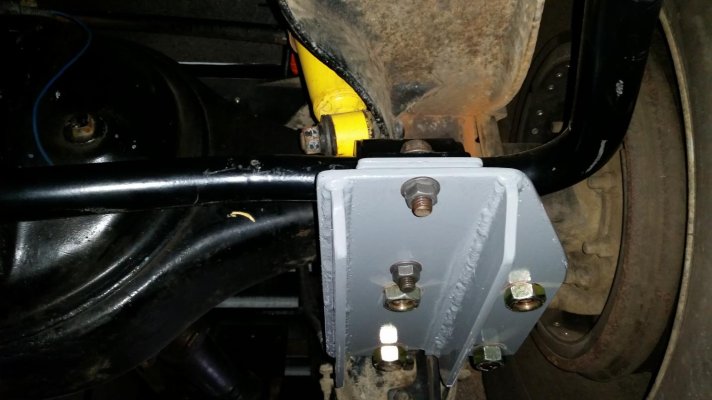
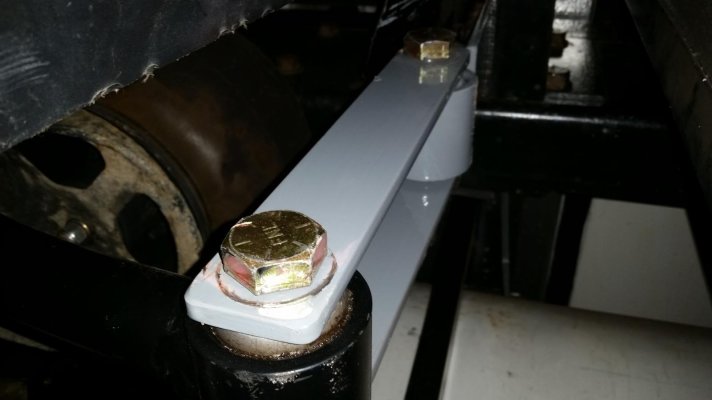
I took several pictures on my smart phone and for some reason I can't get them to load on the computer. The bar is a rear bar. I had to make two plates that are mounted to the bottom of the rear axle using the 1" diameter Ubolts. Each plate holds the bushings for the bar. The bar is 42" wide and the arms are 17" if I remember right. The bar has steel-rubber-steel pressed in bushings at the end of each arm with a 7/8" bolt hole. I made brackets out of angle iron that is 3" x 3/8" and they bolt to the frame and crossmember with 3 5/8" bolts. I welded 1 1/2" x 1/4" square tubing to the angle and then welded sleves to except another set of steel-rubber-steel bushings. The bar and the brackets are connected with shackles that are made of 2" x 3/8" flatbar and are held with 7/8" grade 8 bolts through the shackles and bushings. It all seems very strong. The center of gravity should be lower now because the bar weighs 60 lbs and the parts I made are another 100 lbs. Roadmaster says that every 1/8" of diameter adds 30% more stiffness to the bar. Many of the large class A coaches come with 1 1/2" rear bars and Roadmaster upgrades them to 1 3/4". The bar that I got is 1 3/4". When I get the pictures on the computer I will post them. Hot rod when I was building the coach I worked very hard to try and keep the weigh low and it still felt top heavy. Wayne at Roadmaster said that because my structure has so much sheer strength it can have a top heavy feel. I noticed as I added more weight up high it got worse ( the awning is over 11' off the ground and weighs 85 lbs for the roller and 52 lbs for the arms and While driving you can feel it. I am glad I went to all the work and $$$ because it drives much better.
I took several pictures on my smart phone and for some reason I can't get them to load on the computer. The bar is a rear bar. I had to make two plates that are mounted to the bottom of the rear axle using the 1" diameter Ubolts. Each plate holds the bushings for the bar. The bar is 42" wide and the arms are 17" if I remember right. The bar has steel-rubber-steel pressed in bushings at the end of each arm with a 7/8" bolt hole. I made brackets out of angle iron that is 3" x 3/8" and they bolt to the frame and crossmember with 3 5/8" bolts. I welded 1 1/2" x 1/4" square tubing to the angle and then welded sleves to except another set of steel-rubber-steel bushings. The bar and the brackets are connected with shackles that are made of 2" x 3/8" flatbar and are held with 7/8" grade 8 bolts through the shackles and bushings. It all seems very strong. The center of gravity should be lower now because the bar weighs 60 lbs and the parts I made are another 100 lbs. Roadmaster says that every 1/8" of diameter adds 30% more stiffness to the bar. Many of the large class A coaches come with 1 1/2" rear bars and Roadmaster upgrades them to 1 3/4". The bar that I got is 1 3/4". When I get the pictures on the computer I will post them. Hot rod when I was building the coach I worked very hard to try and keep the weigh low and it still felt top heavy. Wayne at Roadmaster said that because my structure has so much sheer strength it can have a top heavy feel. I noticed as I added more weight up high it got worse ( the awning is over 11' off the ground and weighs 85 lbs for the roller and 52 lbs for the arms and While driving you can feel it. I am glad I went to all the work and $$$ because it drives much better.

