You are using an out of date browser. It may not display this or other websites correctly.
You should upgrade or use an alternative browser.
You should upgrade or use an alternative browser.
Kenn-TC
Senior Member
the box
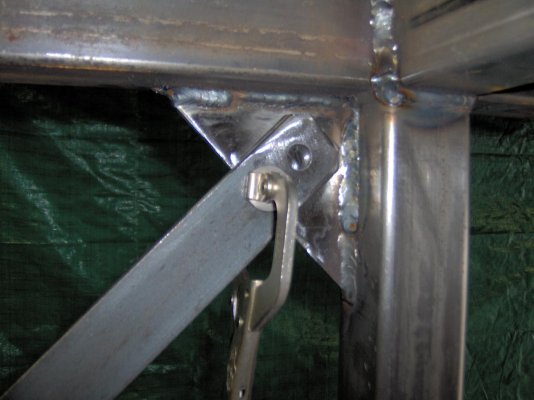
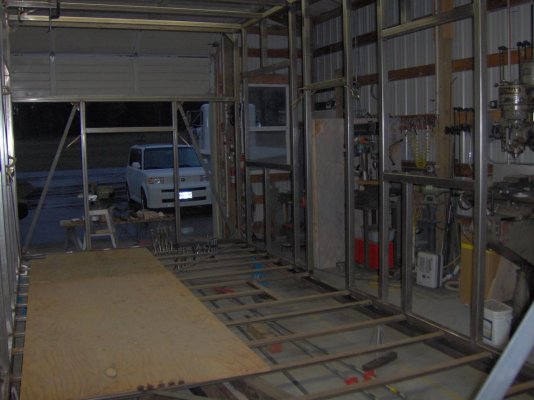
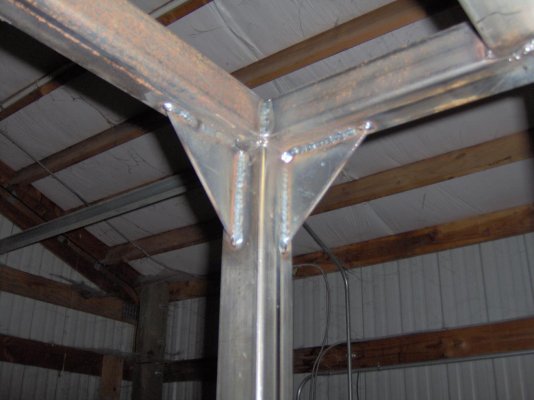
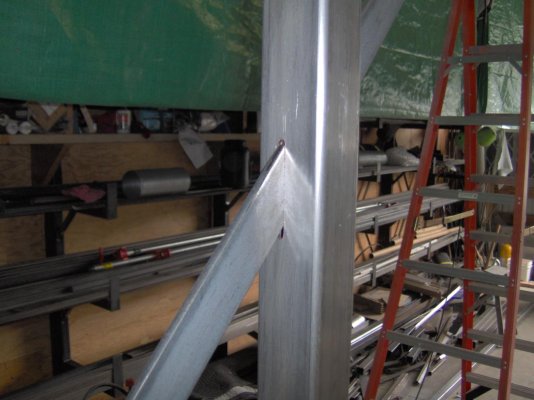
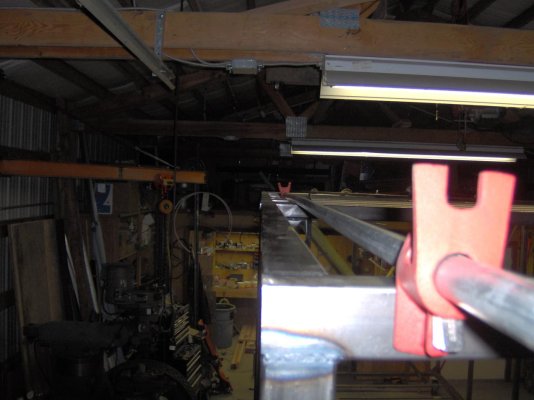
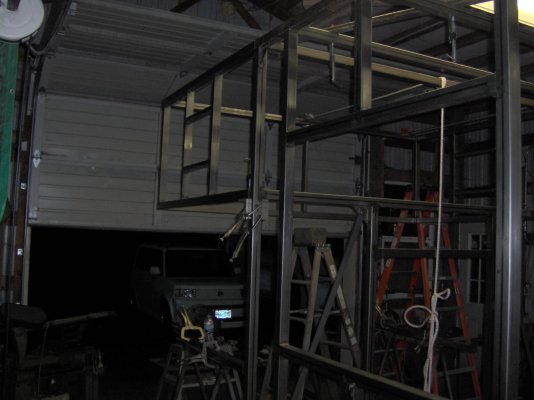
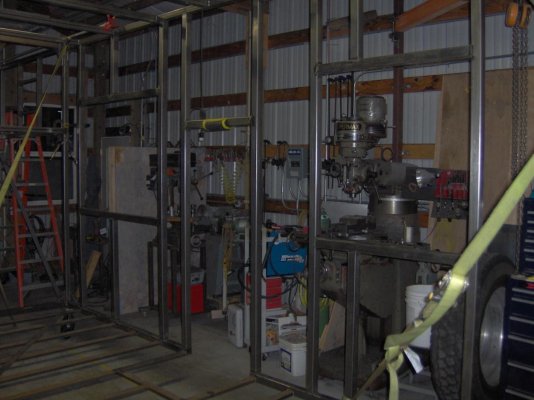
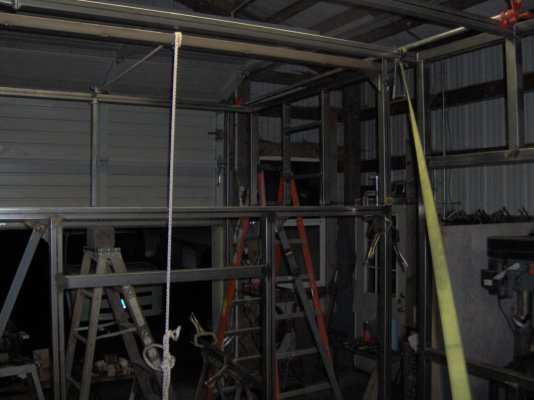
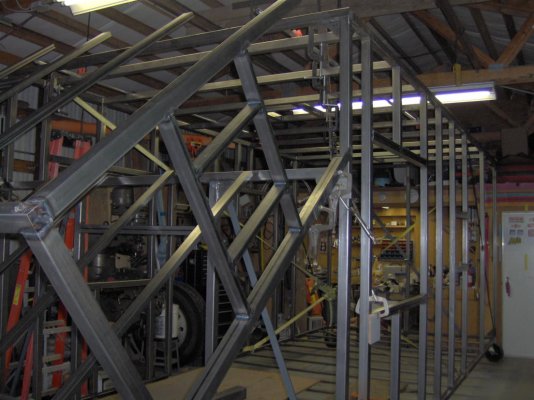
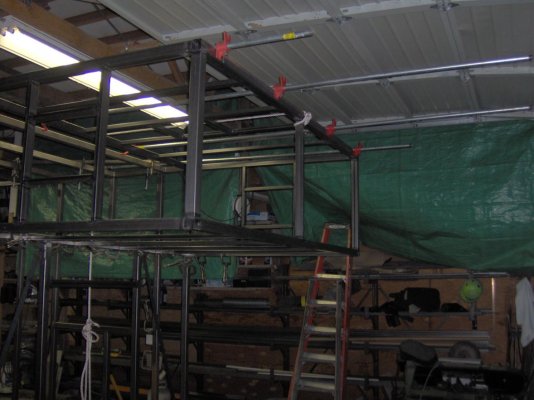
I am just about done with the main part of the box. I need to finish weld all that tubing and then I will build the bunk over the cab. It is hard to get any good pictures but here goes.
I am just about done with the main part of the box. I need to finish weld all that tubing and then I will build the bunk over the cab. It is hard to get any good pictures but here goes.
Attachments
mmmc101
Senior Member
Looks great Kenn. I really like the way you ran the diagonal brace through the column. What is your inside height going to be? I kept mine down to 7' to keep the total under 12'6".It came out 12'4" to the top of the stacks. 12'3" to the top of the A/C. My shop door is only 13'. I would guess you would need a little more height for the bunk over the cab. MMM
Kenn-TC
Senior Member
Kenn's living quarters.
Michael mine will be taller for sure. The bunk over the cab will be 34" on the outside and that will give me about 29" floor to ceiling. I will have 2" between the cab roof and the bunk. The ceiling in the main area will be about 5" lower that the bunk ceiling and be 7' 6" above the floor. The outside height will be 12"6' at the back. I am looking into low profile a/c units that are around 10" witch will bring it to about 13'2". The back of my truck is 3" higher than the front. I once got my old class A stuck in a carwash and I had a man watching my clearance but he was not looking at the a/c. We got about 5 people to get inside and I was able to back out without any damage except to my pride. I thought about making it lower but the fact that I am getting older and the idea of a very shallow bunk made me go to the 29". I plan to use the 3" space above the ceiling to run wires and I can cut the plywood interior walls at 7'7" and run the wires over the top without drilling holes. I saw your latest progress and it is looking great. I like how bright and clean your walls and ceiling came out. Keep up the good work.
Kenn
Kenn-TC
Senior Member
the bunk
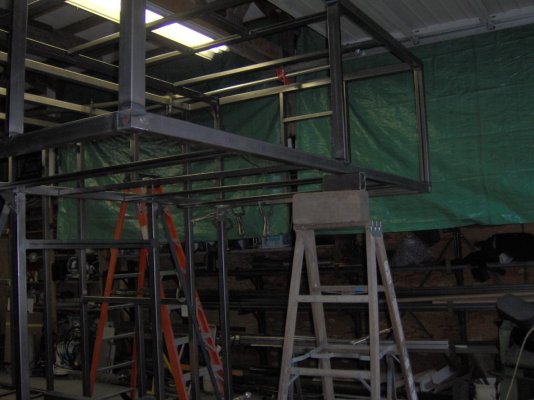
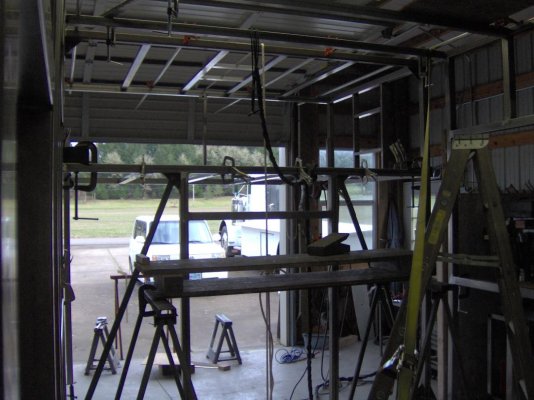
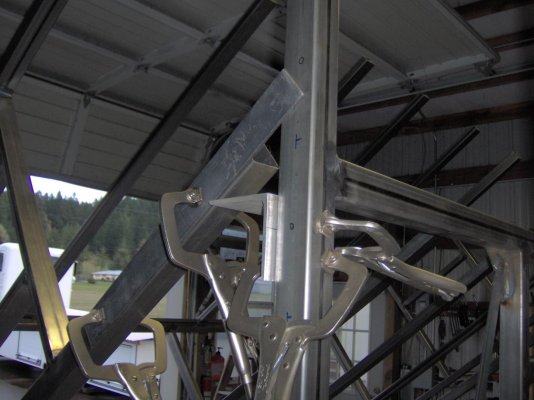
I am just about done with the bunk. I am building it on a set of tall sawhorses so I can tig weld all of the thin wall(.069) tubing. I clamped it to the main box to make sure everything will work. I will take it back down and build the floor and roof frames. I will use 1 x 2 x .069 laying flat so I can gain 2" inside the bunk. As always the pictures are not great because the shop is so small and I can't get back from the box. I hope I can roll it outside when I get the bunk welded on and get better pictures.
I am just about done with the bunk. I am building it on a set of tall sawhorses so I can tig weld all of the thin wall(.069) tubing. I clamped it to the main box to make sure everything will work. I will take it back down and build the floor and roof frames. I will use 1 x 2 x .069 laying flat so I can gain 2" inside the bunk. As always the pictures are not great because the shop is so small and I can't get back from the box. I hope I can roll it outside when I get the bunk welded on and get better pictures.
Attachments
Kenn-TC
Senior Member
the bunk
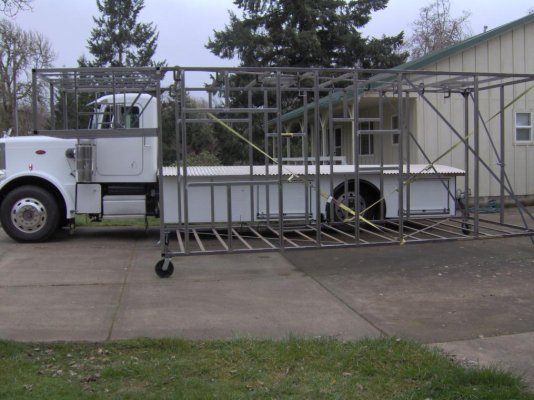
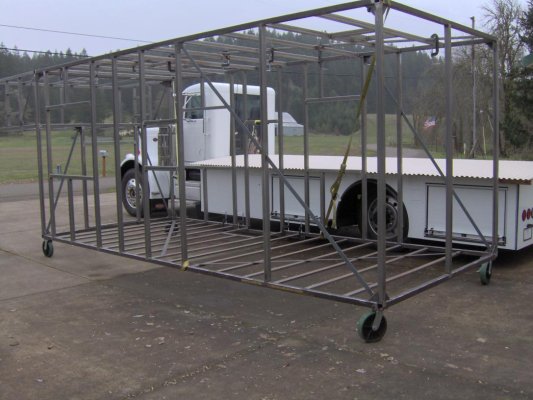
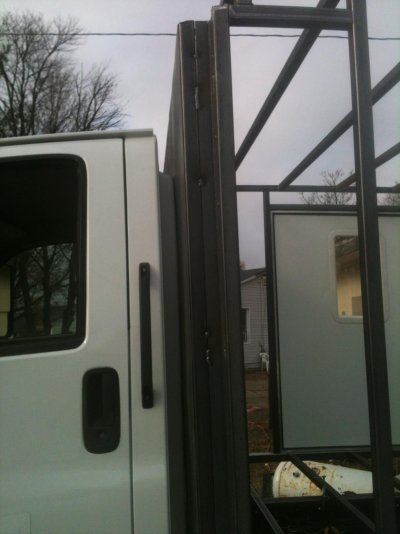
Today I finished welding the bunk to the big box. It came out ok but I had some metal move even after a lot of work to keep it in place. The bunk is made from .069 wall tubing and it is hard (for me) to get good welds to the .095 and .120 tubing of the box. The bunk only weighs 140 # and the first picture shows how I was able to get it up in place. I build it standing on it's nose and then tilted it back to the box. I was able to lift it and put a 6' ladder under it and then put pipe clamps on top and pull it tight against the box. I moved it outside to clean the shop and take pictures. Next up is to order the FRP .
Today I finished welding the bunk to the big box. It came out ok but I had some metal move even after a lot of work to keep it in place. The bunk is made from .069 wall tubing and it is hard (for me) to get good welds to the .095 and .120 tubing of the box. The bunk only weighs 140 # and the first picture shows how I was able to get it up in place. I build it standing on it's nose and then tilted it back to the box. I was able to lift it and put a 6' ladder under it and then put pipe clamps on top and pull it tight against the box. I moved it outside to clean the shop and take pictures. Next up is to order the FRP .
Attachments
mmmc101
Senior Member
Really looks good Kenn. I know what you mean about trying to keep it all perfectly square. Particularly the thin wall tubing. I found that if I tacked it all together and then clamped on the bracing it kept the heat distortion down to a minimum. Are you going to build the box in the shop and then install on the truck? At the rate your going,you'll need that carport before spring. MMM
Dragonslayer140
Senior Member
Great progress Kenn! Starting to really come together, and is looking first class. I am thinking I may well adopt some of your construction methods when I build mine. I think building the base and coach separate is a really good idea when you are working with limited shop space. I am hoping to be down that way in the next month or so, will let you know before i head down and hopefully we can get together. I will bring my white coat and clipboard for an inspection...lol. Keep up the good work.
Dave
Dave
Kenn-TC
Senior Member
the bunk
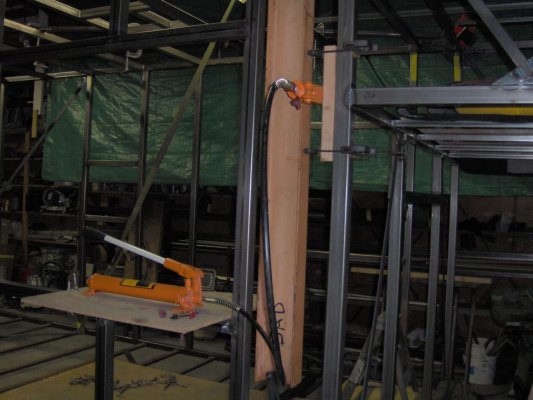
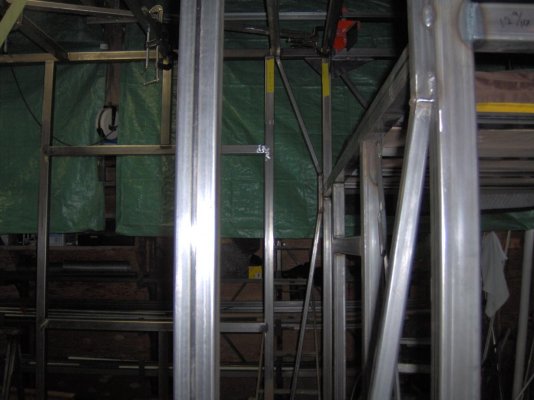
Michael and Dave thanks for the kind words and the encouragement. After welding the bunk on I was disappointed with the outcome. I spot welded everything and clamped it in as many directions as I could and it still ended up with the front of the bunk lower. Today I tried to understand what happened. I think that I welded to long on the passenger side upper gusset without it cooling enough. The drivers side is not as bad because I made smaller welds. I came up with a way to fix it I think. The first studs on the main box are bowed from the weight and lever arm of the bunk. I will cut the diagonal braces for the bunk and then us my Harbor Freight porta-power and push them back to straight and brace them so they will stay. I will re-weld the diagonals and everything should be good. The first picture shows how I held the base of the bunk against the front studs of the box while I lifted it into position. Picture two shows the pipe clamps holding the top of the bunk to the box. Next is a screw jack used to keep the front of the bunk at the right height and last is some of the make shift scaffolding I used to tig weld up high. The back of my head was hitting the shop lights at about 11' off the floor.
Michael I will at a minimum put all of the FRP on in the shop and I might put the windows in depending on the weight. I am not sure how much my friends excavator can lift. After we get it on the truck I will do a lot more welding and get it weather tight before I start with all the mechanical systems.
Dave I look forward to seeing you and showing off all my hard work. I will be ordering the FRP in the next day or so. I think two weeks is how long it takes to make the sheets.
Attachments
Kenn-TC
Senior Member
the bunk
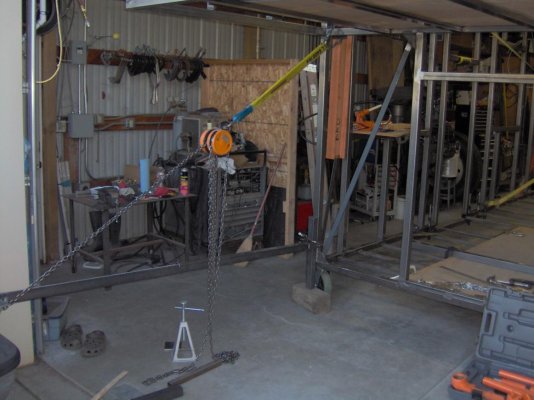
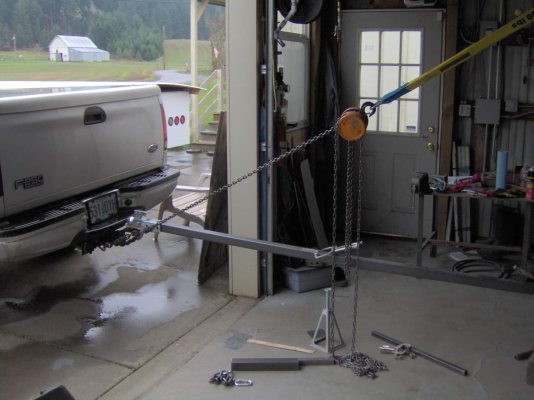
Well it is much better today. I was able to move the studs with the porta-power but I could not weld the braces in place without removing the porta-power. Plan B, I used a chain fall and my pickup truck to pull the studs forward and weld the braces in place. It worked so now the passenger side it out just a bit and the drivers side is right on the money.
Well it is much better today. I was able to move the studs with the porta-power but I could not weld the braces in place without removing the porta-power. Plan B, I used a chain fall and my pickup truck to pull the studs forward and weld the braces in place. It worked so now the passenger side it out just a bit and the drivers side is right on the money.
Attachments
mmmc101
Senior Member
Southern Engineering
Love the photo's of how you pulled it back in line. Glad to see I'm not the only one that uses "alternative methods" to get the job done. That picture of the chain hoist,straps and pickup is classic!
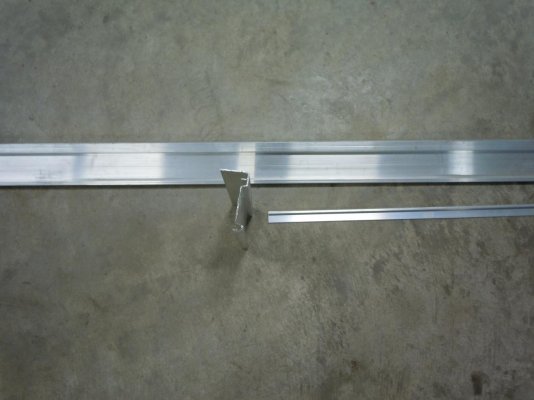
I am attaching a couple of photo's of the top and "J" trim I talked to you about.
MMM
Love the photo's of how you pulled it back in line. Glad to see I'm not the only one that uses "alternative methods" to get the job done. That picture of the chain hoist,straps and pickup is classic!
I am attaching a couple of photo's of the top and "J" trim I talked to you about.
MMM
Attachments
I've got that same top trim and "j" that i picked up last trip to elkhart along with the cast aluminum front corners. I think I've got the structure all put together right for all the various curves, I just hope my front corners come out as nice as yours.
When you installed the top trim, did you just screw it from the sides with only sealer on top, or did you also screw down from the top through the roof metal?
When you installed the top trim, did you just screw it from the sides with only sealer on top, or did you also screw down from the top through the roof metal?
Attachments
mmmc101
Senior Member
Hot Rod, I riveted the sides every 16" matching the side skins and on top used a countersunk screw at 16" OC,then sealed. I was not really pleased with the cast corners. I purchased the castings and the preformed corner material from the trailer maufacturer, assuming they would match. The radius on the casting is slightly larger than the corner material and will require some sealant to fill the gap. Also, had to grind the castings to fit the top trim as that didn't match very well either. I guess I should have looked at my trailer a little closer. It's the same way. Tolerable but annoying. MMM
We must have bought the same stuff, my corners also will need ground for the trim to fit in properly. I think the ones I have are pace, at least they look like the cast corners on my trailer. Typical, most enclosed trailers are just slapped together and look pretty on the outside, except for the premium brands. I pieced together the curved corner sheet metal from a few different stacks at the surplus place, so I knew I'd have to finagle there. You know if all the rv and trailer manufacturers had the same standards as the builders on this site, they'd be way farther ahead. Of course nobody could afford them...
Kenn-TC
Senior Member
Frp
Today I ordered the FRP and it should be ready to pick up in about two weeks. I will need to pull my flatbed trailer to Spokane Wa which is about 8 hours. I will get a room and load up the next day. The total for the three pieces of 1/2" and one piece of 3/8" was $2933.55 and yes I had to pay up front. Michael you stainless looks great.
Today I ordered the FRP and it should be ready to pick up in about two weeks. I will need to pull my flatbed trailer to Spokane Wa which is about 8 hours. I will get a room and load up the next day. The total for the three pieces of 1/2" and one piece of 3/8" was $2933.55 and yes I had to pay up front. Michael you stainless looks great.
mmmc101
Senior Member
Kenn, Have you got that FRP home yet ? MMM
Kenn-TC
Senior Member
Frp
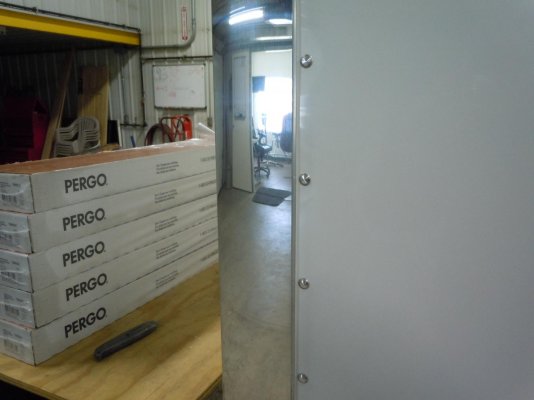
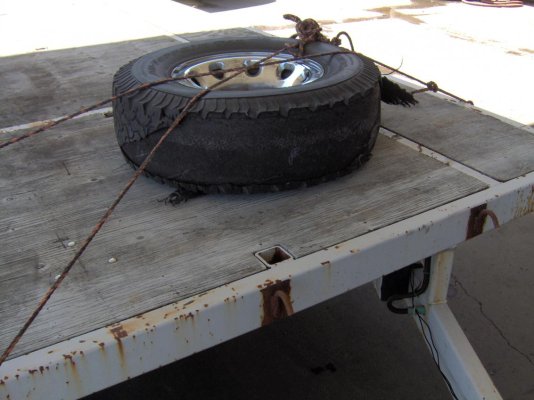
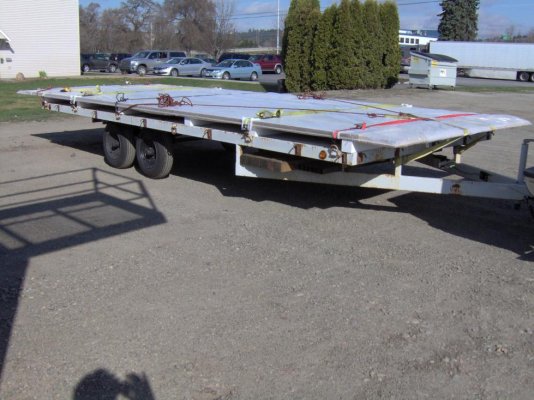
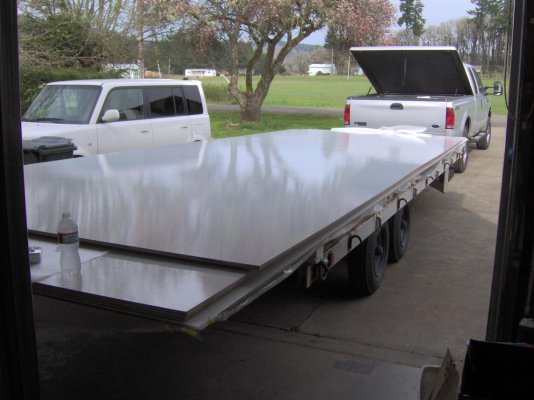
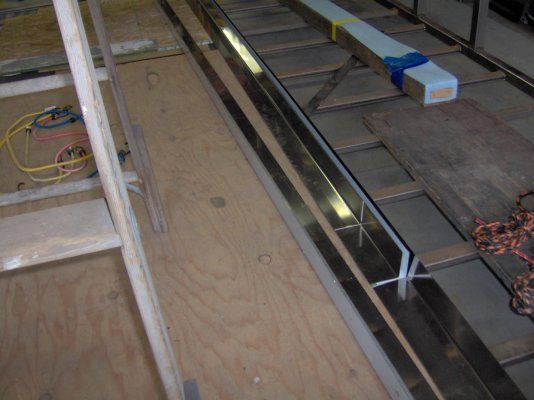
Got FRP! I left Monday at 8 am and got home last night at 8 pm. Just after stopping for lunch on Monday I lost the tread off the left rear truck tire at 60 mph. I had a very nice state trooper stop and help me change the tire. I back tracked twenty miles to a Less Schawb dealer and got four new tires. Only lost three hours. I got to my hotel room just after 8 pm. I was at Fiber-tech at 7:30 am and found that they had all four of my sheets wrapped with the roof panel on the top. After I explained how I needed the roof panel on the bottom of the pile they moved it back inside the plant and redid it in the correct order. I was out of Spokane by 10 am. Nice drive took my time and stopped for diner before getting to Portland to avoid the rush-hour mess. Today I took the truck and trailer to pickup the stainless steel trim that I ordered. Now I have lots of materials to work with.
Got FRP! I left Monday at 8 am and got home last night at 8 pm. Just after stopping for lunch on Monday I lost the tread off the left rear truck tire at 60 mph. I had a very nice state trooper stop and help me change the tire. I back tracked twenty miles to a Less Schawb dealer and got four new tires. Only lost three hours. I got to my hotel room just after 8 pm. I was at Fiber-tech at 7:30 am and found that they had all four of my sheets wrapped with the roof panel on the top. After I explained how I needed the roof panel on the bottom of the pile they moved it back inside the plant and redid it in the correct order. I was out of Spokane by 10 am. Nice drive took my time and stopped for diner before getting to Portland to avoid the rush-hour mess. Today I took the truck and trailer to pickup the stainless steel trim that I ordered. Now I have lots of materials to work with.
Attachments
mmmc101
Senior Member
It could have been worse. Been raining here for three days. My rain gage shows 3.5 inches. Thats the most rain we have had in the last 2 years.
Thats enough material to keep you busy for awhile. I haven't touched mine in about 6 weeks. I accepted a job building a 20 x 26 commercial patio cover and 120' of 7' tall steel fence for a local nightclub. A little extra cash for the project!
Did you get carport approved yet? Looks like you could use real soon.
MMM
Kenn-TC
Senior Member
Michael today I called the county and was able to get a date for the public hearing. I have to put a sign in my yard before April 17 and the hearing will be on April 30. The county needs to run an add in the newspaper for twenty days before the hearing. The carport is still a ways off. After the hearing they will determine if I will be granted a variance. One I get the variance then I can apply for the building permit. The variance application cost $1,025. and I don't know what the building permit will cost but the engineered drawings are $1,350. Longs Legs (that is the name of my motorhome) is going to be parked under an expensive carport.
TRAILERKING-TC
New Member
That's cool. Lots of good pic's and of course built on a classy Pete'.
Similar threads
Try RV LIFE Pro Free for 7 Days
- New Ad-Free experience on this RV LIFE Community.
- Plan the best RV Safe travel with RV LIFE Trip Wizard.
- Navigate with our RV Safe GPS mobile app.
- and much more...


