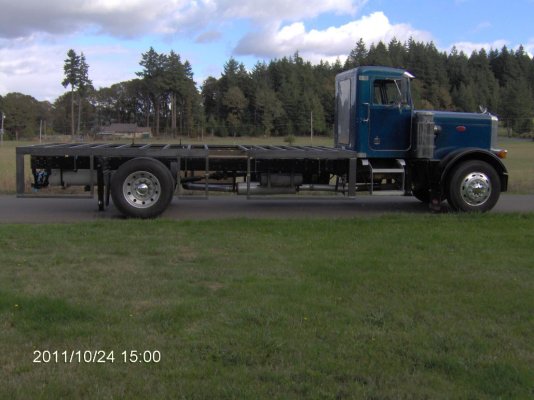
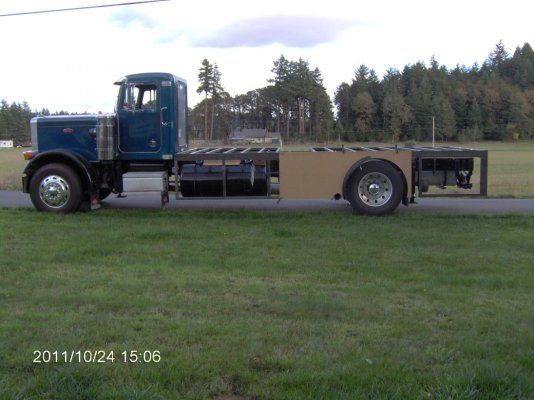
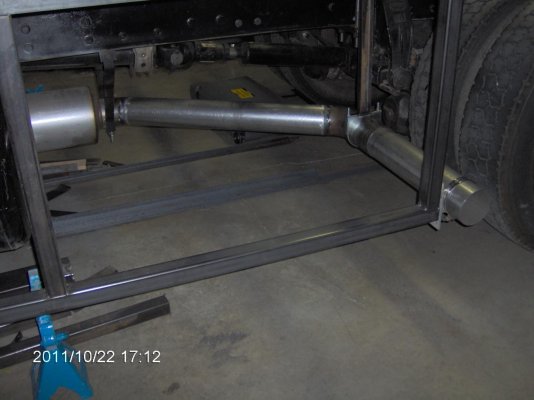
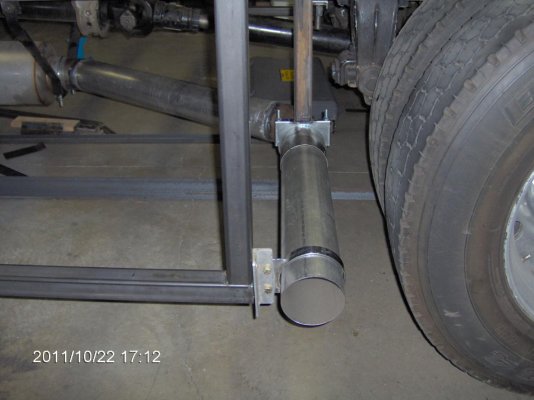
Frame Welding

cost of Gortite rollup doors

I got a quote from Gortite tonight. The size they quoted will be changed a little. The cost for each door was given with three finishes 1. satin anodized, 2. door painted and 3 door and trim painted. Sizes and prices 1. 30" high x 18" wide anodized $331 2. 30" x 18" painted $413 and 3. 30" x 18" painted door and trim $487. 1. 30" high x 40" wide anodized $478 2. 30" x 40" painted $568 and 3. 30" x 40" painted door and trim $641
1. 30" x 72" anodized $693, 2. 30" x 72" painted $789 and 3 30" x 72" painted door and trim $863. You can order them with a mill finish and paint them yourself. I think the mill finish is the lowest cost. I need to talk to the rep and make sure I understand what is what. I also need to clear up the compartment construction because I was told before that you could frame the top, bottom and both sides in 2" tubing but the instructions shows the top being sheet metal. I will talk to him in the next day or two.
They have many options like locks both manual key and power locks, sill plates, cabinets lights and pull straps for tall doors.
I thought I was ready to order mine but I need to make sure I have it all right, thats a lot of $$$ to order the wrong thing. I will keep up posted.
Kenn
 
Those prices are more reasonable than I expected. I presume 30" high for the under box compartments. I live about 25 miles north of Milwaukee (WI) and Gortite is in New Berlin, WI ... suburb on the SW edge of Milwaukee. Thanks for the info.
 
So far the only down side I see is that on a 30" tall door, there will be a 6" diameter roll of door at the top when its open, 2-1/2" of that will be up above the top of the opening in the header space, but 3-1/2" will be hanging down in the doorway. I think if planned properly that would not be much of a problem compared with the advantage of not having a hinging door to get in the way or bang your head into. I think i would make the space above the door a bit taller to hide the whole roll. They have some nice trim that would make it easy for do it yourselfers to skin the rig and not have to do any bending. A tall one would make a nice garage door for the harley in the back also. And the power lock option is a definate bonus, not having to search for keys in the dark.

Dave
 
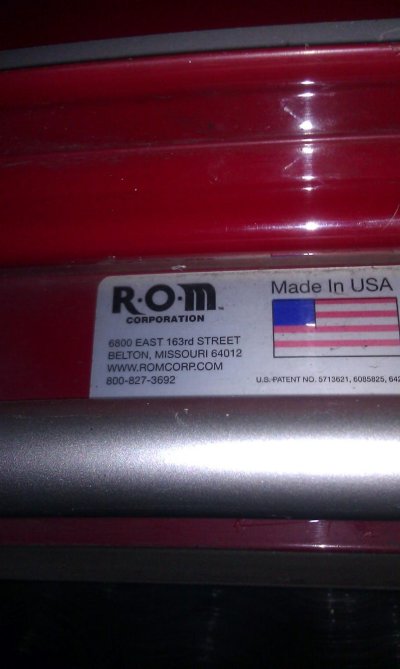
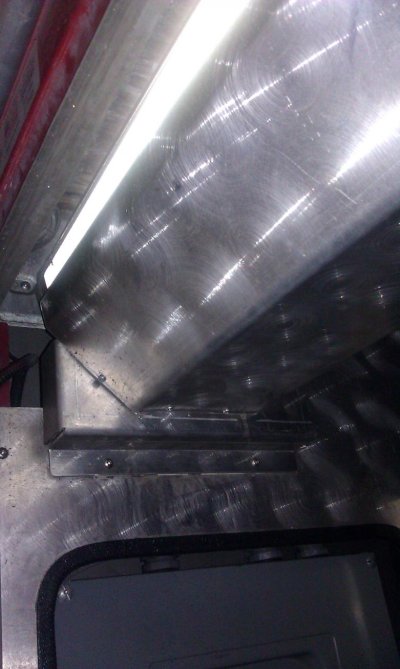
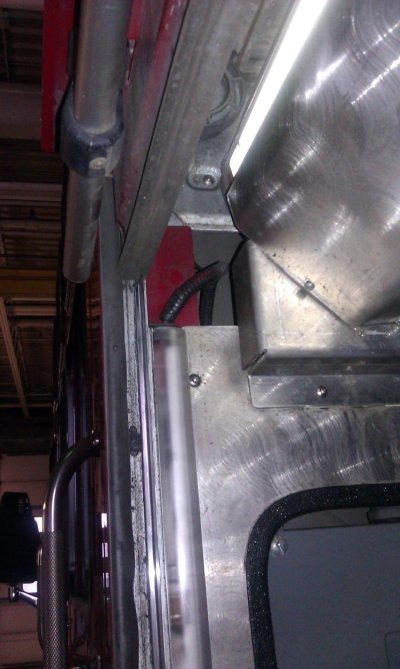
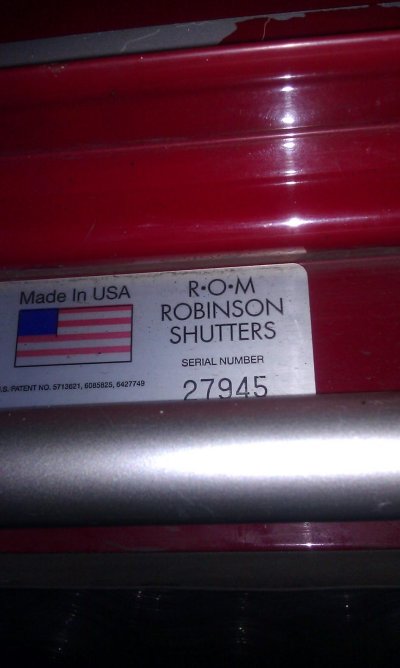
I was looking at one of our city's fire engines today and snapped a few photos of the roll up door on the side cabinet. Let's see if I can get it to show up here. Different brand than what you've looked at. Maybe check their pricing?
 

Attachments

  • IMAG0130.jpg
    IMAG0130.jpg
    101.8 KB · Views: 24
  • IMAG0131.jpg
    IMAG0131.jpg
    102.9 KB · Views: 21
  • IMAG0132.jpg
    IMAG0132.jpg
    106.1 KB · Views: 22
  • IMAG0129.jpg
    IMAG0129.jpg
    101.6 KB · Views: 23
The first two show the manufacturer info. The other two show where they roll up into an enclosure inside the box. I don't know if that enclosure comes with them or was built after installing the door.
 
roll-up doors

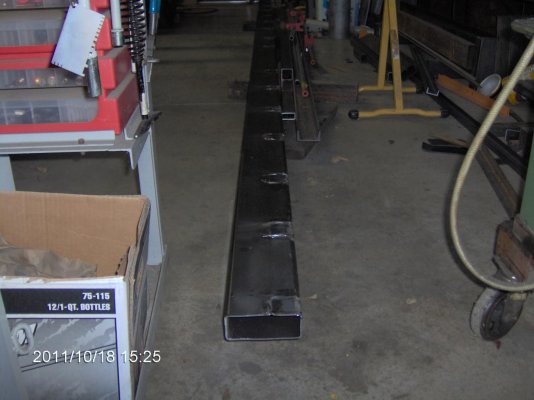
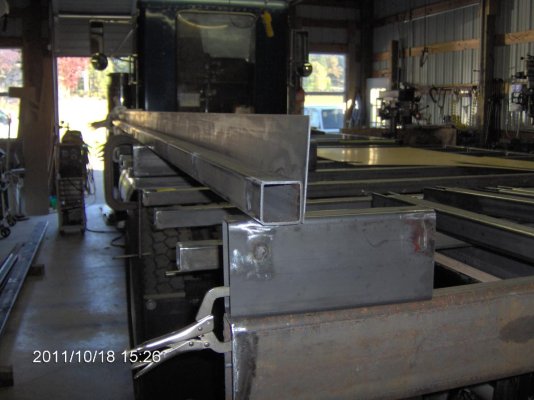
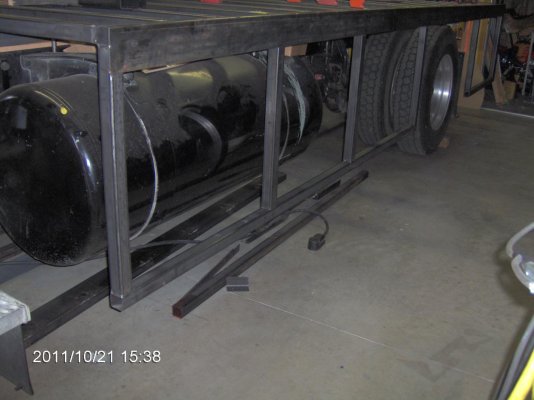
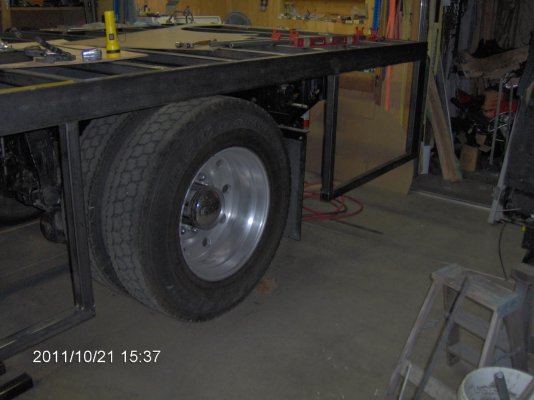
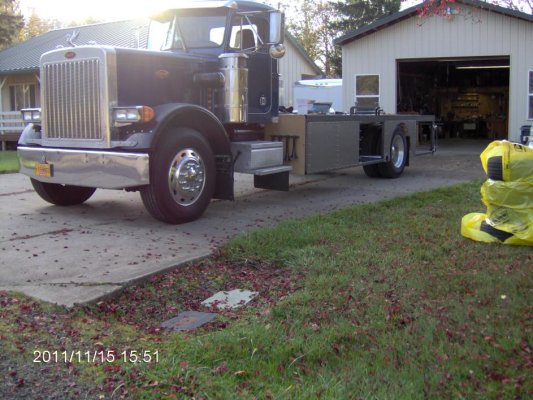
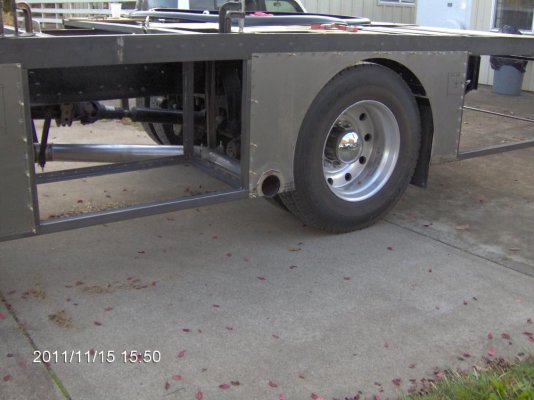
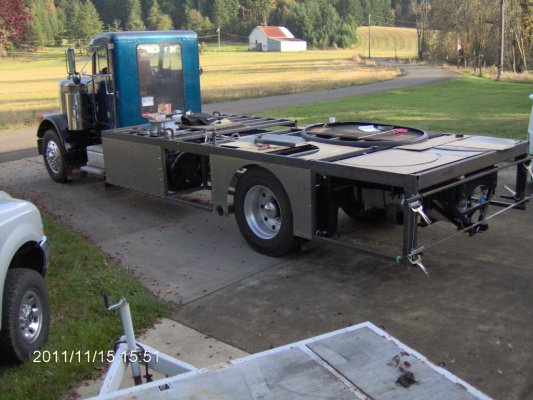
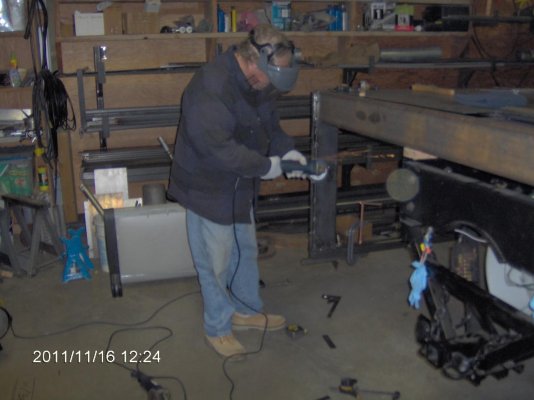
Bob thanks for the info on ROM, I got a bid and samples of their door harware. I have not decided between the two manufactures, lots to think about. Yesterday I finished the framing for the doors so now the sizes are set. I had a big Oops in my designing. I was told by one of the door companies that I could use 2" tubing all the way around the door. Not true if you want the door flush with the outside of the bodywork. The roll needs to be as close to the front of the body works as possible. I ended up cutting out 36' of 2 x 5 tubing and replacing it with 2 x 2 welded to 1/8" flat bar. Lots of work and money. Although it is hard to get good pictures inside the shop, I will post some. Next up is to order the doors (3 weeks delivery time) and build the rest of the compartment framing along with the rear lower bodywork and wheel wells.
 

Attachments

  • IM000189.jpg
    IM000189.jpg
    108.5 KB · Views: 86
  • IM000193.jpg
    IM000193.jpg
    109.6 KB · Views: 85
  • IM000204.jpg
    IM000204.jpg
    107 KB · Views: 92
  • IM000203.jpg
    IM000203.jpg
    106 KB · Views: 85
Hey Kenn- you do nice work, you wanna' start welding on mine when yours is finished? I'll buy the beer!
 
Free beer?

Hot rod I can't drink beer anymore, it's not a skill thing, it's the diabetes. I think welding on another project would be cool and I have learned a lot so far. Today I ordered the 5 roll up doors from Gortite. It should take them three weeks. I need to paint a small pice of something and send it to them and they mix a paint to match mine, paint something and send it to me so I can say yes it matches or no it does not match. I gave them my paint name (Sherwin Willams) and code # but they us another paint company. I have finished the door frames and tomorrow I will pick up the sheet metal for the rear of the body and the wheel wells. I moved the exhaust to just in front of the left rear tire. I will work on cutting and welding angle iron to frame the compartments. I hope to have all of the fab work done when the doors arrive.
 

Attachments

  • IM000220.jpg
    IM000220.jpg
    110.3 KB · Views: 95
  • IM000226.jpg
    IM000226.jpg
    109.3 KB · Views: 94
  • IM000212.jpg
    IM000212.jpg
    105.8 KB · Views: 92
  • IM000213.jpg
    IM000213.jpg
    106.6 KB · Views: 89
Looking good, can't wait to see it with the doors installed and the lowers skinned. Are you planning on matching the cab color or going for something different?

Dave
 
paint

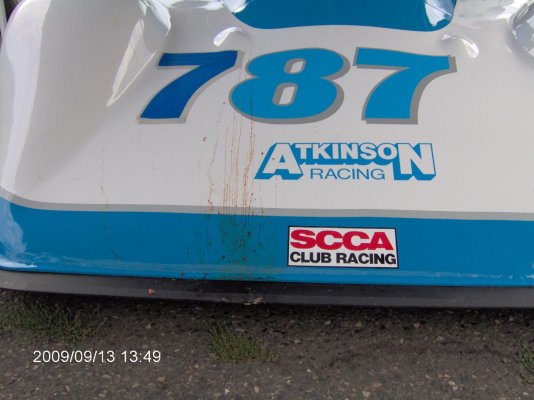
Everything will be canteen white. The upper body will be white FRP. If the doors for entry, water heater and anything that is white does not match I might paint them with the same paint. When I first painted my race car I wanted white with blue trim. I bought blue and white race tape and took them to the paint store and had the car paint mixed to matched. When I have had to use the race tape it matches pretty good.
 

Attachments

  • IM000500.jpg
    IM000500.jpg
    107.4 KB · Views: 37
  • IM000028.jpg
    IM000028.jpg
    109.5 KB · Views: 33
  • IM000662.jpg
    IM000662.jpg
    103.1 KB · Views: 32
  • IM000648.jpg
    IM000648.jpg
    120.6 KB · Views: 33
White is definitely the hardest color to match. Everybody thinks white is white, but there are practically infinite variations. I am sure that is why your door company is being very careful to match. My skin will be white aluminum sheets, and just need to match up the cab. My past experience has been most items like refrigerator vents, etc. are a close enough match to the aluminum to look good as is.

Dave
 
Frp

The FRP I am talking about is fiberglass reinforced plywood and it is made by Fiber-tech industries and the product is called Clad Tuff. They are on the net and have locations in Spokane, Washington (509) 928-8880 and Washington Court House, Ohio (740) 335-9400. The panels are available in sizes up 120" wide x 58' long. Thicknesses range from 3/8" up to 1-1/4". I plan to use 1/2".
 
Kenn,
I am anxious to see how the FRP works out for you. It has been in the back of my mind as a skin for my future build. I have been favouring skinning with aluminum, but am thinking it may not be as user freindly to deal with as FRP for a home builder. I have concerns with both methods of construction; Aluminum has problems with expansion and excessive conductivity of heat/cold into the metal framing potentialy leaving condensation within the wall cavity. Age old question of screws or the super sticky tape to fasten it. I like the seamless look of the FRP, and as long as you keep the water out it should last a good long time, however should you get some type of damage, not sure how you would make a decent looking repair? Then there is the cost of getting a full motorhome sized sheet shipped to your location (I will be looking at a 32'-36' length). My question to you is how do you plan to fasten it to your framing? and what are you going to do for the corners and roof to wall joint? have you decided on a roofing material yet? would love to get a look at your project when you get to that stage...I could even hold the camera while you muscle one of those side sheets into place..lol Keep up the good work and updates

Dave
 
muscle side sheets?

The heaviest side will be the drivers side, no door and smaller windows. The drivers side will weigh around 285# in 1/2" and 235 in 3/8". The roof is the brute. If I do it in 1/2" it will be around 450# The FRP is 1.9 lbs per sqft in 3/8" and 2.3 in 1/2". I do plan to use FRP on the roof. If you go on the roof in the sun take some shades and sun block. My plan is to glue the frp to the 2x2 studs and bolt (3/8 button head cap screws every 8") around the perimeter. I will use polished stainless steel (1/8" x 6" bent into a 90) for the corners. It will look like angle iron. I will pick up the FRP in Spokane because they will load it on my trailer in the reverse order that I will need it. I have a crane to do the heavy lifting but I expect it to be a challenge. I will have all of the holes (windows, vents or ?) cut and epoxie all of the exposed wood. When it goes together I will use marine sealant on everything. By the time I get to the FRP my brother will be in the area to lend a hand.
 
Sheet metal

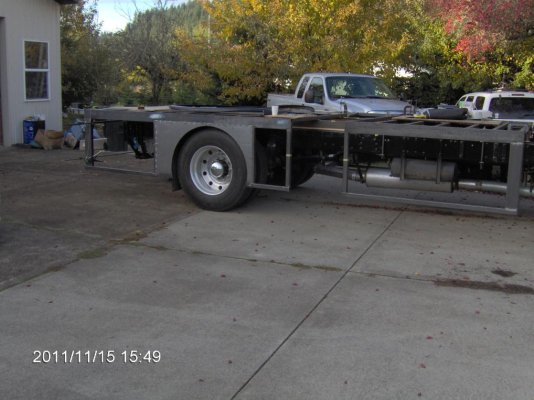
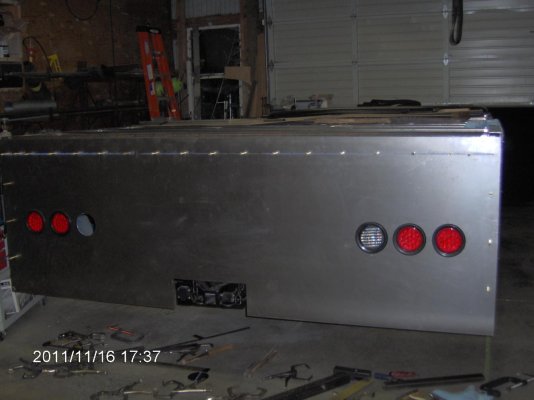
I am doing as much fab work as I can before the roll-up doors arrive. I finished the exhaust and did the wheel wells. I made the framing for one compartment (the only compartment that I can finishe before the entry door and steps arrive) and clamped it in place. I drilled and clamped the sheet metal (16 g) for the fuel tank cover, and rear end of the motor-home. I did the back while my brother was visiting because that rear piece is big and hard to handle by myself. We got it fitted and drilled the hole for the lights. My roll-up doors are due in on Tuesday and the Kwikee steps and entry door will be in on Monday. Next week will be fun.
 

Attachments

  • IM000285.jpg
    IM000285.jpg
    111.1 KB · Views: 88
  • IM000294.jpg
    IM000294.jpg
    117 KB · Views: 86
  • IM000288.jpg
    IM000288.jpg
    110.3 KB · Views: 90
  • IM000292.jpg
    IM000292.jpg
    117.5 KB · Views: 97
rear panel

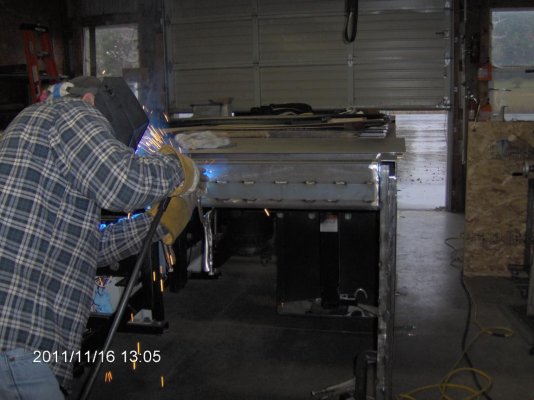
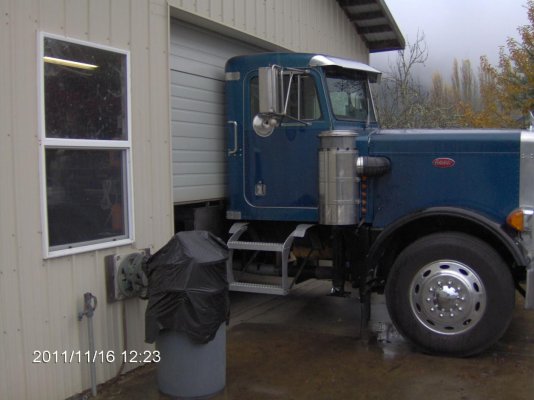
My brother is cleaning up welds on a small piece of tubing that the pamel will rivet to and I am welding a piece of 3/16 flat bar to make everything flush. I moved the truck half in half out so I could close the door behind the cab and keep the rain and cold air out. My brother always finds a heater to work near.
 

Attachments

  • IM000297.jpg
    IM000297.jpg
    105.4 KB · Views: 66
  • IM000304.jpg
    IM000304.jpg
    108.9 KB · Views: 67
  • IM000305.jpg
    IM000305.jpg
    104.5 KB · Views: 78
  • IM000295.jpg
    IM000295.jpg
    107.5 KB · Views: 64

Try RV LIFE Pro Free for 7 Days

  • New Ad-Free experience on this RV LIFE Community.
  • Plan the best RV Safe travel with RV LIFE Trip Wizard.
  • Navigate with our RV Safe GPS mobile app.
  • and much more...
Try RV LIFE Pro Today
Back
Top