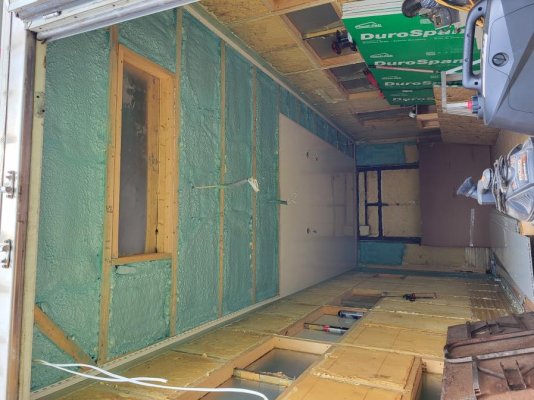
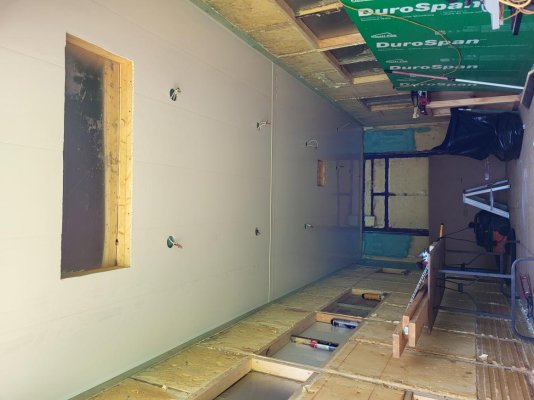
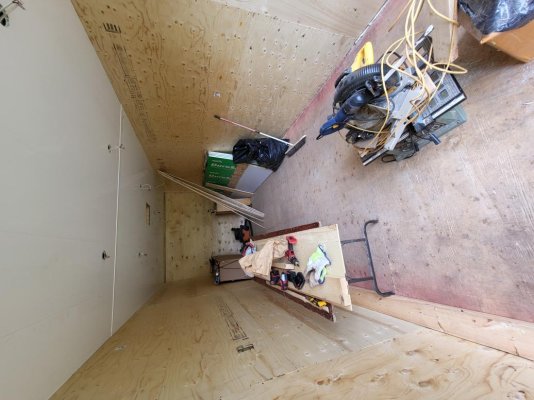
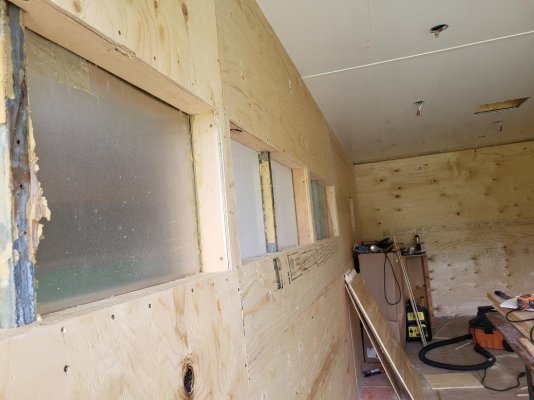
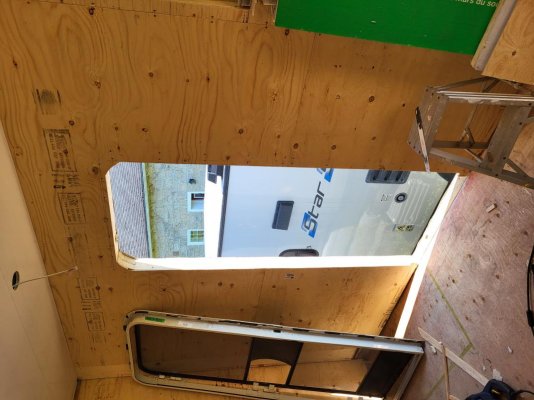
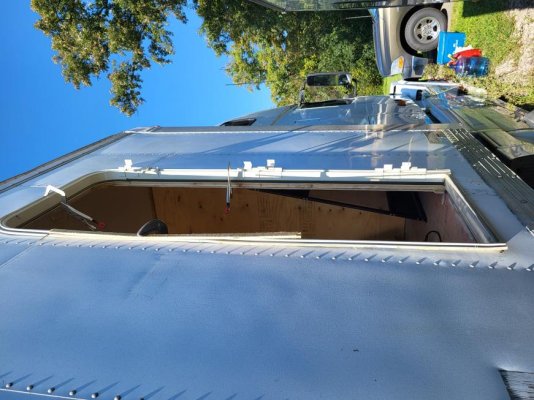
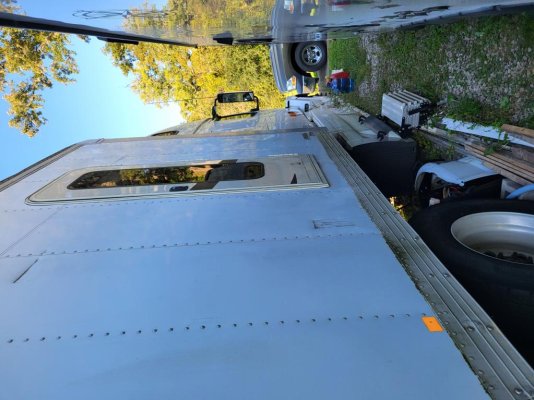
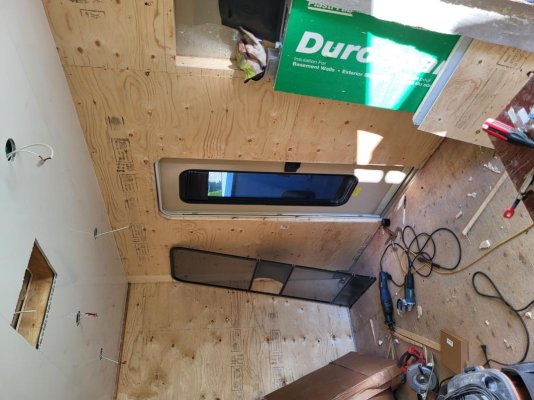
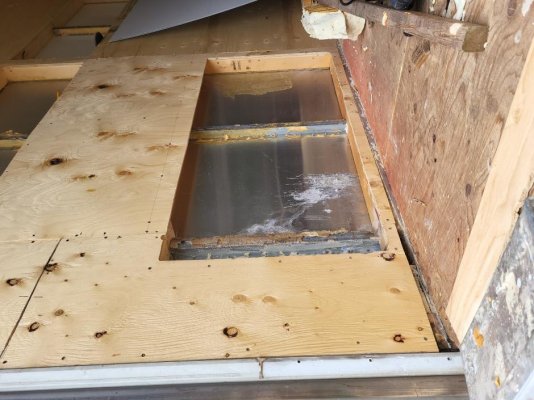
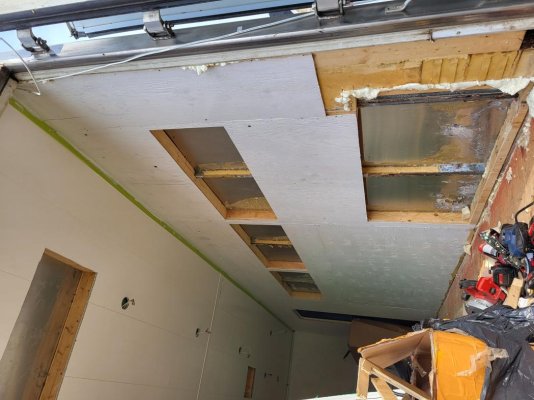
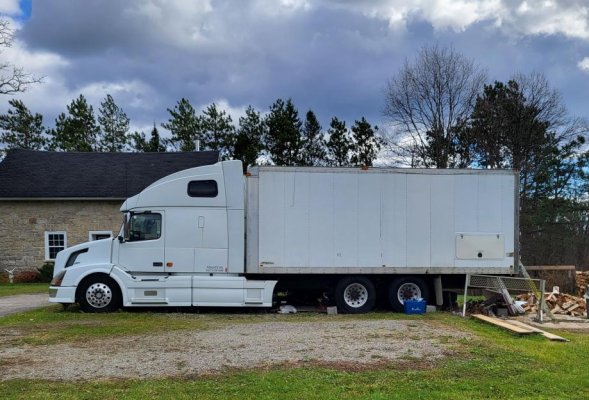
And so it begins....

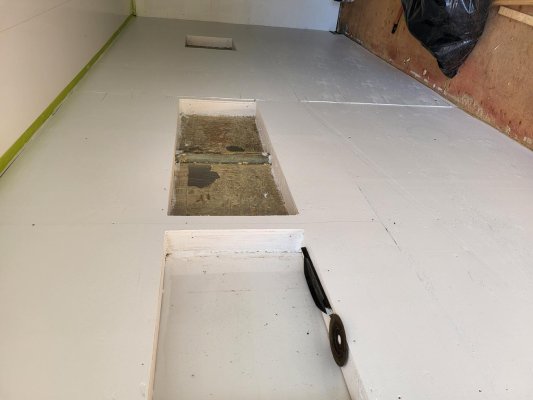
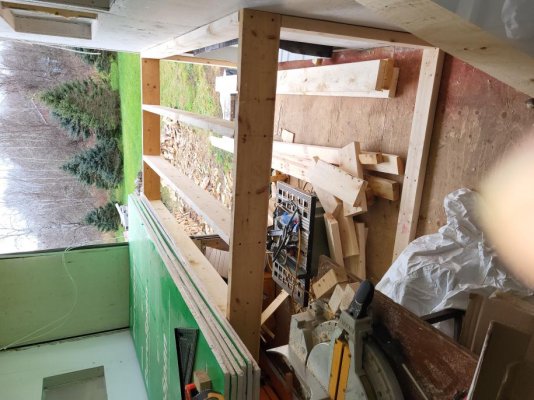
Alright....ceiling is starting to go back in....we decided to use Trusscore as it supposed to be mold proof, mildew proof, fire rated and easy to install. So far it pretty good once you get the first one installed.....probably would have been easier to go width wise instead of length but the ceiling bows are 24" on center so it would have meant adding more bows as the Trusscore is 16" on center.
 

Attachments

  • 20240731_143139.jpg
    20240731_143139.jpg
    105.9 KB · Views: 19
Well ceiling is in.....a touch more trimming to do later around the skylight and vent ports but it can wait as 104 degrees with 60% humidity limits my tolerance....lol.

Next, plywood on the walls and we will be ready to start building for real.
 

Attachments

  • 20240804_105459.jpg
    20240804_105459.jpg
    107.9 KB · Views: 17
Well walls are sheeted and interior openings are all cut out.....next we will tackle dressing up the floor while I debate buying a door or making a door.
 

Attachments

  • 20240808_125055.jpg
    20240808_125055.jpg
    108.5 KB · Views: 19
  • 20240808_145830.jpg
    20240808_145830.jpg
    105.6 KB · Views: 18
Well we picked up a nice used door but it was a couple inches longer than my rough in....so i had to take the door header back out to raise the sides. Then of course the door has rounded upper corners, not square which meant making gussets for the box frame corners. Once i got all that sorted I re-installed the wall panelling. Hopefully tomorrow we will be ready to cut the hole in the side of the box and we will have a door!
Once that is done i think it will be time to remove the 3 big,ugly rear doors and build a solid wall.
 
Well got everything cut, trimmed and a door installed....man been a journey to this point but its a huge step forward!! (Sorry for the poor install pic, not much room between our trailer and the truck).
 

Attachments

  • 20240915_144729.jpg
    20240915_144729.jpg
    106.9 KB · Views: 16
  • 20240915_152419.jpg
    20240915_152419.jpg
    99.9 KB · Views: 17
  • 20240915_173805.jpg
    20240915_173805.jpg
    113.4 KB · Views: 18
  • 20240915_173516.jpg
    20240915_173516.jpg
    114.1 KB · Views: 14
Got my "garage doors" for exterior access to under the bed storage.....but like anything else, 2 steps forward and one step back". The doors are made by a local fiberglass shop but they are slightly longer than i had wanted and although im not complaining as the "price was right" it ment that i had to modify the openings in the box. Things were going awesome till my router bit decided to launch the guide bearing off the end.

Oh well, one side down and one to go. Might even get them installed this week....lol.
 

Attachments

  • 20241029_132343.jpg
    20241029_132343.jpg
    102.9 KB · Views: 14
First coat of primer went on today.....did i mention i hate painting walls....lol.....painting cars etc no problem, walls...yuck.
 

Attachments

  • 20241030_145837.jpg
    20241030_145837.jpg
    109.9 KB · Views: 18
Coat #2 today.....maybe we will be ready to do some cutting of the garage openings tomorrow if my Sika Flex comes in. If it rains, i guess we sill start framing the bed or the bathroom walls.....we will see....lol.
 

Attachments

  • 20241031_134303.jpg
    20241031_134303.jpg
    98.3 KB · Views: 15
Garage doors or under bed storage doors, how ever you want to call them, are installed in the box.....another item ticked off the list before the snow arrives......
 

Attachments

  • 20241108_130532.jpg
    20241108_130532.jpg
    115.3 KB · Views: 15
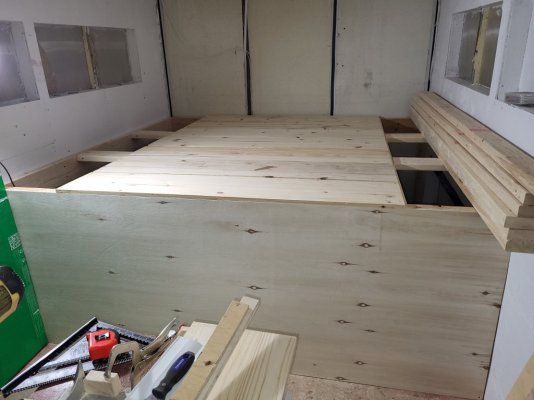
Well back to the inside we go for now.....bed platform is under construction....i so wish i had a shop to store stuff, moving things around the truck box to gain space is become a pain in the r**r.
 

Attachments

  • 20241111_121859.jpg
    20241111_121859.jpg
    108.6 KB · Views: 18
Well the weather is above freezing today so managed to get a bit done....face board cut/installed on front of bed riser and some of the top matress support boards....just need a few more boards to finish the top. It may look odd but there will be blanket boxes down both sides of the bed.
20241228_130333.jpg
 
Bed frame top installed, now i just have to decide if 1.5" between the boards is enough for air circulation under tge mattress or i need to drill holes as well.
 

Attachments

  • 20241229_121715.jpg
    20241229_121715.jpg
    107.8 KB · Views: 5
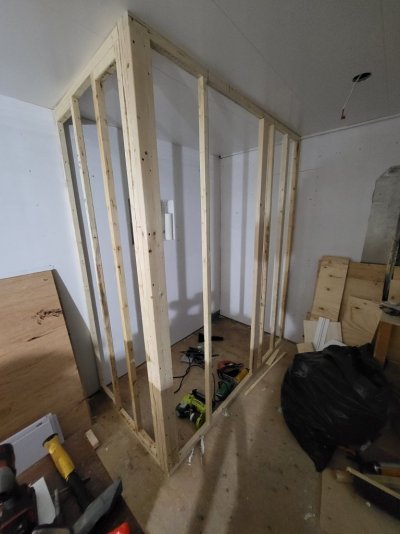
All right a bit more progress....getting the bathroom framed in.

Next step is the flooring which should be here this week and then once its down i can sheet the bathroom and hallway walls.

Its getting there a bit behind svhedule but who's counting.....lol.
 

Attachments

  • 20250113_101946.jpg
    20250113_101946.jpg
    105.6 KB · Views: 0

Try RV LIFE Pro Free for 7 Days

  • New Ad-Free experience on this RV LIFE Community.
  • Plan the best RV Safe travel with RV LIFE Trip Wizard.
  • Navigate with our RV Safe GPS mobile app.
  • and much more...
Try RV LIFE Pro Today
Back
Top