359 Race Rig

Hooter Shaker

Member
Joined
Nov 9, 2011
Messages
20
Location
East Texas
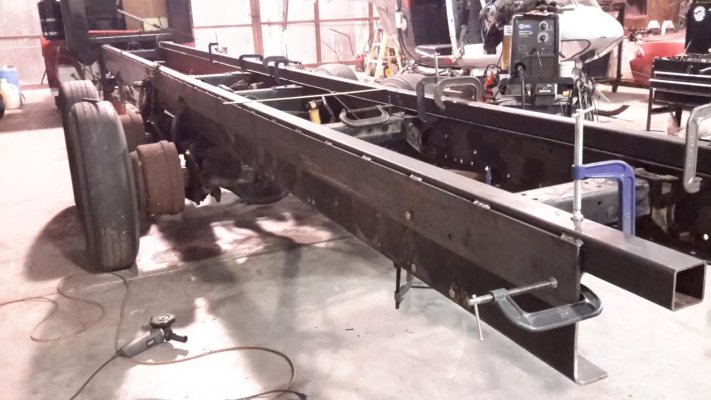
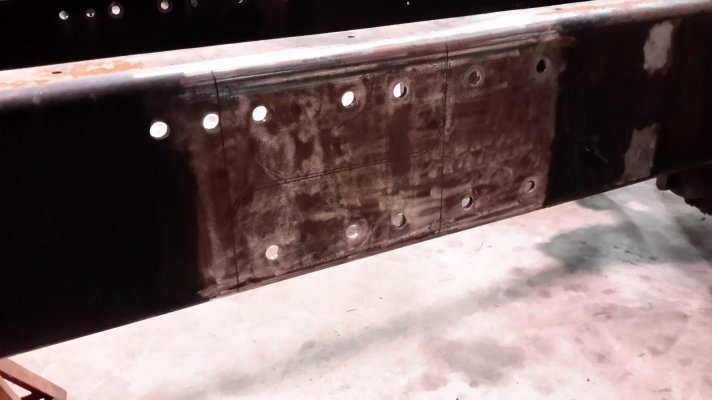
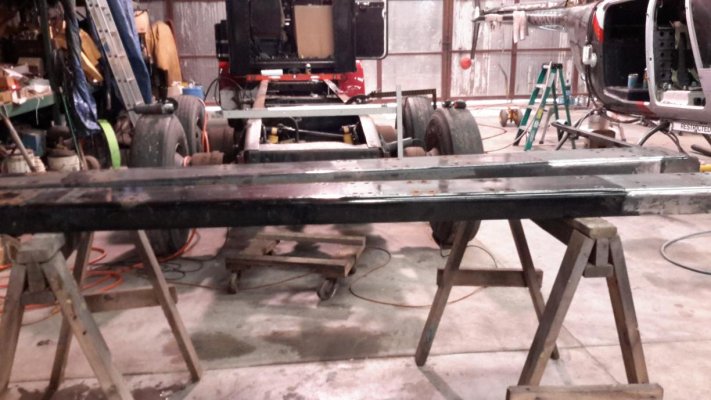
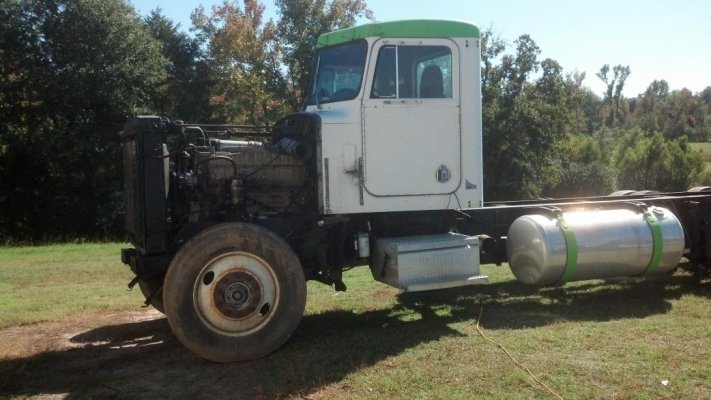
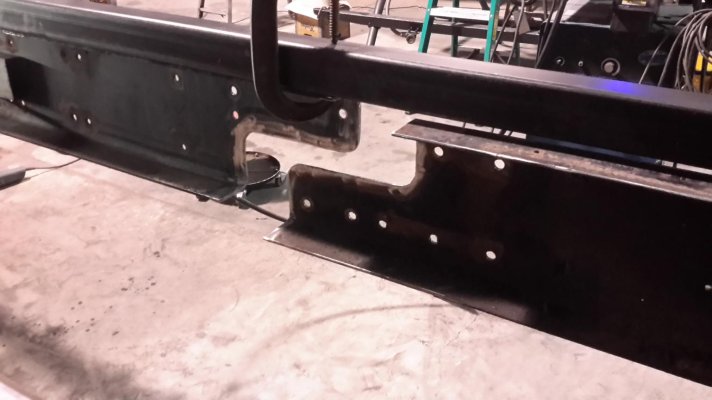
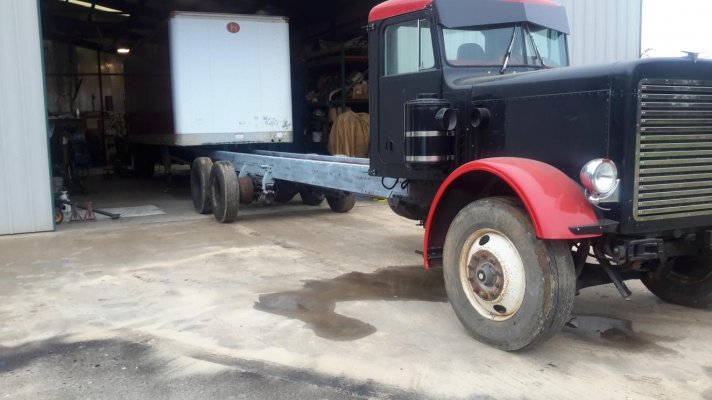
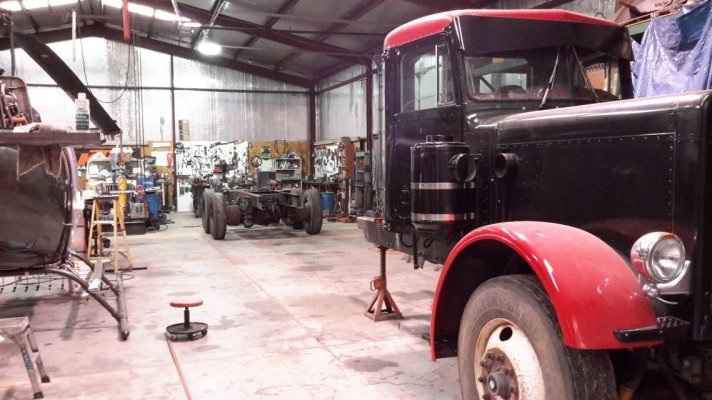
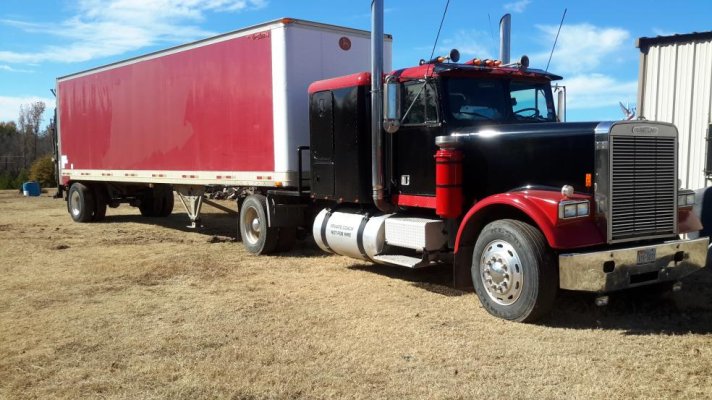
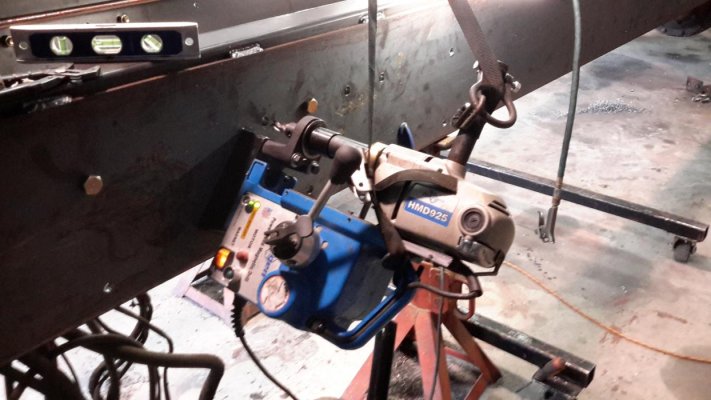
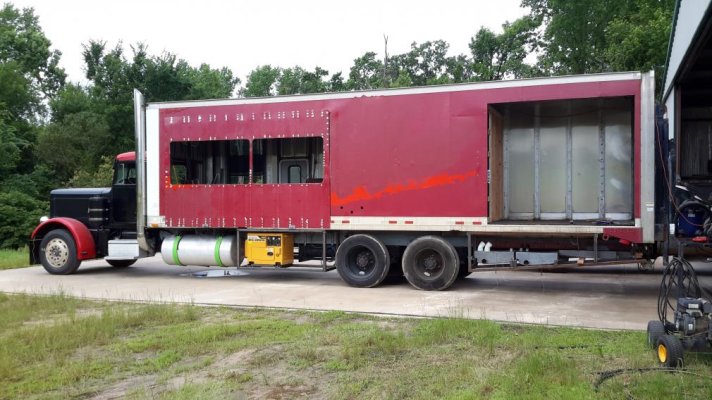
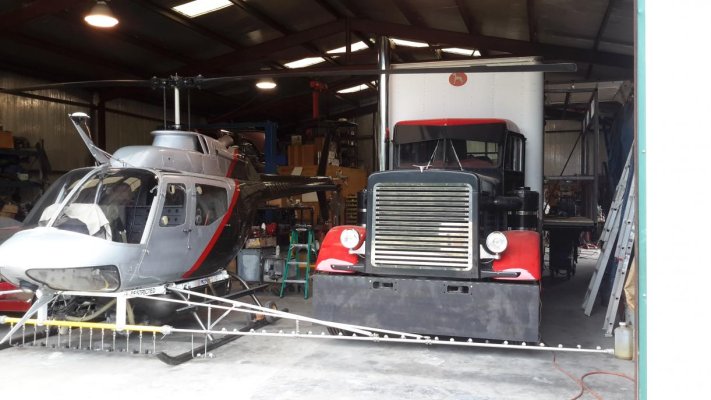
I thought I would share my project as we are nearing its completion. I purchased a 1979 Peterbilt 359 on Ebay. My wife and I race dirt bikes and travel once a month (sometimes more) to races and our plans are to be able to enjoy the races in comfort. The truck was delivered to my shop on a flatbed and was White and green, the truck had been used to move trailers around a yard, and had a recent in frame overhaul and new brakes. I immediately prepped the truck for paint and the cab was painted red and black. The next step was tackling the stretching of the frame. I talked with several shops to see how it was done and I purchased inner frame rails and spliced the outer frame rails and double framed it. The Hougen magnetic drill was an additional purchase to drill the holes in the frame. In all 60" was added to the length of the truck. After the completion of this step we spent some time working on suspension and the drive line of the truck. We went through and replaced all of the bushings in all of the drag links. Replumbed all of the air lines with poly tubing. The drive line was lengthened and balanced. At this point I had as much in the drive line as I did in the truck.

The story of this project will take a bit to tell.....more later.

Todd
 

Attachments

  • 20150308_181928.jpg
    20150308_181928.jpg
    112.5 KB · Views: 37
  • 20150228_093437.jpg
    20150228_093437.jpg
    98.5 KB · Views: 32
  • 20150228_123125.jpg
    20150228_123125.jpg
    114 KB · Views: 31
  • IMG_20131103_125351_676.jpg
    IMG_20131103_125351_676.jpg
    106.6 KB · Views: 32
  • 20150302_174941.jpg
    20150302_174941.jpg
    102.8 KB · Views: 35
More Details Post 2 - 359 Race Rig

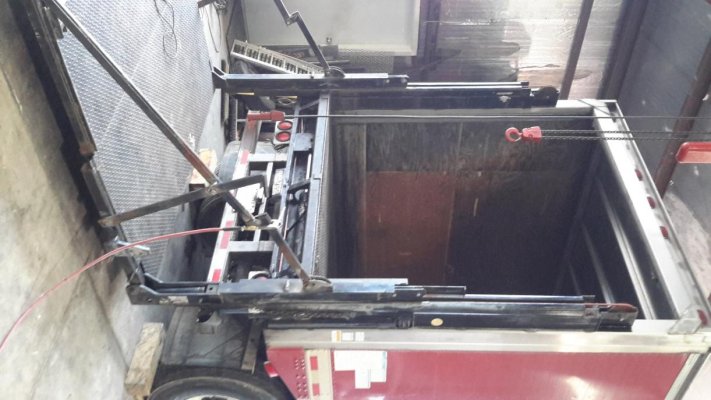
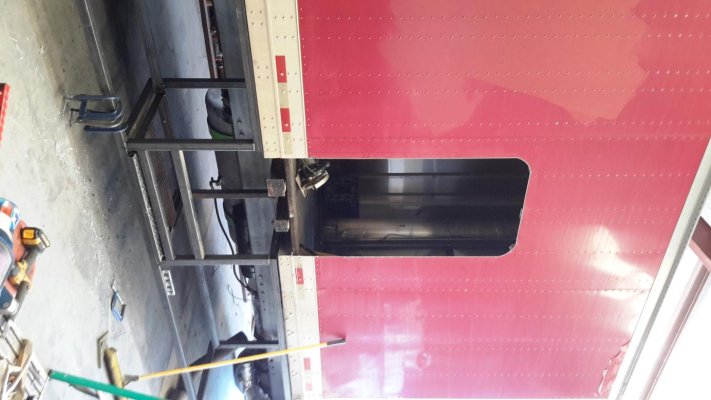
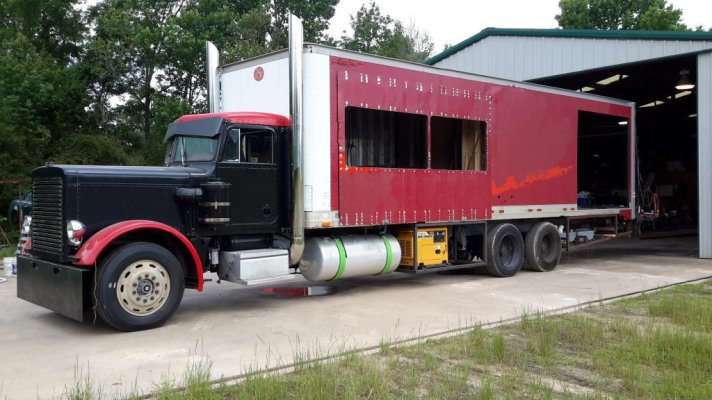
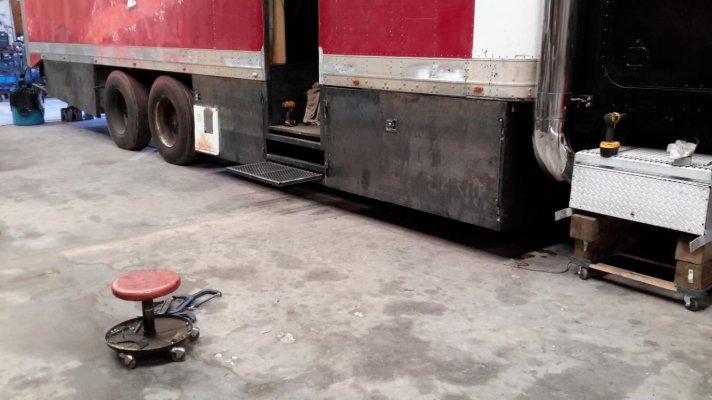
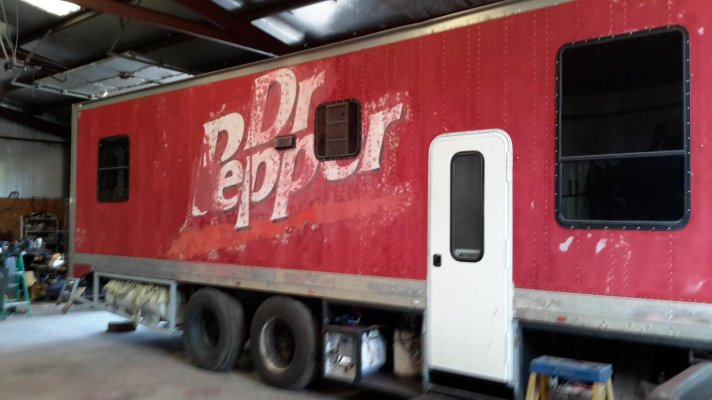
Found a short box trailer and bought it, got it home and removed the box and put it on the stretched truck. The box had a lift on the back and I left that on to make it easier to move items in and out of the truck. (Welder, plasma cutter, wife when she was tired. etc.,) I had purchased an older camper and planned to use most of the windows from it. I also used it to see how the slide mechanism worked because I wanted to put at least two slides in this rig. One in the living area and one in the bedroom. The plan is to pull a trailer with the bikes, tools, and whatever else behind the motorhome.

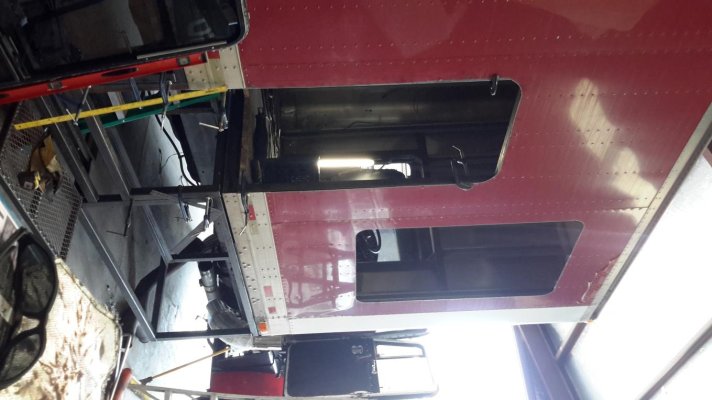
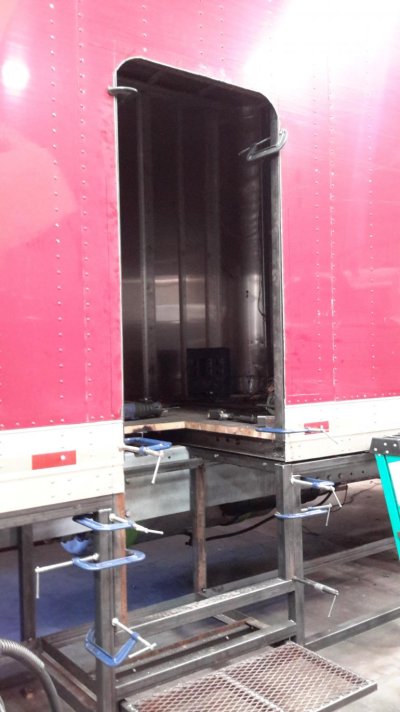
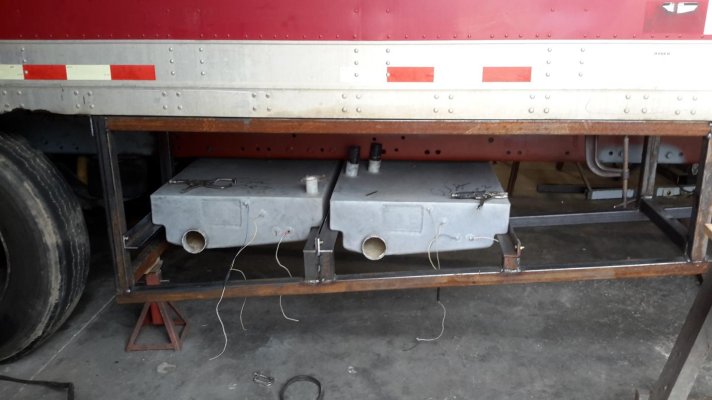
My wife and I worked over some ideas on the layout and the largest issue we had was the rear wheels and the plumbing for the bathroom, specifically the down pipe for the black water tank. We did not want it between the rear wheels. After much measuring we managed to get it behind the wheels by sacrificing some of the bedroom size. We had wanted to put a king size bed, and decided a queen bed would work. We managed to get that all figured out and knew where we wanted the main door and started cutting. The door was first, then the area for the slides, and finally the windows. We saved as much of the existing side wall metal so we could reuse it. The slides on the old camper I bought were air powered but I decided to use hydraulics. The living area slide ended up being 12' wide with a 32" extension and the bedroom slide 7' wide and 24" extension.
 

Attachments

  • 20150319_143957.jpg
    20150319_143957.jpg
    107.8 KB · Views: 24
  • 20150319_094934.jpg
    20150319_094934.jpg
    109.2 KB · Views: 26
  • 20150319_191548.jpg
    20150319_191548.jpg
    111.3 KB · Views: 26
  • 20150411_111228.jpg
    20150411_111228.jpg
    106.5 KB · Views: 28
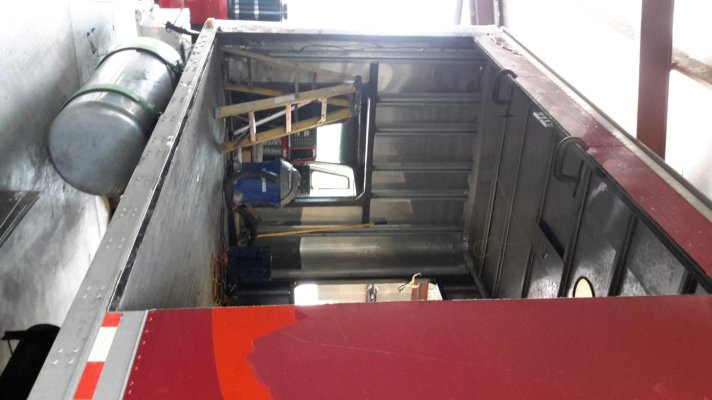
Cool. I like the lift on the back. Are you cutting out the back of the cab and front of the box so you can walk through? I can't tell from the pictures.
 
my wife and I fought with the black water tank as well. One solution we looked at was a short toile on an elevated platform with the black water tank above the floor instead of below it. In the end Ours worked out ok since I added to the box. But it def gave us more options.
 
359 Race Rig build

Yes, we have a cut out in the back of the cab so we can walk through to the box. My blue heelers travel with us and they like the roam while traveling. lol.

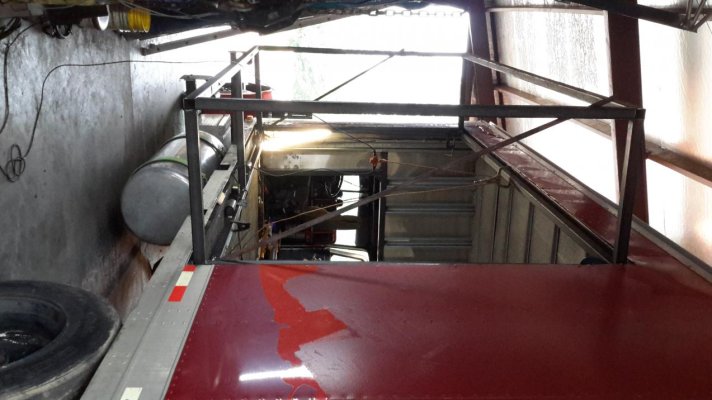
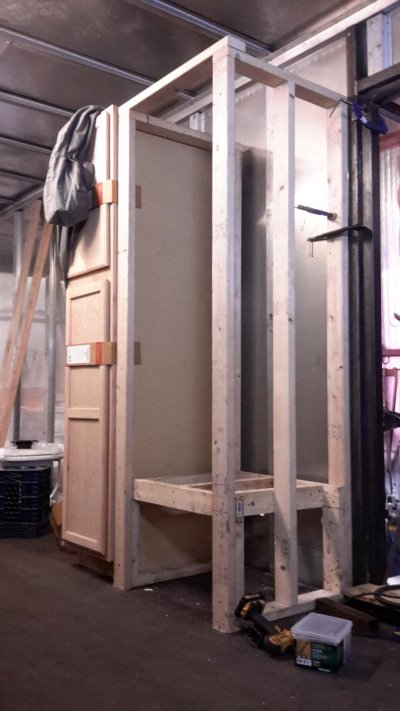
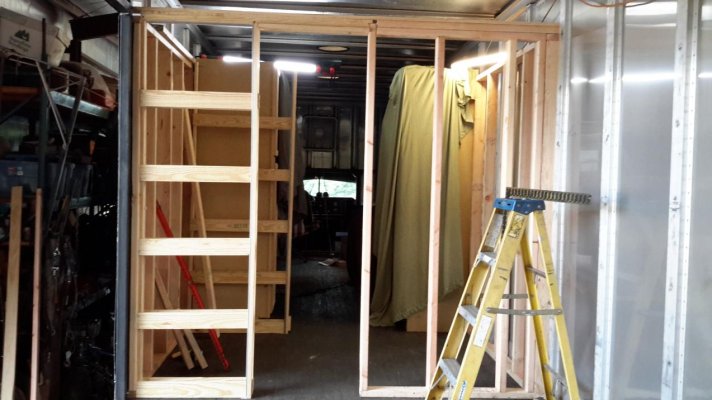
Now that I had all of the holes cut for the windows, slides, the door the framing for the slides started. I left both rear axles under the truck so I wasn't really worried about weight so I used 2" square tubing on most of it. We also started some work on the inside of the truck. We built the walls in between the different rooms. We decided to use pocket doors to help with space between the living area/kitchen and the bathroom and between the bath and bedroom. We purchased base cabinets and figured out where we wanted them set. My wife says she didn't think she would ever finish with the insulation. We used the insulating board in the ceiling and walls of the box, 2 layers of it. Since I had extra room I decided to put most of the wiring and duct work in a 1' space I left in the ceiling. It worked out real good for the wiring and made it easier as the build progressed. I left the bedroom ceiling full height and ran the wiring in the top of the entertainment center/dresser/storage.
 

Attachments

  • 20150301_081527.jpg
    20150301_081527.jpg
    113.9 KB · Views: 30
  • 20150412_152158.jpg
    20150412_152158.jpg
    103.5 KB · Views: 30
  • 20150412_092704.jpg
    20150412_092704.jpg
    107.2 KB · Views: 30
  • 20150424_182419.jpg
    20150424_182419.jpg
    107.7 KB · Views: 31
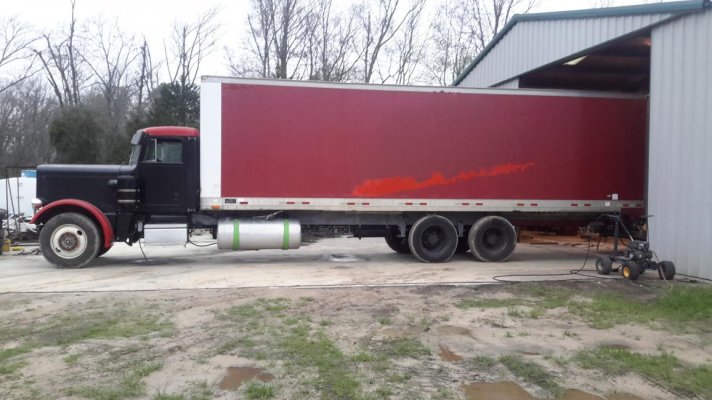
The trailer behind the hootershaker is what I used for the Box its a 32 ft Great Dane trailer.
 

Attachments

  • 20141124_122343.jpg
    20141124_122343.jpg
    109.4 KB · Views: 18
Last edited:
more pictures of this project
 

Attachments

  • 20150310_112711.jpg
    20150310_112711.jpg
    110.4 KB · Views: 28
  • 20150526_094124.jpg
    20150526_094124.jpg
    110.6 KB · Views: 31
  • 20150411_135247.jpg
    20150411_135247.jpg
    106.2 KB · Views: 27
  • 20150514_165707.jpg
    20150514_165707.jpg
    104.9 KB · Views: 29
sorry i didn't say it earlier - the build is nice keep the pictures coming.

regarding the tanks - WOW ! the reason i asked is because i thought the looked kinda small, that seems like a nice size. IIRC our are about 55 gal each w/ 220g of fresh water (2x110g).
 
More pictures of build.
 

Attachments

  • 20150514_165751.jpg
    20150514_165751.jpg
    105.7 KB · Views: 30
  • 20150516_184150.jpg
    20150516_184150.jpg
    110.6 KB · Views: 31
  • 20150526_094103.jpg
    20150526_094103.jpg
    110.6 KB · Views: 33
its coming together nicely.

is your electrical bay going to be forward of the drive axles? what about house batteries?
 
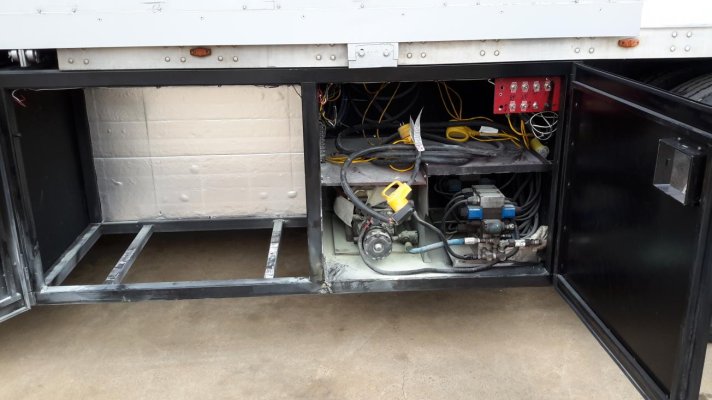
This picture is the hydraulic pump and control valves for slides and leveling jacks. The empty compartment is for diesel generator. I can operate slides and jacks from here or from inside. storage tray over hydraulic pump is for the 50 amp power cord. The yellow powder all over everything is from the fire extinguisher had a little fire the other day when jumper cables shorted while starting the generator.
 

Attachments

  • 20161127_104817.jpg
    20161127_104817.jpg
    106.9 KB · Views: 30
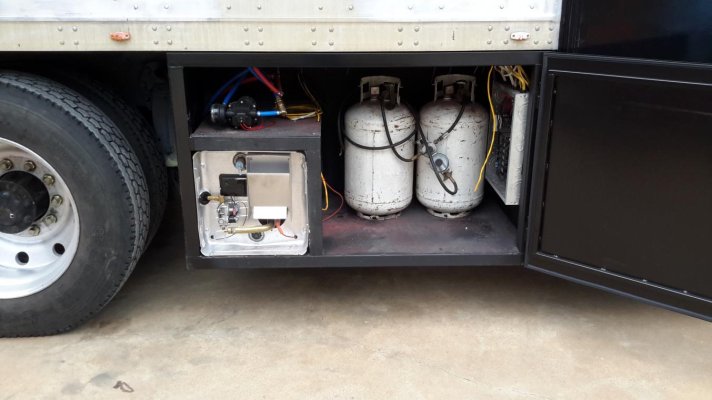
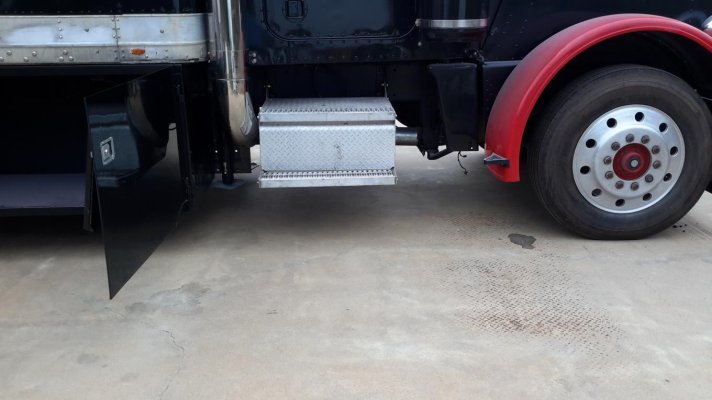
Ac breaker box, hot water heater, 12 volt water pump, and propane bottles are on right side of truck in compartment behind the door. Front compartment is for storage and a grill. Batteries for the living quarters are located in truck step on passenger side of truck, drivers side step has batteries for truck. I have a disconnect switch between both sets of batteries so I can charge, start , or run off of both sets of batteries if needed.
 

Attachments

  • 20161127_104916.jpg
    20161127_104916.jpg
    105.1 KB · Views: 31
  • 20161127_104959.jpg
    20161127_104959.jpg
    104.2 KB · Views: 24
I like that you've tapered the rear undercarriage of the coach - i recently got into a situation and the rear dragged the rear corner a little.

any particular reason why you went w/ a gas only water heater?

I've made good use of our dual gas/electric water heater - sometimes I'm in a situation where i don't have enough AC Current to support the water heater (and everything else) - and at the same time when I'm in a park w/ 30 or 50A then i don't have to consume my ($) propane for the water heater.

I also us the electric (water) heater element to heat water (when I'm in storage) before we head out (the day before etc).
 
More Pictures of the build.
 

Attachments

  • 20160730_164847.jpg
    20160730_164847.jpg
    107.3 KB · Views: 35
  • 20150514_165605.jpg
    20150514_165605.jpg
    111.3 KB · Views: 33
  • 20161026_165606.jpg
    20161026_165606.jpg
    107.3 KB · Views: 33
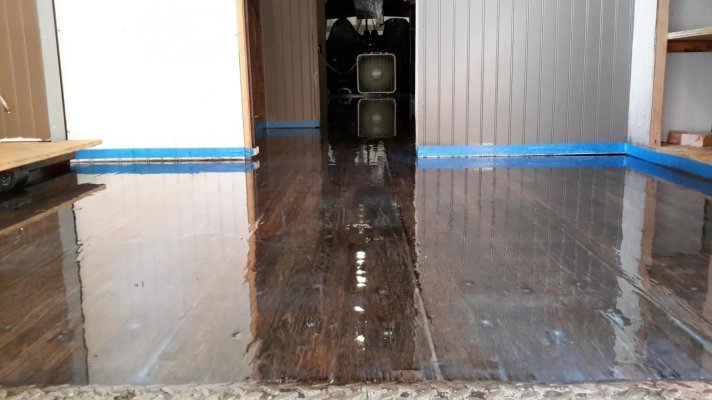
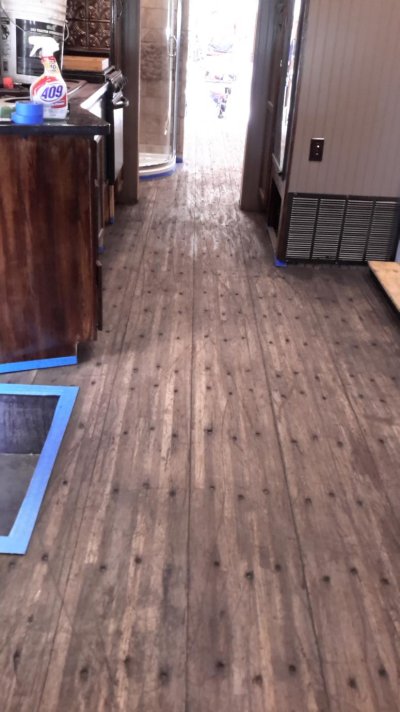
Here is a before and after of floor. We cleaned and put 9 coats of clear floor sealer on the hardwood floor that was in trailer.
 

Attachments

  • 20160726_082346.jpg
    20160726_082346.jpg
    107.8 KB · Views: 38
  • 20160724_095302.jpg
    20160724_095302.jpg
    108.5 KB · Views: 37

Try RV LIFE Pro Free for 7 Days

  • New Ad-Free experience on this RV LIFE Community.
  • Plan the best RV Safe travel with RV LIFE Trip Wizard.
  • Navigate with our RV Safe GPS mobile app.
  • and much more...
Try RV LIFE Pro Today
Back
Top