85 359 Pete
New Member
New to the forum and thought I'd share my project with you guys.
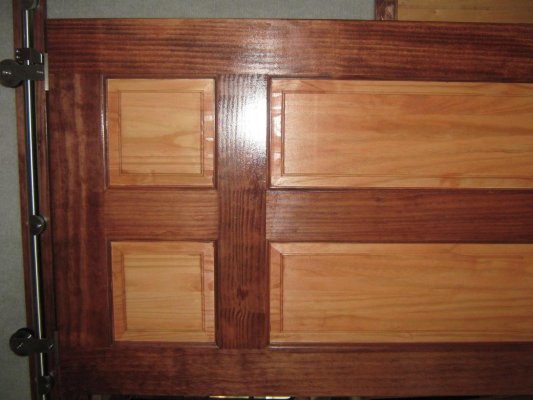
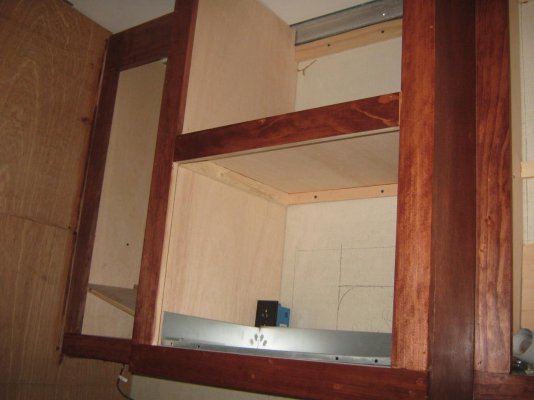
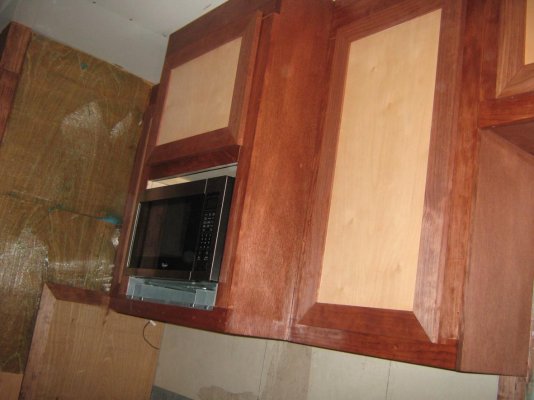
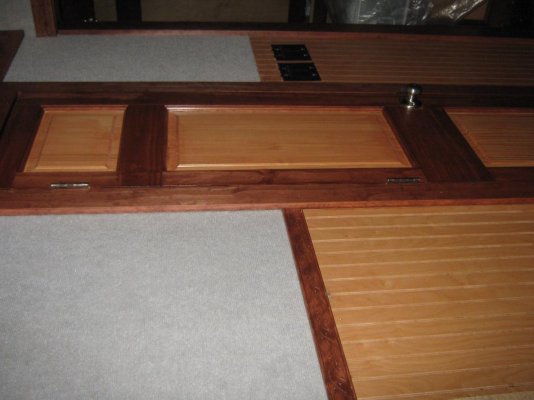
Mine is more of a finish/restore than the new builds that I've seen on this tread. The truck was originally converted around 06' by someone else. They had the frame stretched, deleted one of the drive axles, and added the 24'box. All of the tin work, plumbing and electrical were also done. The work done was all really nice but the project was never really finished on the inside. The original builder was really good with everything except wood work. Fortunately my father and I are both in the construction industry so that part is easy for us.
A little info on the truck itself. Its a 1985 Peterbilt 359 extended hood with a 400hp Cat and 15sp with overdrive. The engine was rebuilt and as had the fuel turned up, the power is impressive to be that big.
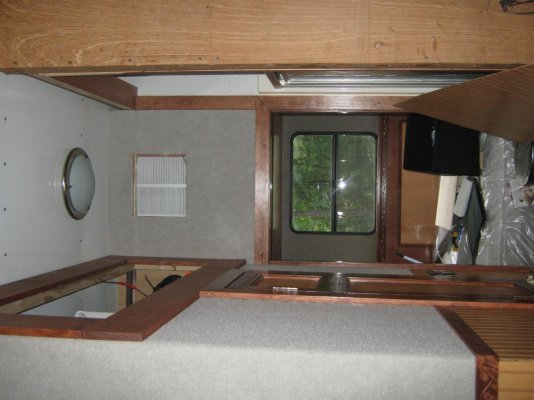
We've started tearing apart the interior of the box basically taking it down to the studs. The wife and I want to have a nice place to stay at the track on race weekends without spending a fortune. Due to the condition of the truck and a motivated seller we picked the truck up cheap.


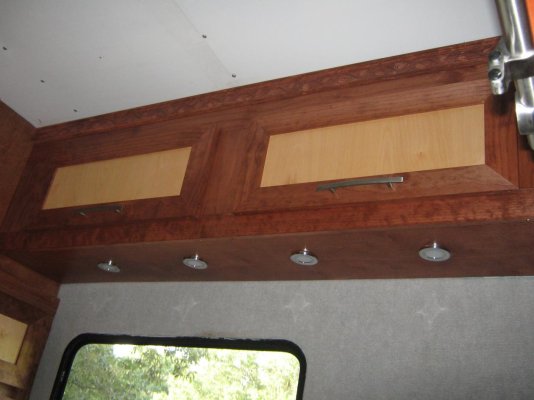
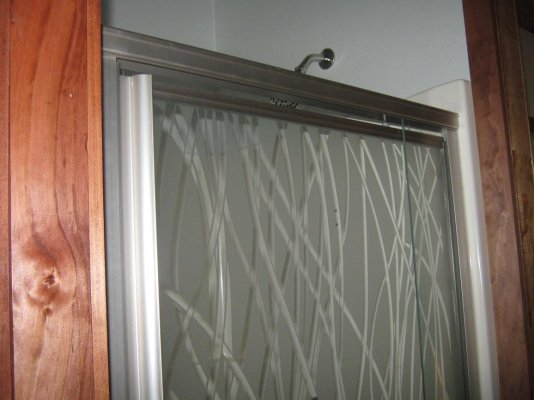
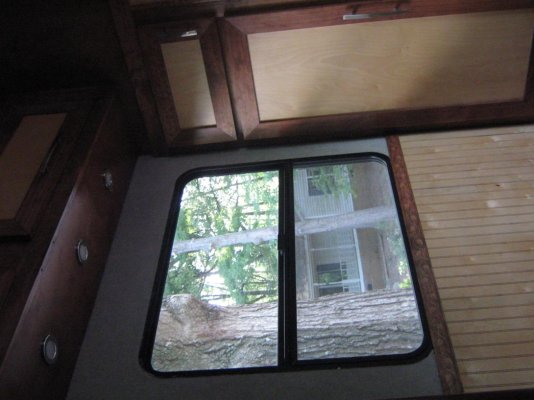
Looks like they used furniture from a donor travel trailer or rv. Which is probably where the Genset and water tanks came from as well.


The nice part is the cab is all origional and in really nice shape to be over thirty years old.

Mine is more of a finish/restore than the new builds that I've seen on this tread. The truck was originally converted around 06' by someone else. They had the frame stretched, deleted one of the drive axles, and added the 24'box. All of the tin work, plumbing and electrical were also done. The work done was all really nice but the project was never really finished on the inside. The original builder was really good with everything except wood work. Fortunately my father and I are both in the construction industry so that part is easy for us.
A little info on the truck itself. Its a 1985 Peterbilt 359 extended hood with a 400hp Cat and 15sp with overdrive. The engine was rebuilt and as had the fuel turned up, the power is impressive to be that big.
We've started tearing apart the interior of the box basically taking it down to the studs. The wife and I want to have a nice place to stay at the track on race weekends without spending a fortune. Due to the condition of the truck and a motivated seller we picked the truck up cheap.


Looks like they used furniture from a donor travel trailer or rv. Which is probably where the Genset and water tanks came from as well.


The nice part is the cab is all origional and in really nice shape to be over thirty years old.

Last edited:


