Frame Welding

bath

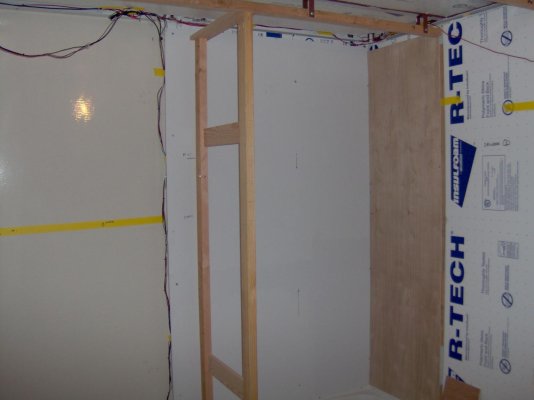
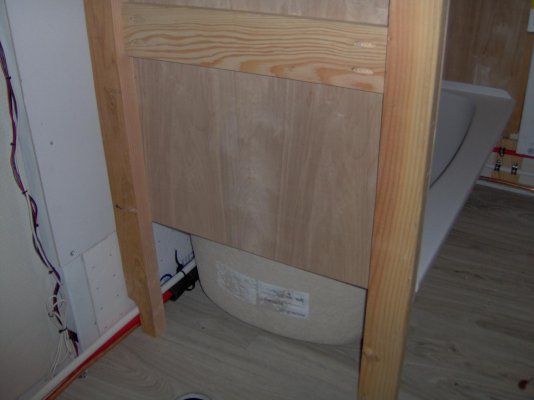
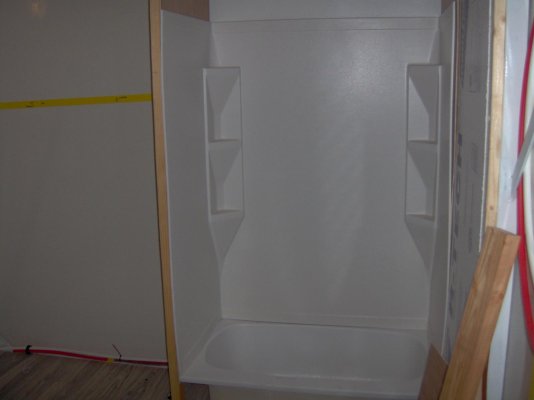
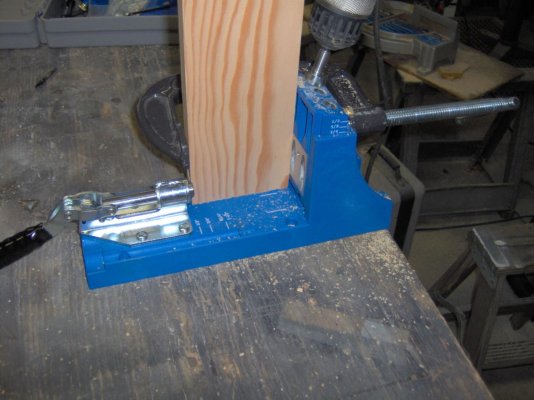
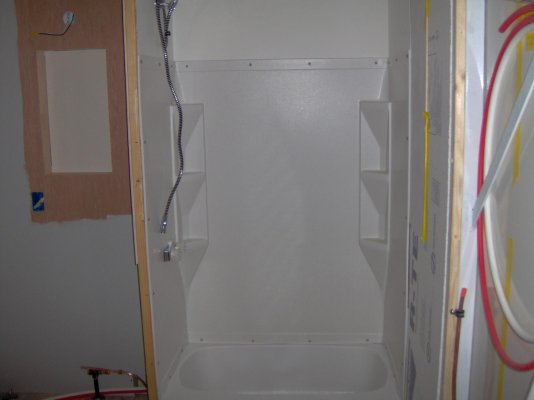
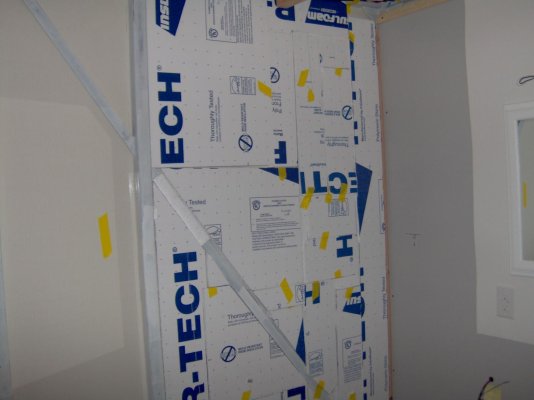
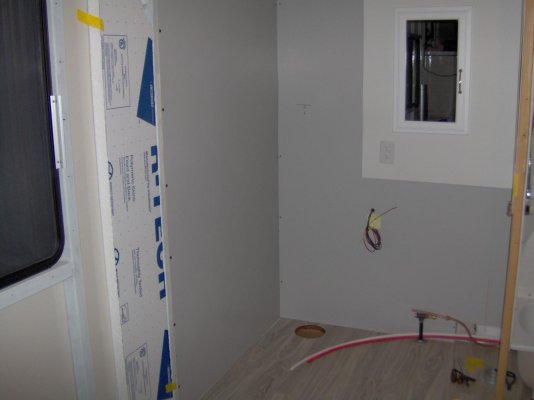
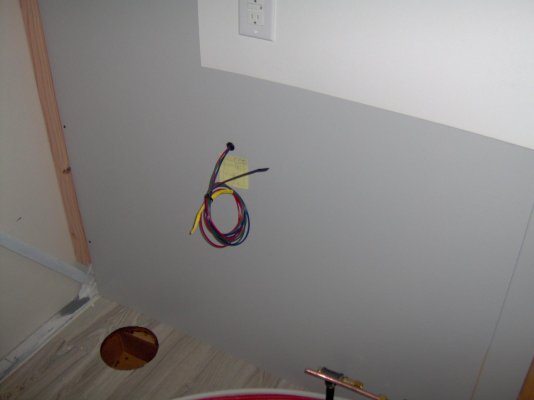
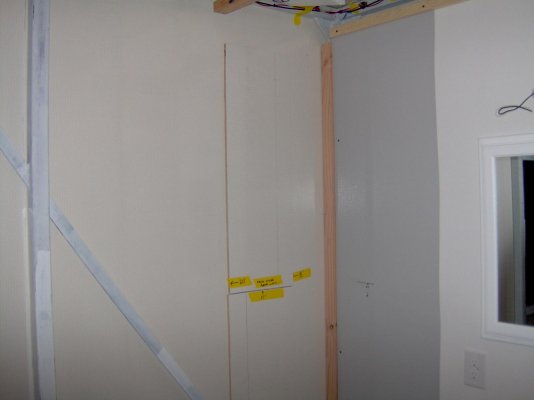
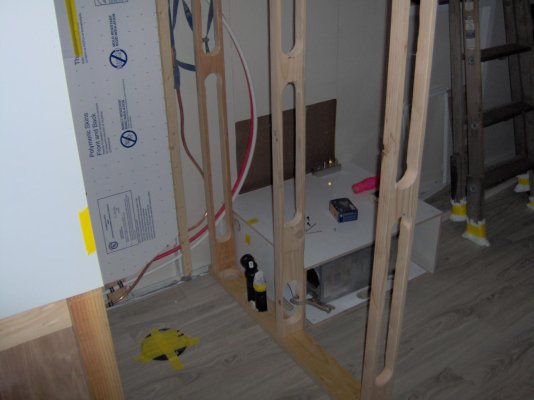
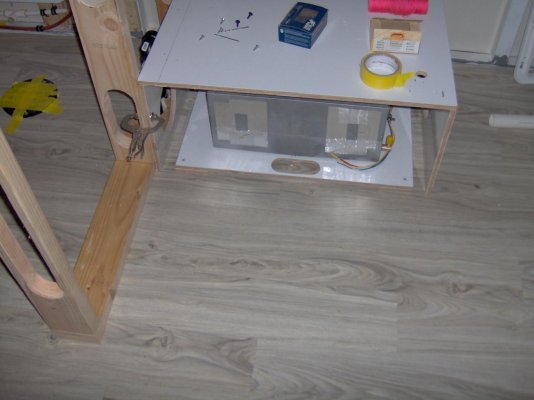
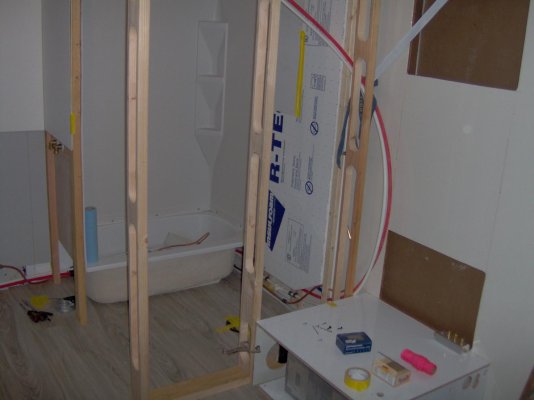
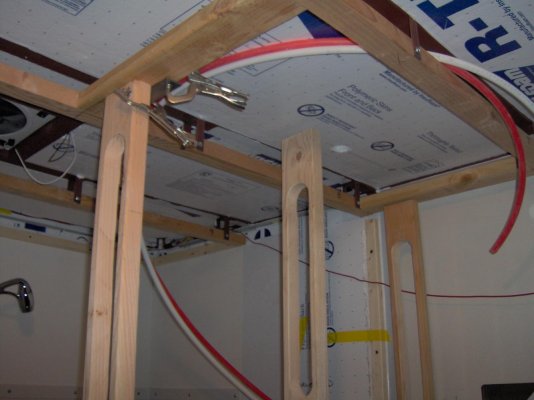
We have finished the under-floor plumbing and are working on the shower/tub. I am finding my new Kreg pocket screw jig very useful in doing the framing for the wall in the shower. I will be putting a wardrobe closet on the passenger side wall with a vanity between the closet and the shower. I also finished putting 2" foam insulation under the roof.
 

Attachments

  • 6-22-13 063.jpg
    6-22-13 063.jpg
    100.9 KB · Views: 36
  • 6-22-13 066.jpg
    6-22-13 066.jpg
    102.4 KB · Views: 34
  • 6-22-13 067.jpg
    6-22-13 067.jpg
    86.9 KB · Views: 35
  • 6-22-13 055.jpg
    6-22-13 055.jpg
    111.4 KB · Views: 37
making progress on "Long Leggs"

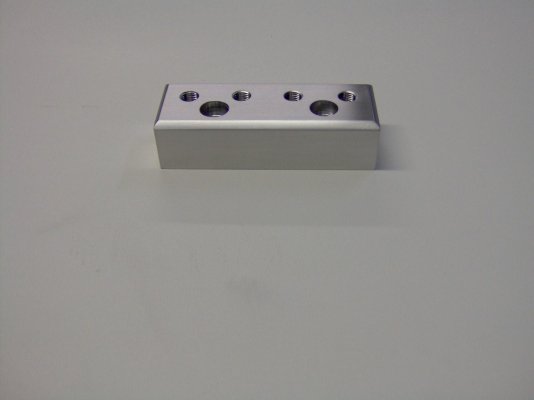
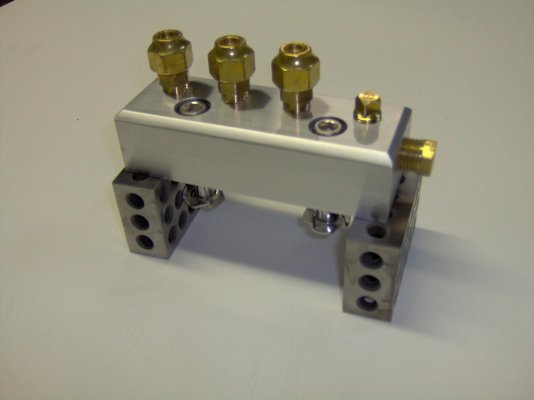
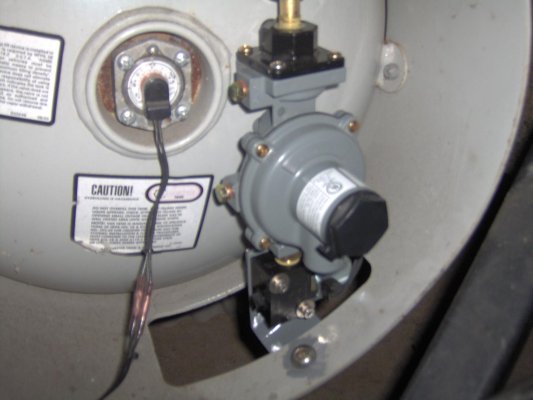
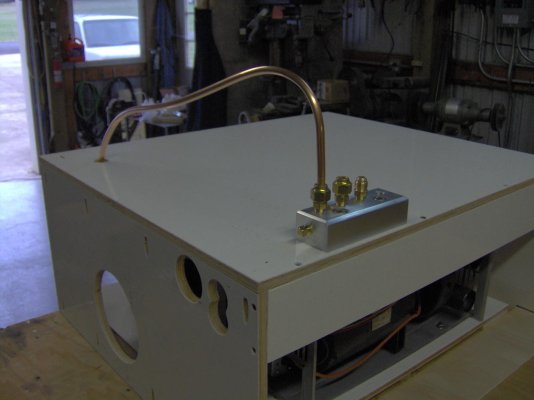
I have been making a manifold for my LPG system. I plan to install it behind the fridge in the vented area. I tapped five 1/4" NPT holes and one 3/8" NPT . The 3/8" is for the 1/2" copper supply line and three of the 1/4" will be used for 3/8" copper lines going to the stove, fridge and heater. I will have two plugged that can be used for a gauge or if someone down the road comes up with an LPG thingy that I can't live without. I also installed the LPG regulator with a servo valve that will shut if LPG is detected inside the coach. My brother and I got the shower/tub installed and are now working on the back wall.
 

Attachments

  • IM000955.jpg
    IM000955.jpg
    80.5 KB · Views: 38
  • IM000959.jpg
    IM000959.jpg
    93.9 KB · Views: 36
  • IM000966.jpg
    IM000966.jpg
    103.8 KB · Views: 36
  • IM000961.jpg
    IM000961.jpg
    99.3 KB · Views: 36
LPG System

Nice manifold which leads me to something I been wondering but have not checked into it. Will one regulator run everything? Looks like that's what you are doing. A regulator comes with the propane grill so if I tap off it, can I run the cook top, fridge and water heater too? Most of this stuff comes with next to nothing for instructions.
 
RLPRACING I think your grill is designed to operate off high pressure and the regulator might not be able to operate other devices. I would suggest you contact a local LPG dealer and explain what you are doing. They will be able to answer any questions. I know if I want to run a grill I will need one that has no regulator. Also Hot Rod may be able to answer your questions. Good luck you are making great progress Kenn.
 
Kenn is right - most propane grills are designed for higher pressure.

FURTHER you should have an excess flow (POL?) shut off regulator at the main supply, most RV's include the excess flow POL regulator in the form of a 2 stage regulator at the tank/supply (i believe this is required by law).

I removed the regulator from my outdoor grill & converted (via QD fittings & brass plumbing) our outdoor grill to run off the coach supply (instead of expensive & short life green bottles), by tapping into the existing (black pipe) plumbing under my coach…you can't beat the convenience…HOWEVER….the flow or pressure is a bit low for me…just takes a little longer to heat up & cook (i tolerate it, but wish the grill got hotter, faster).

I did a fair amount of testing (off coach) & determined the pressure straight off an LP Tank was too great & would need regulation. I wasn't willing to run a sep line from the coach tank just for the grill.
 
Yes, you will have to tee into your LP system ahead of the regulator. Otherwise your LP will double regulated for your grill & it will never burn correctly. I did this on my 5th wheel & it works great. Great build. Good luck.....Dick
 
Yes, you will have to tee into your LP system ahead of the regulator. Otherwise your LP will double regulated for your grill & it will never burn correctly. I did this on my 5th wheel & it works great. Great build. Good luck.....Dick

my grill is not dbl regulated - i removed the regulator from the grill.
 
On the table top type grills that are designed with the disposable tank hookup, those use tank pressure into that fitting and the regulator is built into the control valve on the inlet (disposable tank) fitting. Those would require the tank pressure hose tee'd into your system ahead of the regulator.

Most full size grills and some table top grills are built with a hose and regulator to hook directly to a standard 20# tank. Those types can have the regulator removed and tap into your propane system after the regulator. It is to be noted though that there is limit to how long of a hose you can use and still get adequate pressure to the grill for proper operation, so keeping in mind that regulated pressure is only 11" wc (about 1/2 psi) you need to keep the hose to the absolute minimum to do what you need and not have extra coils of hose "just in case". Using a 3/8" hose vs the more common 1/4" hose will also allow you more distance.

That said, I did have some issues on a couple of my own grills using the high pressure hose setup with a fairly long hose where I was getting accumulation of oil in the regulator, valves and orifices on the grill. To the point where the flame would keep getting progressively lower with each use as the oil built up, until it would not light at all. Ruined 2 tabletop grills and started to happen on a third. I finally gave up on that type of long hose and found a nice stainless table top grill at Sam's Club that uses a standard 20# tank hookup and low pressure hose. That setup has worked better.

Now many of you know I was in that buisness, and the weird thing is that after 15 years in the propane business in the past, there is no technical reason I can come up with that the oil (presumably from the odorant) would ever possible leave the cylinder in a vapor withdrawal system. And the problem was only in the high pressure hose to the grill, never in the built in appliances. Racked my brain and swore at it for 2 grills and 2 seasons. Never did figure it out. But my low pressure grill has been working just fine. So I would lean in that direction, assuming of course you and find a suitably compact grill that is not set up for disposable tanks.

Every propane regulator will have a btu rating. To make sure it is sized properly you will need to add up the btu requirements for all of your appliances and compare that to the regulator rating. You have to assume for that math that every appliance could conceivably be in use all at the same time.

Those tee kits referenced in a previous post come in 2 different forms, one will tee in a remote appliance like a grill, and the other form allows you to tap in an external propane tank to feed the system, for example if you are parked for the season and don't want to drive out to fill up. One kit had both items included.
 
slow progress

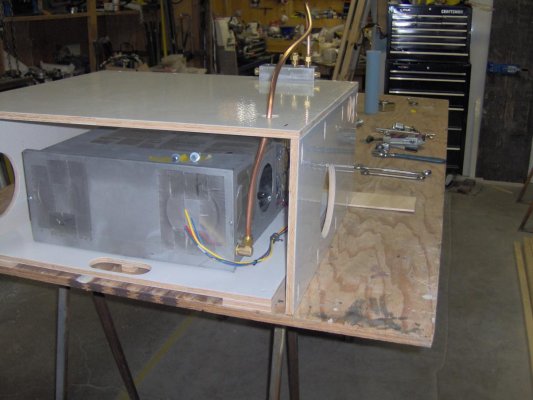
I have been making some progress on the bathroom. I got the rear wall done and I added some extra FRP inside the passengers side wall to support an awning down the road. I used the 3M VHB tape to hold it in place and when I use wood screws to mount the awning arms they will reach the FRP. I used a lot of small scraps of 2" insulation foam to fill behind the wall which will be the inside of the closet. I have run the wires for the water heater and am just about done building the wall between the bathroom and the kitchen. The furnace is mounted on another sheet of FRP so it can be slid in or out for service. The refrigerator will sit above the furnace. The two large holes in the wall are for the frig bottom and top vents.
 

Attachments

  • IM000985.jpg
    IM000985.jpg
    102.9 KB · Views: 43
  • IM000987.jpg
    IM000987.jpg
    100.7 KB · Views: 35
  • IM000983.jpg
    IM000983.jpg
    77.7 KB · Views: 40
  • IM000982.jpg
    IM000982.jpg
    93.5 KB · Views: 42
more pics

More pictures of the wall.
 

Attachments

  • IM000993.jpg
    IM000993.jpg
    103.8 KB · Views: 50
  • IM000996.jpg
    IM000996.jpg
    105.8 KB · Views: 44
  • IM000991.jpg
    IM000991.jpg
    102.4 KB · Views: 47
  • IM000995.jpg
    IM000995.jpg
    105.9 KB · Views: 46
Nice job Kenn, love the custom studs, the result of a man with too many tools and spare time...lol. They will defiantly make wiring and plumbing a lot easier though, and the material in the middle does not add much to the strength anyway, mostly added weight. Chelle and I need to get down that way to visit again soon. Keep up the good work and have a great holiday season.

Dave
 
When I was researching refrigerator installs prior to doing mine, I was told it was preferable to have the top vent for the fridge directly up through the roof as opposed to going back out through the sidewall. The theory is that the heat from the burner creates a draft up and back out and a good airflow from that draft is very important for efficient cooling operation and using an upper sidewall vent does not draft as well as directly up through the roof. I did mine that way and it holds right at 32 degrees on either electric or propane except on a really hot day it may creep up to 35-36 degrees. Also on mine the fridge is on the same side as the awning and I didn't want the heat coming out under the awning. Maybe somebody out there has one with 2 wall vents and can comment on how that works?

In the way of learning from my mistakes, make sure the enclosure for the refrigerator is completely waterproof and I would suggest lining it with something waterproof like aluminum sheeting, at least the lower portion. I was amazed to learn the hard way how much water can make it through that vented door while driving in the rain, and I am going to have to pull my fridge back out this winter and replace the now ruined wood floor of the enclosure. Also, pay attention to the directions and be sure the enclosure is sealed airtight to the interior of the RV due to fumes/CO from the burner.
 
Vents

My sister had two sidewall vents because her hole kitchen was on a slideout. Hers worked fine and I got a fan kit from Norcold for the refrigerator that I have. It came with all of the wiring and a temp switch so the fan will come on and shut off at the proper temps. I am making the unit that the refrigerator sits on out of left over FRP and I will now make sure I epoxy the raw edges. My old Itaska had the plywood under the frige get wet and fall apart.
 

Attachments

  • IM000980.jpg
    IM000980.jpg
    101.7 KB · Views: 41
  • IM000979.jpg
    IM000979.jpg
    109.5 KB · Views: 38

Try RV LIFE Pro Free for 7 Days

  • New Ad-Free experience on this RV LIFE Community.
  • Plan the best RV Safe travel with RV LIFE Trip Wizard.
  • Navigate with our RV Safe GPS mobile app.
  • and much more...
Try RV LIFE Pro Today
Back
Top